How To Clean A Ge Washing Machine – Guide
To clean your GE washing machine, first unplug it and remove all items. For front-loaders, clean the gasket and dispensers with a vinegar-water solution. Soak the dispenser drawer, then run a hot Basket Clean cycle using approved cleaners.
For top-loaders, wipe seals, clean the basket monthly, and run a disinfecting cycle with bleach or cleaner. Always use safe products, avoid mixing chemicals, and dry components thoroughly.
Proper maintenance prevents odors and extends lifespan. Explore further steps to guarantee peak washer performance.
Why Regular Cleaning Matters for Your GE Washer
Although your GE washing machine is designed for durability, regular cleaning is essential to prevent mold, mildew, and detergent buildup that cause unpleasant odors and reduced performance. You need to focus on cleaning the interior of the washer to prevent buildup of detergent residue. This residue can trap moisture and foster odor-causing mold and mildew.
Routine maintenance, including a monthly deep clean, not only eliminates these contaminants but also helps avoid clogs and mechanical issues. Regular cleaning ensures ideal washer efficiency, which reduces water and energy consumption.
Furthermore, keeping the interior clean prevents the transfer of mold and mildew to your clothes, promoting better hygiene. By prioritizing this upkeep, you extend your washer’s lifespan and maintain its reliable operation without costly repairs or diminished cleaning power. It’s definitely worth the effort!
Preparing Your GE Washer: What to Do Before Cleaning
Before you begin cleaning your GE washer, make sure you unplug it to eliminate any electrical risks. Start by removing all items from the drum so you have full access to the interior surfaces. Open the door or lid to promote air circulation. This helps with drying and prevents mold growth.
If you have a front-load model, take a close look at the door gasket for any debris or detergent residue. Remove any buildup you find to keep a proper seal and maintain hygiene.
Next, check that all dispensers are empty and easy to reach. This way, you can clean them thoroughly.
Taking these preparatory steps will make your cleaning process safer and more effective. Plus, it helps preserve your washer’s functionality over time.
Cleaning GE Front-Load Washers Step-by-Step
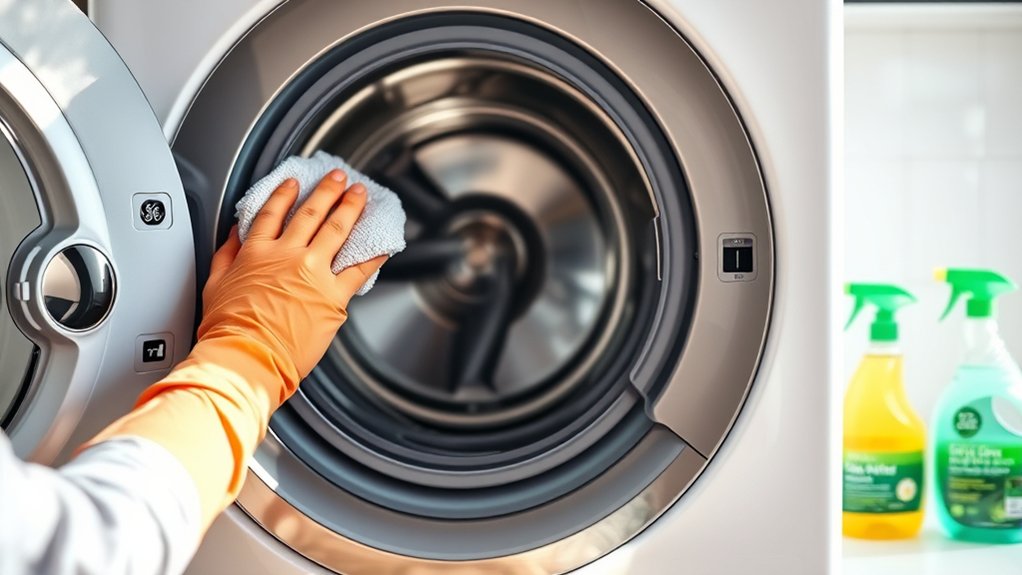
First, make sure to give the door gasket and detergent dispensers a good, thorough cleaning. This helps get rid of any residue and stops mold from forming.
After that, go ahead and run a long, hot cycle—just pour some white vinegar into the bleach dispenser. This step really helps sanitize and clean the drum.
Once that’s done, don’t forget to dry all the surfaces. Getting rid of moisture and odors will keep your washer smelling fresh and working efficiently.
Gasket And Dispenser Cleaning
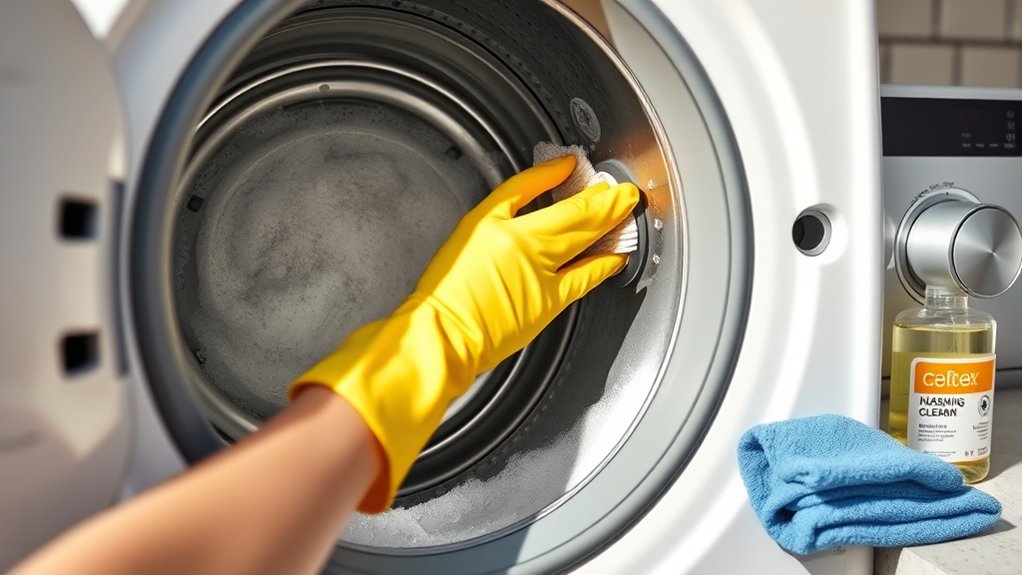
A critical step in maintaining your GE front-load washer involves thoroughly cleaning the gasket and dispenser. Start by regularly removing and inspecting the rubber gasket. Wipe it with a solution of equal parts vinegar and water to prevent mold and mildew buildup.
Pay close attention to folds and crevices. Use a microfiber cloth or soft brush to eliminate debris and residue buildup.
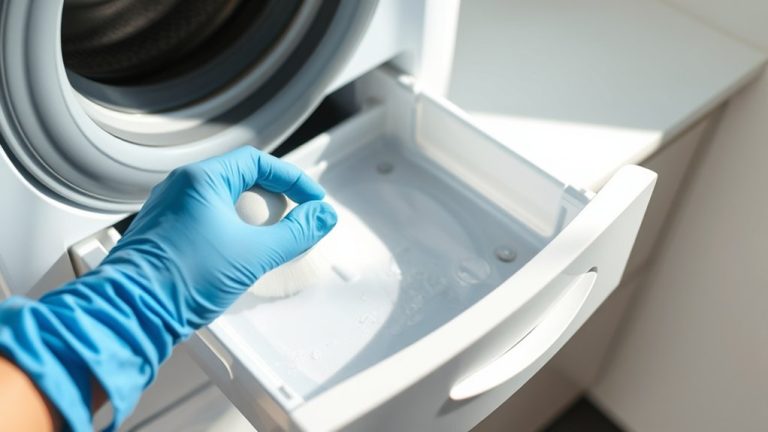
Next, detach the dispenser drawer and soak it in warm, soapy water.
Scrub all detergent compartments with a toothbrush to remove accumulated detergent, fabric softener, and residue buildup.
After cleaning, dry both the gasket and dispenser drawer thoroughly with a clean cloth. This helps prevent moisture retention, which causes odors and mold growth.
Try to incorporate this gasket and dispenser cleaning routine into your monthly maintenance. It’s a simple way to keep your washer hygienic and functioning efficiently.
Running The Basket Clean
After maintaining the gasket and dispenser, you’ll want to run the Basket Clean cycle to thoroughly sanitize the drum. First, verify the washer basket is empty and the washer lid is closed to prevent spillage.
Add one cup of bleach, vinegar, or a washing machine cleaner tablet directly into the drum.
If you use a water softening additive, add it per instructions to enhance cleaning.
Select the Basket Clean cycle on your GE front-load washer, then start it without interruption. This cycle usually lasts about 45-60 minutes, giving it enough time to eliminate odors and remove residue.
Make sure the drain hose isn’t blocked so the water can drain properly.
Once the cycle finishes, you might notice a bleach smell. If that’s the case, just run an extra rinse cycle to get rid of the odor and leave everything fresh.
Cleaning GE Top-Load Washers Step-by-Step
To keep your GE top-load washer running efficiently, start by regularly cleaning the basket with hot water and a cleaning agent like baking soda or vinegar. It’s a simple step, but it makes a big difference.
Once a month, go for a deeper clean. This means scrubbing any removable parts and running a disinfecting cycle using bleach or a cleaning tablet. Doing this helps keep everything fresh and hygienic.
Also, make it a habit to wipe down the seals and surfaces consistently. This little effort prevents odors and residue from building up over time, keeping your washer smelling clean and working smoothly.
Basket Cleaning Basics
While preparing your GE top-load washer for a thorough cleaning, make sure you remove all clothing and items from the basket.
To effectively combat mold, mildew, and odors in the washer tub, pour 1 cup of bleach, vinegar, or a specialized washer cleaner directly into the empty basket.
Next, select the Basket Clean cycle on your machine and press Start. This cycle maximizes water circulation and cleaning action to remove buildup from the interior surfaces.
Avoid interrupting the cycle. If it stops prematurely, just restart a full Basket Clean cycle to ensure proper sanitation.
After the cycle is complete, you might notice a bleach scent. This confirms the washer tub and interior are thoroughly disinfected, helping reduce mold and mildew risks.
It also keeps your washer clean and running at its best.
Monthly Deep Cleaning
Although regular Basket Clean cycles help maintain your GE top-load washer, performing a monthly deep cleaning guarantees thorough removal of odor, soil, and detergent buildup inside the drum.
Start by running the Basket Clean cycle with a cup of bleach, vinegar, or a specialized cleaner, ensuring the washer tub is completely empty. Don’t interrupt the cycle to allow effective sanitation.
The bleach smell afterward confirms successful deep cleaning. Also, be sure to wipe down the agitator, tub rim, and lid to remove any detergent residue or mildew that can accumulate.
If you notice persistent odor or grime before the next scheduled maintenance, just repeat the process.
This monthly deep cleaning prevents buildup and prolongs your washer’s efficiency by targeting hidden residues that regular cycles might miss. It’s a simple step that really makes a difference in keeping your washer fresh and running smoothly.
Odor Prevention Tips
When you leave the lid open after each wash, you promote air circulation that considerably reduces moisture buildup inside your GE top-load washer. This ventilation prevents stagnation, which is a common cause of musty odors.
To further prevent odor, regularly clean the gasket and dispenser to remove soap scum and dirt. These can harbor bacteria and cause smells.
Running a monthly Basket Clean cycle with bleach, vinegar, or a dedicated cleaner eliminates residual bacteria and odors effectively.
Also, make sure the drain hose is correctly positioned and not pushed too far into the stand pipe. This helps avoid siphoning that can cause odor problems.
Keeping your washer dry and well-ventilated between uses minimizes moisture and prevents bacteria growth.
Following these steps will help your GE washer stay odor-free and maintain peak cleaning performance.
Deep Cleaning With the Basket Clean Cycle
How do you perform a thorough deep clean on your GE washing machine? Use the Basket Clean cycle designed for appliance maintenance and deep cleaning.
First, make sure the washer tub is empty so water can circulate properly.
Pour 1 cup of bleach, vinegar, or a recommended cleaner directly into the washer drum.
Select the Basket Clean cycle and start it without interruption.
Try not to open the machine mid-cycle because that can mess with odor removal and mildew prevention.
Wait until the cycle finishes; you’ll notice a bleach smell inside the washer, which means it’s been cleaned thoroughly.
This process helps remove buildup and refreshes the washer’s interior.
Empty washer basket before starting.
Add cleaning tablets or liquid cleaner to washer tub.
Run Basket Clean cycle uninterrupted.
Confirm cycle completion by bleach scent inside washer.
Which Cleaning Products Are Safe for Your GE Washer?
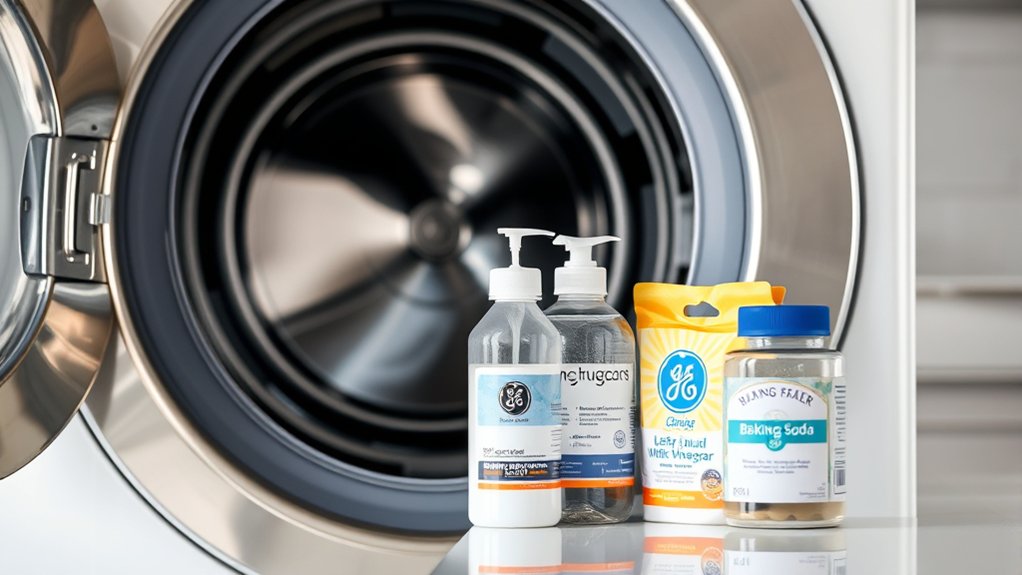
Because using the right cleaning products protects your GE washer’s components, you should select only those specifically labeled as safe for washing machines. Use GE-approved washer cleaners or trusted approved products like Glisten Washer Magic to guarantee compatibility.
Choose only cleaning products labeled safe for washing machines, like GE-approved cleaners or Glisten Washer Magic, for best results.
Before applying any cleaning tablets or liquids, confirm they’re safe for your specific GE washer model by consulting manufacturer instructions.
Avoid mixing white vinegar with bleach or other chemicals during cleaning cycles to prevent harmful reactions.
Always apply the recommended amount of cleaning products, including laundry detergent, to prevent residue buildup that could damage seals or the drum.
Following these guidelines ensures your GE washer remains efficient and extends its lifespan while maintaining excellent cleanliness and functionality.
When to Call a Professional for GE Washer Repairs
If your GE washer experiences persistent drainage problems or the external filter remains clogged despite your efforts, you should call a professional technician. Issues like a malfunctioning drain pump or persistent water retention require expert diagnosis and repair.
Also, failure of the UltraFresh vent fan motor or vent system demands professional service to keep your washer running at its best. Mold penetration or a damaged gasket needs immediate replacement by a technician to prevent further contamination.
You should avoid attempting electrical or plumbing repairs yourself to stay safe and maintain your warranty coverage.
Consider calling a professional when you encounter:
- Drain pump or clogged filter issues after cleaning
- UltraFresh vent fan motor failure
- Mold penetration or damaged gasket
- Persistent water retention or incomplete draining between cycles
Frequently Asked Questions
How Often Should I Clean the Detergent Dispenser?
You should clean the detergent dispenser every 1 to 3 months to prevent buildup of detergent residue and mold.
If you notice soap scum, mold, or foul odors, clean it more often—about once a month.
Use warm water and a soft brush or cloth to thoroughly remove any accumulated detergent or fabric softener.
Regular cleaning guarantees proper dispensing and keeps your washing machine hygienic and running smoothly.
It’s a simple step that makes a big difference in the long run.
Trust me, keeping up with this little chore helps avoid bigger problems down the line.
Can I Use Essential Oils in My GE Washer?
You shouldn’t use essential oils in your GE washer. They can damage rubber seals and internal parts, which might lead to costly repairs. Adding oils directly to the drum or dispenser may leave residue and mess with the sensors.
Instead, go for laundry scent boosters that are made specifically for washers. It’s always a good idea to check your user manual to see which products and cleaning methods are approved.
Sticking to the manufacturer’s recommendations helps avoid risks like flammability or allergic reactions. Plus, it keeps your machine running smoothly without any unexpected issues.
What Causes Musty Odors in My Washing Machine?
Musty odors in your washing machine come from mold and mildew growing in damp spots like the door gasket and drum. After your wash cycles, leftover moisture creates the perfect place for bacteria to thrive.
Using too much detergent or not cleaning the dispenser regularly can lead to soap scum buildup, which only makes the smell worse.
Also, keeping the door closed traps moisture inside, encouraging mold to grow.
If you don’t clean your machine often or skip maintenance cycles, dirt, soap residue, and spores can build up.
That’s when the musty smell sticks around and becomes a real nuisance.
How Do I Prevent Mold Buildup on the Door Seal?
You prevent mold buildup on the door seal by regularly wiping it with a damp cloth to remove moisture and debris. Leave the washer door slightly open after use to guarantee air circulation and drying.
Weekly, clean the seal with a vinegar-water solution or specialized cleaner. Always check for lint or fibers trapped in the gasket and remove them.
Finally, make certain the seal is completely dry before closing the door to minimize moisture retention. It’s a simple routine that really helps keep mold at bay!
Is It Safe to Leave the Washer Door Open After Use?
Yes, it’s safe to leave your washer door open after use. Doing so encourages air circulation inside the drum, which helps prevent moisture buildup and stops mold and mildew from growing on seals and interior surfaces.
Leaving the door slightly ajar, especially in humid conditions, makes sure there’s proper ventilation and cuts down on unpleasant odors.
Just keep in mind to check that the area around the washer is dry to avoid any water damage or safety hazards.
Conclusion
Just like a well-oiled machine keeps time flawlessly, regular cleaning guarantees your GE washer runs smoothly and efficiently. By following these steps, you maintain not only the appliance’s performance but also the freshness of every load. It really symbolizes renewal and reliability in your home.
Remember, consistent care is the key to longevity. And when issues arise beyond cleaning, trusting a professional safeguards your investment and peace of mind.