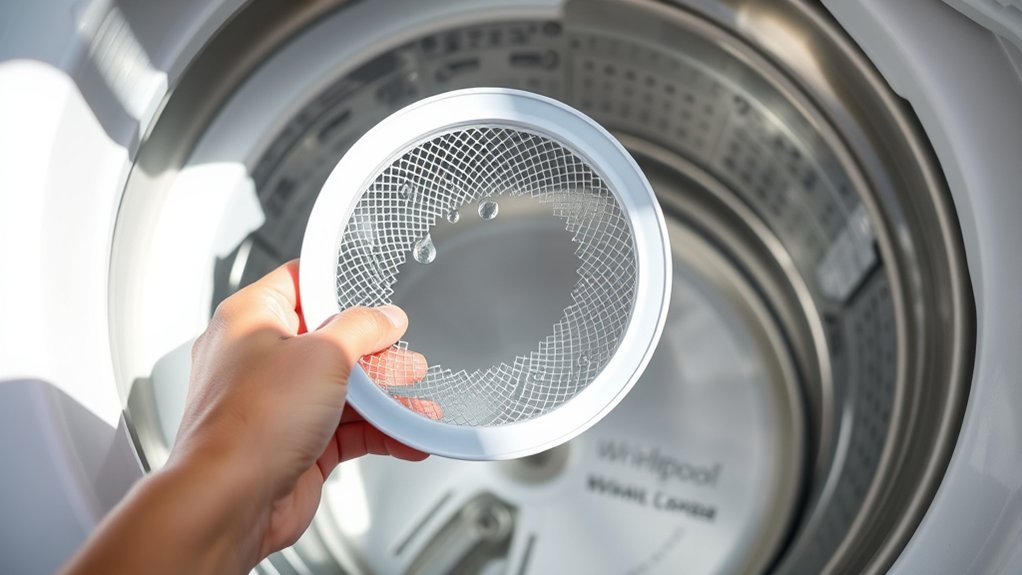
How To Clean Whirlpool Washing Machine Lint Filter Top Loader – Guide
To clean your Whirlpool top loader’s lint filter, first unplug the washer and gather tools like a screwdriver and towel. Locate the filter, which is usually inside the agitator or behind a small panel. Then carefully remove it without forcing.
Rinse the filter under warm water and scrub debris with a soft brush. If needed, soak it for a while to loosen any stubborn dirt. Make sure to dry it fully before putting it back.
Reinstall the filter by aligning it properly and twisting it securely into place. Try to clean it monthly to avoid drainage issues and odors. Following these steps will help keep your washer running smoothly and lasting longer.
Why Clean the Whirlpool Top Loader Lint Filter?
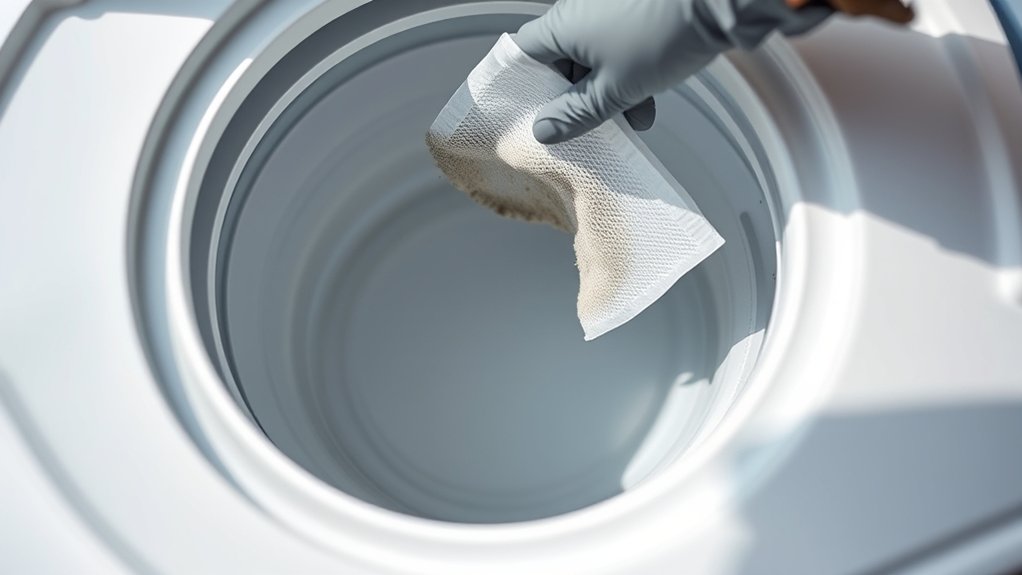
Because lint buildup can clog your Whirlpool top loader’s filter, cleaning it regularly is essential to maintain proper drainage and prevent extended wash cycles. When you clean the lint filter, you remove debris that impedes water flow, which directly improves your washer’s performance.
A clogged lint filter causes poor drainage, leading to longer cycle times and increased strain on the machine’s components. Regular cleaning also prevents musty odors by eliminating trapped lint and moisture accumulation.
Maintaining the lint filter guarantees efficient water circulation, reducing vibrations and noise during operation.
Where to Find the Lint Filter on Your Washer?
You’ll usually find the lint filter inside the agitator or just beneath a small access panel near the bottom front of your Whirlpool top loader.
Some models have the filter around the drum’s top rim, while older units might need you to check the rear panel or the drain pump area.
It’s always a good idea to take a look at your user manual to find the exact spot for your specific model.
Lint Filter Locations
When locating the lint filter on your Whirlpool top-loading washer, start by checking inside the agitator. Many models have the filter right beneath the agitator cap.
If you don’t find it there, consider these common lint filter locations:
- Along the top rim of the drum, where the filter slides or lifts out for cleaning.
- Integrated into the drain pump system, which you can access only by removing the washer’s rear panel.
- Self-cleaning filters built into the wash system that don’t require any manual cleaning.
Since Whirlpool washing machine top loader designs vary, always check your model’s user manual to confirm the exact lint filter location before you start any maintenance. Proper identification helps ensure effective cleaning and keeps your washer running at its best.
Accessing The Filter
Although lint filter locations vary by model, you can typically access the Whirlpool top loader’s lint filter either inside the agitator or behind a small panel at the machine’s front bottom.
To access the filter inside the agitator, carefully remove the agitator cap, usually by unscrewing or prying it off. Then pull out the filter for cleaning.
If your model features a front-bottom panel, locate and open this small access door to reach the lint filter directly.
In some cases, the lint filter is integrated with the drain pump system, requiring removal of the rear panel, though this is less common.
Always consult your washer’s user manual for precise instructions.
Proper access guarantees effective lint filter maintenance and peak washer performance.
Model-Specific Filter Spots
Since Whirlpool top-loading washers vary in design, locating the lint filter depends on your specific model. You’ll commonly find the lint filter in one of these spots:
- Inside the agitator: Remove the agitator cap to access the lint filter for cleaning.
- Along the top rim of the drum: Slide or lift out the filter positioned here.
- Near or inside the drain pump: Some models require removing the rear panel or tilting the washer to reach this filter.
Older models may have the lint filter under the agitator or near the bottom front panel.
Always consult your user manual for exact details. Knowing your model’s lint filter location guarantees proper maintenance and prevents issues with the agitator or drain pump system.
Tools and Supplies for Cleaning the Lint Filter
Before you begin cleaning the lint filter, gather the necessary tools and supplies to guarantee an efficient process. You’ll need a soft brush or old toothbrush to remove lint without damage, and a microfiber cloth for wiping the filter and surrounding areas. Warm water helps rinse and loosen debris, and mild detergent or white vinegar can disinfect during soaking.
A screwdriver might be required if the filter is secured with screws or clips.
| Tool/Supply | Purpose |
|---|---|
| Soft Brush | Removes lint without damage |
| Microfiber Cloth | Wipes filter and area clean |
| Warm Water | Rinses and loosens particles |
| Screwdriver | Removes secured filter |
Having these tools ready ensures a thorough, damage-free cleaning process. It makes everything easier and quicker when you know exactly what you need.
Unplug and Prepare Your Washer
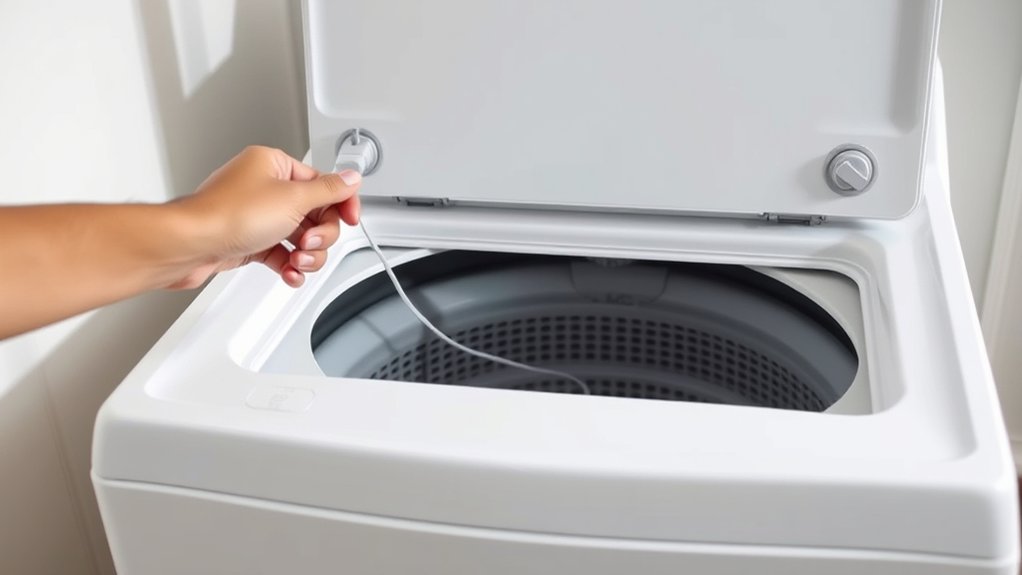
To guarantee your safety and prevent electrical shock, always unplug your washing machine from the power outlet before starting any cleaning or maintenance. This step ensures the washer is completely disconnected from electricity, so you can safely access the lint filter and other internal parts.
Next, get your workspace and tools ready with these simple steps:
- Confirm no residual power by waiting a few minutes after you unplug the machine.
- Gather necessary tools like a screwdriver or pliers if you need to remove any panels.
- Prepare a clean towel or container to catch any water that might spill when you access the filter.
Following these steps will help you safely and efficiently prepare your washer before cleaning the lint filter. It’s always better to be safe and ready!
How to Remove the Lint Filter Safely
First, find the lint filter—it’s usually inside the agitator or along the top rim of the drum.
Next, grab the right tools and gently twist or pull the filter out, making sure to follow your washer’s instructions.
Be careful not to damage the filter while handling it.
It’s a good idea to put a towel underneath to catch any water or debris that might come out.
Locate The Filter
Where exactly is the lint filter on your Whirlpool top loader? To locate it, follow these steps carefully and make sure the machine is unplugged before you start.
First, check inside the agitator. Remove the agitator cap to access the lint filter, which is usually housed within.
Next, inspect the bottom front panel. Some models have the lint filter behind a small removable panel near the washer’s base.
If you’re still unsure, consult your model’s manual. The location and removal methods can vary, so it’s best to confirm the specifics for your Whirlpool washer.
The lint filter is a small, removable component designed to either twist or pull out easily. Properly locating it is important for safe and effective cleaning.
Doing this helps prevent damage to your machine or the filter during removal. It’s a simple step that keeps your washer running smoothly.
Use Proper Tools
Once you’ve located the lint filter inside your Whirlpool top loader, you’ll need the right tools to remove it without causing damage. First, unplug the washer to guarantee safety. Put on safety gloves to protect your hands from sharp edges and debris.
If the filter cover is secured with clips or screws, use pliers or a flathead screwdriver to carefully pry it open or loosen it. Avoid applying excessive force to prevent breaking the cover or filter components.
Once loosened, gently lift the filter out for cleaning.
Using proper tools minimizes the risk of damage and injury, and it helps assure a smooth removal process. Always handle the filter cover and lint filter with care during this step to maintain their integrity. It’s better to be gentle here to keep everything in good shape.
Handle With Care
Although you’ve already unplugged the washer and located the lint filter, you need to handle it with care to avoid damage. The filter is delicate, so follow these steps to remove it safely:
Handle the filter gently by supporting it with both hands to prevent accidental drops or breakage. Use gentle twisting or pulling motions to disengage the filter from its housing without forcing it.
If the filter feels stuck, avoid excessive force. Instead, wiggle it slightly or soak the surrounding area with water to loosen debris.
Clean the Lint Filter Thoroughly
After removing the lint filter from your Whirlpool top loader, rinse it thoroughly under warm running water to get rid of loose lint and debris.
Then, grab a soft brush or an old toothbrush to scrub away any stubborn lint or residue stuck on the filter’s surface.
If you still see buildup, soak the lint filter in warm water mixed with a mild detergent or vinegar for about 10 to 15 minutes. This helps loosen the grime effectively.
Once it’s soaked, rinse the filter again to wash away any leftover debris and cleaning agents.
Finally, dry the lint filter completely with a clean cloth before moving on.
Keeping the lint filter clean and dry not only helps it work better but also prevents blockages and keeps your washing cycles running smoothly.
Reinstall the Lint Filter and Test Your Washer
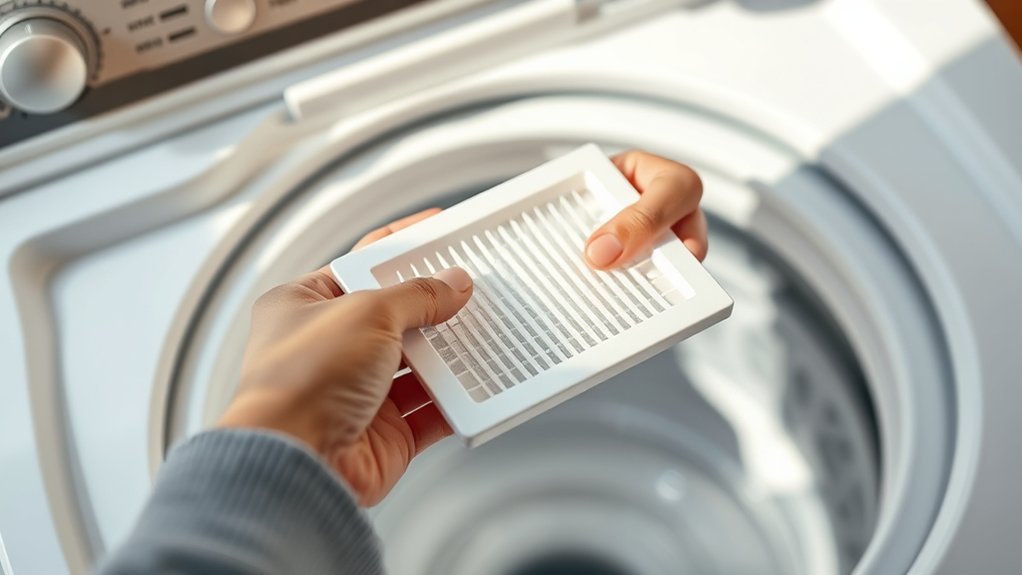
Before reinstalling the lint filter, make sure it’s completely dry to guarantee a secure fit.
To reinstall the lint filter correctly, follow these steps:
- Align the lint filter properly and twist it clockwise until it locks securely in place.
- Reattach any panels or components you removed to access the filter, making sure no debris or tools remain inside the housing.
- Plug in your washer and run a short rinse cycle to test its operation and check for leaks around the filter area.
After testing, perform a quick visual inspection to confirm the lint filter is correctly installed and your washer drains properly.
This helps ensure ideal performance and prevents any potential damage.
How Often Should You Clean the Lint Filter?
Once you’ve reinstalled and tested your lint filter, establishing a cleaning routine helps maintain your washer’s efficiency. The recommended cleaning frequency is at least once a month to prevent lint buildup that can impair drainage and reduce washing efficiency.
If your household handles heavy laundry loads or washes lint-heavy items like towels and blankets regularly, increase the cleaning frequency to every two weeks.
Watch for signs such as poor drainage or extended cycle times; these indicate the lint filter needs immediate attention.
Sticking to this schedule guarantees maximum performance and prevents malfunctions. Consistent maintenance of the lint filter directly supports your Whirlpool washing machine’s longevity and effectiveness.
Keep up with this routine, and you’ll keep your washer running smoothly with maximum washing efficiency.
Frequently Asked Questions
Can I Use Vinegar to Clean the Lint Filter?
Yes, you can use vinegar to clean the lint filter.
Soak the filter in a mixture of equal parts vinegar and water for 30 minutes to break down soap scum, lint, and mineral deposits.
After soaking, rinse the filter thoroughly with water to remove any residual acidity.
Make sure to check your Whirlpool manual first to verify that vinegar won’t damage your specific model.
Regular vinegar cleaning helps maintain filter performance and prevents odors.
It’s an easy and effective way to keep things running smoothly.
Will a Clogged Lint Filter Cause My Washer to Smell?
Yes, a clogged lint filter will cause your washer to smell. The trapped lint and debris hold moisture, encouraging mold, mildew, and bacterial growth that produce unpleasant odors.
Blocked filters also restrict drainage and airflow, leaving dampness inside the machine.
To prevent this, clean the lint filter regularly. This helps ensure proper water flow and ventilation.
Doing so keeps your washer smelling fresh and functioning efficiently.
How Do I Know if the Lint Filter Needs Replacement?
You’ll know the lint filter needs replacement if you spot tears, excessive buildup, or damage that cleaning can’t fix. If lint keeps appearing on clothes or the washer smells musty despite regular cleaning, replace it.
Also, check for reduced water flow or drainage issues after cleaning the filter. These signs mean it’s worn out or blocked beyond repair.
Don’t delay replacing a faulty filter to keep your washer running smoothly.
Can I Clean the Lint Filter Without Unplugging the Washer?
You generally shouldn’t clean the lint filter without unplugging the washer. Even if the filter is easy to reach, disconnecting the power gets rid of any electrical hazards. It’s just safer that way.
Some Whirlpool models might let you clean the filter with the machine off but still plugged in. But honestly, it’s always best to just unplug it first. Better safe than sorry!
Make sure to check your washer’s manual for specific instructions.
And if you ever need to open panels or internal parts, don’t skip unplugging. It helps avoid injury or damage.
Safety first!
Does Cleaning the Lint Filter Improve Drying Efficiency?
Of course, ignoring the lint filter doesn’t magically speed up drying—said no one ever. Cleaning your lint filter directly improves drying efficiency by ensuring proper airflow.
When you remove lint buildup, your dryer vents moisture effectively. This reduces drying time and energy use.
Regular maintenance also prevents overheating and fire risks.
It keeps your machine running safely and efficiently. So, make it a habit to clean that filter. You’ll save time, energy, and avoid potential headaches.
Conclusion
Regularly cleaning your Whirlpool top loader lint filter keeps your washer efficient and prevents clogs. For example, Sarah noticed her washer draining slowly. After cleaning the lint filter, performance improved immediately.
Follow the steps to locate, remove, clean, and reinstall the filter safely. Doing this every month or after several loads guarantees smooth operation and extends your machine’s lifespan. Don’t overlook this simple maintenance task. It saves time and costly repairs.