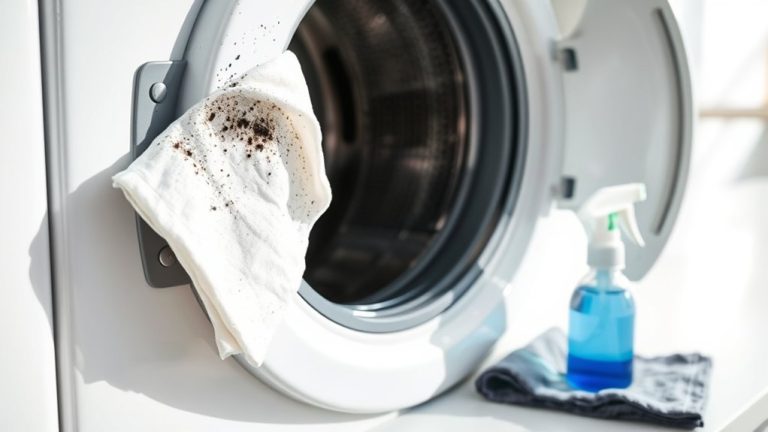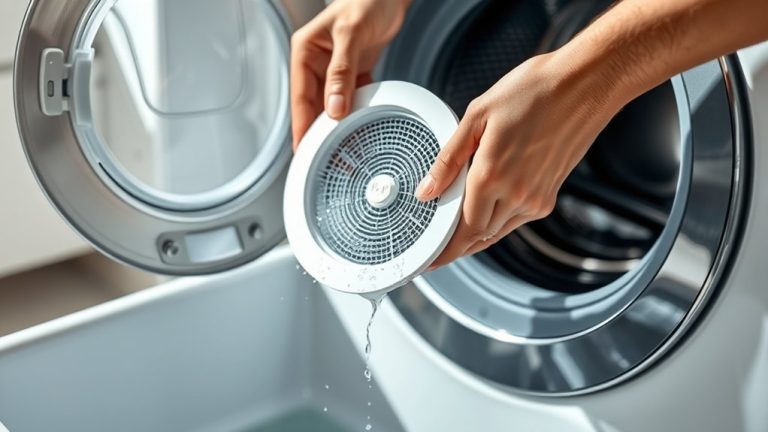
How To Clean Washing Machine Soap Dispenser – Guide
To clean your washing machine soap dispenser, first unplug the machine and carefully remove the drawer. Soak it in warm water and scrub gently with a soft brush using bicarbonate of soda and white vinegar to dissolve buildup. Rinse and dry thoroughly before reinserting to prevent mold and blockages.
Regular cleaning every few months keeps detergent flowing smoothly and maintains hygiene. Keep following these steps to master proper maintenance and guarantee your machine’s peak performance.
Why Cleaning Your Washing Machine Soap Dispenser Matters
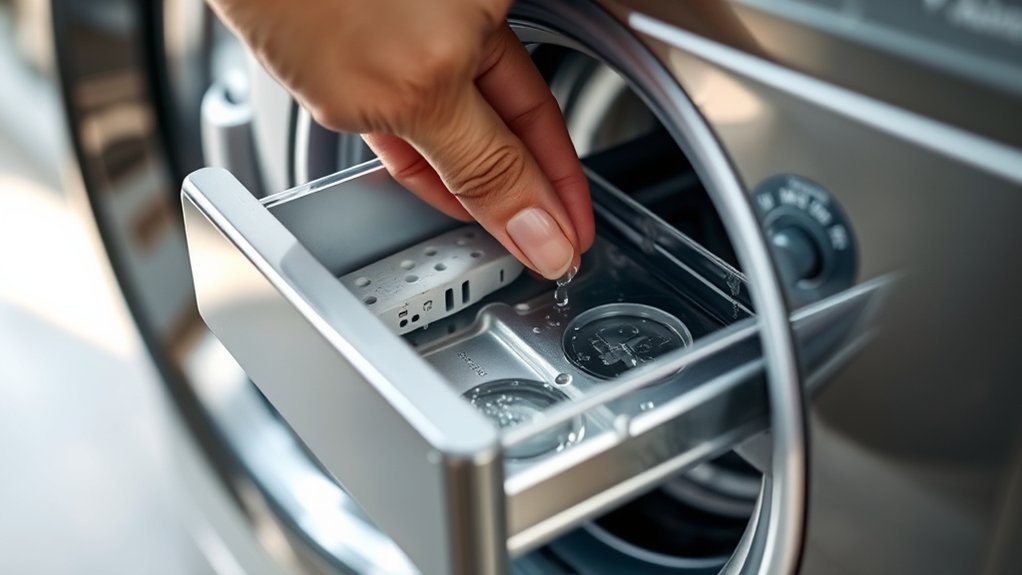
Although it might seem like a minor task, cleaning your washing machine soap dispenser regularly prevents detergent and fabric softener buildup that can block proper dispensing.
When residue accumulates, it restricts the flow of soap, reducing cleaning efficiency and potentially damaging internal components.
A clean dispenser also inhibits mold, mildew, and bacterial growth, preserving hygiene and preventing unpleasant odors in both your laundry and machine.
Neglecting maintenance leads to persistent blockages that compromise performance and longevity.
By ensuring the dispenser is free of deposits, you maintain *ideal* detergent delivery, which supports effective washing cycles and prolongs the machine’s lifespan.
Regular cleaning is essential to avoid operational issues and keep your laundry routine both hygienic and efficient.
Safely Removing Your Dispenser Drawer
Maintaining your washing machine’s soap dispenser starts with safely removing the dispenser drawer. First, always turn off and unplug your machine to prevent electrical hazards.
Next, locate the dispenser drawer and gently pull it straight out, adhering strictly to your manufacturer’s instructions to avoid damaging clips or guides.
Locate the dispenser drawer and gently pull it out, following your manufacturer’s guidelines to protect clips and guides.
Handle the dispenser drawer carefully, especially if it’s plastic or delicate, to prevent cracks. During removal, keep track of any small parts, screws, or clips you may encounter. These are essential for reassembly.
Since removal methods vary by model, consult your owner’s manual for specific steps. Following these precautions guarantees you can safely and effectively remove your dispenser drawer, preparing it for thorough cleaning without causing damage or operational issues.
Top Cleaning Products for Your Soap Dispenser Drawer
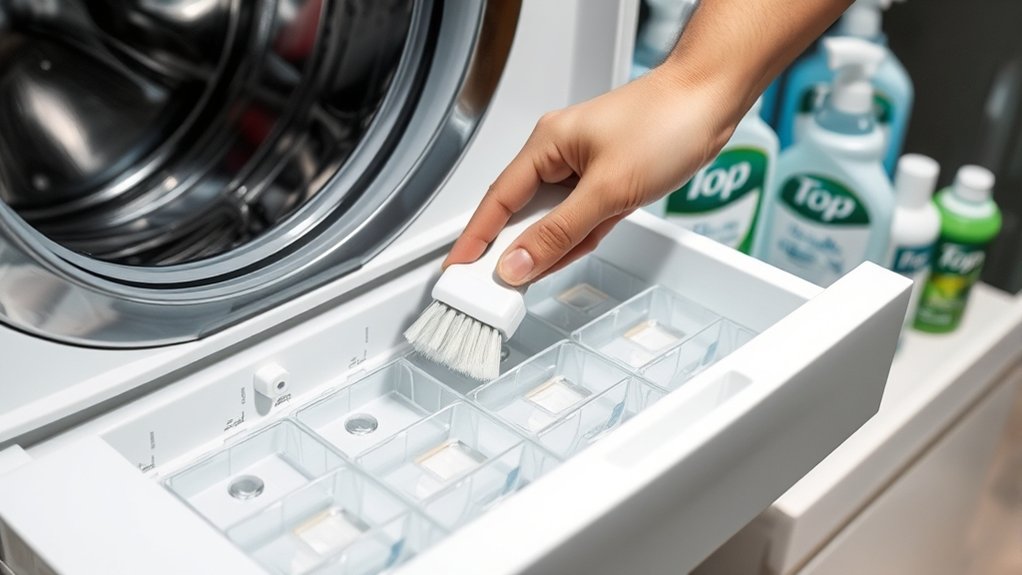
When cleaning your washing machine’s soap dispenser drawer, selecting the right products is essential. This helps effectively remove mold, bacteria, and residue without damaging the components. Use these top cleaning products to maintain hygiene and efficiency.
- Dettol Mould and Mildew Remover Spray targets and eliminates mold and mildew buildup within the drawer.
- Dettol Disinfectant Spray disinfects compartments, killing 99.9% of bacteria and neutralizing odors.
- Dettol Washing Machine Cleaner removes limescale, dirt, and detergent residue that accumulate over time.
Pair these cleaning products with microfiber cloths and non-abrasive brushes to clean surfaces gently without scratches. Regular application prevents stubborn deposits.
This way, your soap dispenser drawer stays fresh and fully functional.
Step-by-Step Cleaning Your Soap Dispenser Drawer
Start by carefully removing the soap dispenser drawer, making sure the machine is turned off to avoid any damage.
Once you have it out, use warm water and a soft brush to clean all the compartments.
If you notice any stubborn buildup, feel free to use some mild cleaning agents to help loosen it up.
After that, make sure to dry the drawer thoroughly before putting it back in.
This way, you’ll ensure it works properly every time.
Removing The Dispenser Drawer
Before removing the dispenser drawer, make sure you turn off and unplug your washing machine. This helps you avoid any electrical hazards. Safety first!
Next, follow these steps carefully to remove the dispenser drawer safely and efficiently.
- Gently pull the dispenser drawer outward. If you’re unsure, check your owner’s manual for specific instructions.
- Keep track of any small parts or screws you find during removal. This will make reinstallation easier.
- Handle the drawer delicately to avoid damaging its components or fittings.
After removing the drawer, take a moment to inspect it and the housing for mold, detergent buildup, or residue. Proper handling here is really important.
It helps keep the dispenser intact and ready for thorough cleaning in the next step.
Cleaning Techniques And Tools
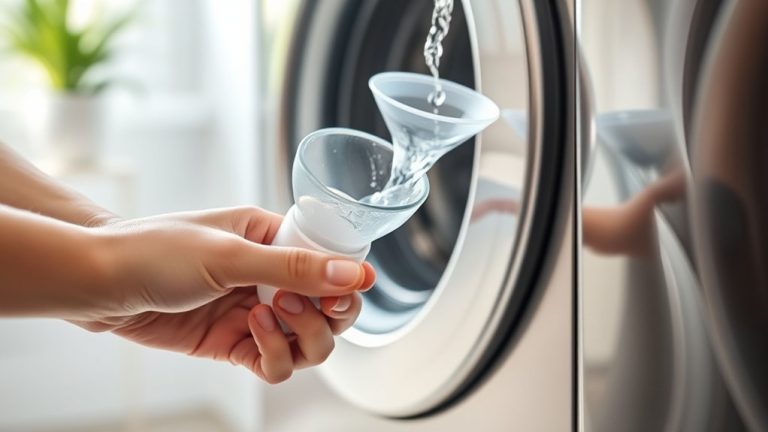
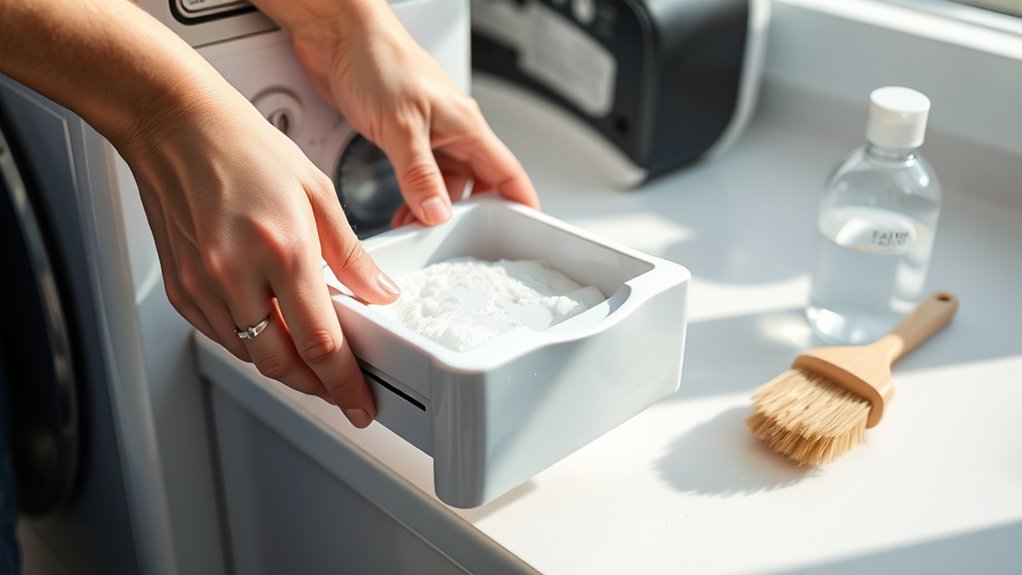
Once you’ve removed the soap dispenser drawer and inspected it for buildup, it’s time to clean it thoroughly. Start by soaking the drawer in warm water to loosen detergent and fabric softener residues.
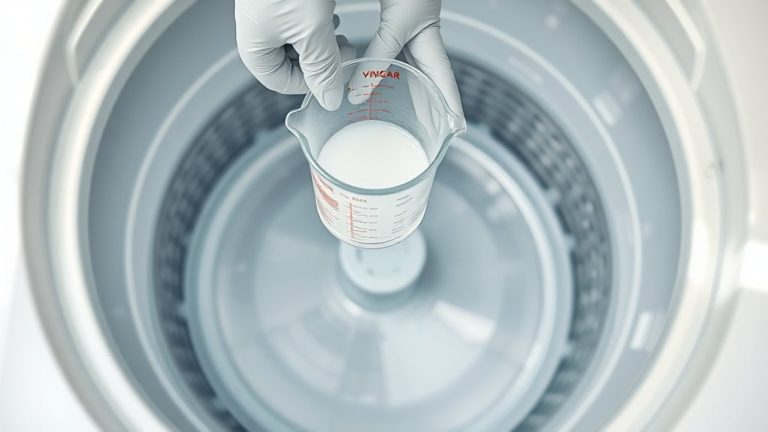
Next, prepare a cleaning solution of bicarbonate of soda and white vinegar. Apply it to the drawer and let it fizz — this helps break down mold and grime.
Use a soft brush to scrub all compartments carefully, especially the crevices where buildup tends to stick around.
Avoid abrasive tools since they might damage the surfaces. After scrubbing, rinse the drawer thoroughly with clean water to wash away all the cleaning agents and loosened debris.
Make sure to check every part for any leftover residue before moving on.
This step-by-step approach guarantees your soap dispenser drawer gets a deep, effective clean every time.
Drying And Reinstallation Steps
After thoroughly cleaning the soap dispenser drawer, you’ll want to dry it completely using a clean microfiber cloth to prevent mold and mildew buildup. Make sure the dispenser is fully dry, especially if it was soaked during cleaning, to avoid moisture retention.
Next, inspect the dispenser carefully for any residue or deposits that might hinder proper reinstallation.
Follow these steps for reinstallation:
- Confirm the dispenser is completely dry and free of debris.
- Align the dispenser according to the manufacturer’s guidelines to guarantee peak function.
- Reinsert the dispenser firmly into the washing machine, verifying it’s securely fitted to prevent leaks or malfunctions.
Completing these drying and reinstallation steps will maintain your dispenser’s performance and help prolong its lifespan.
How to Clean Your Soap Dispenser Naturally With Bicarbonate and Vinegar
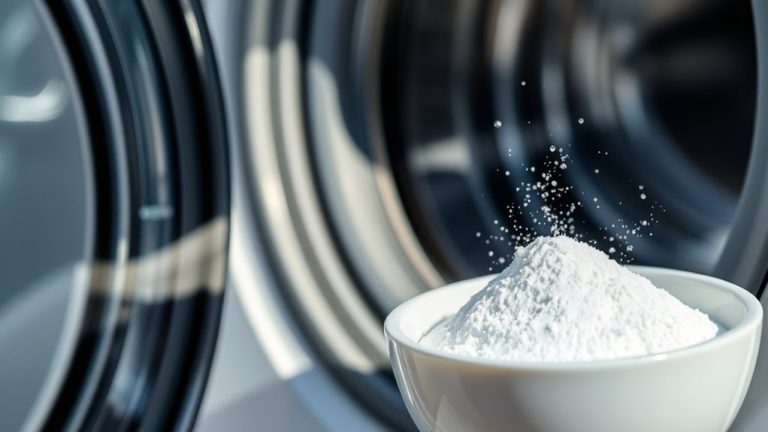
Although soap dispensers can accumulate stubborn grease and residue, you can effectively clean them using natural ingredients like bicarbonate of soda and white vinegar. Start by sprinkling bicarbonate inside the soap dispenser. This absorbs grease and residue naturally.
Next, spray white vinegar onto the bicarbonate; the fizzing reaction loosens buildup and disinfects. Let the mixture sit for a few minutes to maximize effectiveness.
Then, scrub the dispenser gently with a soft brush or cloth, focusing on all surfaces.
Rinse thoroughly with warm water to remove all loosened deposits and ensure no residue remains. Finally, wipe the dispenser dry with a microfiber cloth before reinserting it.
This natural cleaning method prevents mold and odor formation, keeping your soap dispenser hygienic and functioning at its best.
Cleaning the Dispenser Cavity and Surroundings
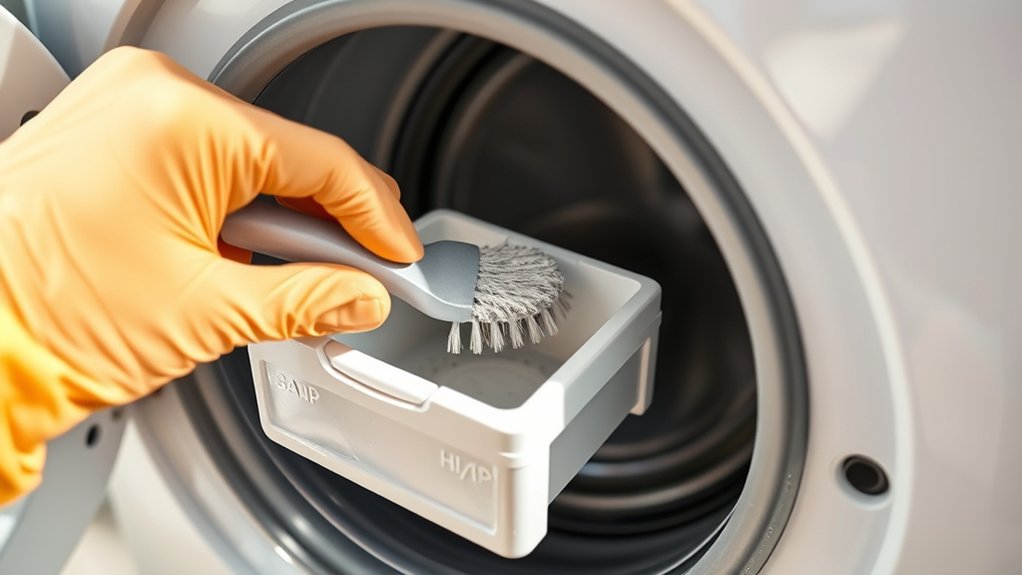
Start by removing any residue buildup inside the dispenser cavity using a soft brush soaked in a vinegar and bicarbonate solution. This helps break down stubborn deposits without damaging the surface.
After that, make sure to rinse everything thoroughly with warm water. It’s important to get rid of all the cleaning solution to prevent any leftover smells or mold.
Once you’ve rinsed, dry the area well with a microfiber cloth. Keeping it dry stops mold and odors from developing.
And don’t forget to check the cavity and its edges regularly. Doing this helps keep the detergent flowing smoothly and your washing machine running efficiently.
Removing Residue Build-Up
When you remove the soap dispenser from your washing machine, you get full access to the cavity and surrounding areas where residue builds up. This makes it easier to clean all those hidden spots.
To effectively remove build-up, start by soaking the dispenser and cavity in hot water. This helps loosen soap scum and other residue stuck inside. After soaking, use a soft brush or toothbrush to scrub away any stubborn deposits from the dispenser and the edges of the cavity.
You can also apply a mixture of bicarbonate of soda and vinegar to break down limescale and any leftover soap residue.
After you’ve treated everything, be sure to rinse thoroughly with water. Wipe it dry completely to stop residue from coming back.
Regular cleaning of the dispenser and its cavity keeps your detergent flowing smoothly. Plus, it helps prevent mold or blockages, so your washing machine stays efficient and runs better for longer.
Natural Cleaning Agents
Because residue and odors tend to accumulate in the dispenser cavity, using natural cleaning agents like bicarbonate of soda and white vinegar offers an effective solution.
Start by sprinkling bicarbonate of soda inside the cavity to neutralize odors and loosen grime. Next, spray white vinegar onto the bicarbonate. The resulting fizz helps dissolve limescale and mineral deposits.
These natural cleaning agents are safe and non-abrasive, so they won’t damage surfaces. Applying them regularly prevents soap scum, mould, and mildew buildup in both the cavity and surrounding areas.
Plus, using natural cleaning agents supports eco-friendly cleaning by reducing reliance on harsh chemicals.
Make sure to target all crevices for thorough cleaning. This way, your washing machine soap dispenser stays clean and odor-free.
Drying And Inspection
Although cleaning removes most residues, you should thoroughly dry the dispenser and surrounding cavity with a clean microfiber cloth to prevent mold growth. Moisture trapped in the dispenser cavity encourages mildew, so make sure every part is completely dry before reassembly.
After drying, take a close look at the cavity for any leftover deposits or damage that might affect performance.
Follow these steps for effective drying and inspection:
- Use a soft brush or cloth to clean around the dispenser cavity edges, removing leftover soap residue and debris.
- Wipe the dispenser and cavity thoroughly with a microfiber cloth until no moisture remains.
- Let the area air dry completely, or speed things up by using a dry cloth before reinstalling the dispenser.
This careful approach helps keep your dispenser clean and mold-free.
Drying and Reinstalling Your Soap Dispenser Drawer
Before reinstalling your soap dispenser drawer, make sure it’s completely dry by wiping it with a clean cloth. This helps prevent mold growth. Check that no residue or moisture remains in any compartment before reinserting it.
Align the dispenser drawer carefully with the guide rails, making sure all sections are properly seated. Then, press firmly until you hear a secure click—that means it’s locked in place.
Double-check that the drawer sits flush with the washing machine’s exterior to avoid leaks during operation.
Once the dispenser drawer is back in, keep an eye on it regularly. Make sure it fits well and stays clean to maintain the best washing performance.
Following these simple steps helps your dispenser work efficiently and extends the life of your washing machine’s detergent system.
Tips to Maintain and Prevent Buildup in Your Soap Dispenser
To maintain your washing machine’s soap dispenser and prevent buildup, clean it thoroughly every three months using hot water combined with natural agents like bicarbonate of soda and vinegar. This dissolves residues and keeps the dispenser functioning properly.
Clean your washing machine’s soap dispenser every three months with hot water, bicarbonate of soda, and vinegar to prevent buildup.
Also, leave the washing machine door open after cycles. This helps air circulate and reduces moisture that causes mold in the dispenser cavity.
Make sure to inspect and clean the dispenser and surrounding areas with a soft brush. This removes hidden soap deposits before they accumulate.
Finally, run maintenance wash cycles at 60°C using specialized cleaning products designed for washing machines. This helps prevent buildup and keeps the dispenser hygienic.
Frequently Asked Questions
Can I Run My Washing Machine Without the Soap Dispenser Drawer?
You shouldn’t run your washing machine without the soap dispenser drawer installed. Doing so can cause detergent and fabric softener to leak directly into the drum. This risks damage and improper cleaning.
Many machines rely on the drawer to distribute cleaning agents correctly and prevent water leaks inside the unit. Some models even have safety features that stop operation without the drawer.
So, it’s really important to keep it in place.
Always keep the soap drawer installed to guarantee proper function and avoid costly repairs. It’s a small part, but it plays a big role in how well your machine works.
How Often Should I Replace My Washing Machine Soap Dispenser?
You should swap your washing machine soap dispenser every 3 to 5 years to keep things running smoothly. Look out for signs like stubborn stains, splits, or soap spills—these usually mean it’s seriously damaged.
Being on the lookout and replacing it when needed helps avoid ongoing issues and ensures your detergent gets distributed properly. Sure, giving it a good scrub can extend its life a bit, but regularly changing it’s the best way to keep your machine efficient.
Plus, it stops soap scum from messing up your washing cycle’s success. So, staying on top of this little part can make a big difference!
What Causes Soap Dispenser Drawers to Get Moldy?
Soap dispenser drawers get moldy because moisture and detergent residue create a damp environment perfect for mold growth. If you don’t dry the drawer thoroughly after each wash, mold spores can easily develop.
Soap scum and organic debris act as food sources, accelerating mold formation.
Using low-temperature washes won’t kill spores, so mold can stick around.
To prevent mold, clean and dry the dispenser regularly. Make sure you remove any buildup and keep the area well-ventilated. That way, you’ll stop mold from taking hold.
Are There Any Washing Machine Models Without Removable Soap Drawers?
Imagine trying to clean a sealed jar without opening it. That’s how some washing machines feel if they don’t have removable soap drawers. Yes, certain front-loaders and streamlined models come with fixed dispensers to prevent leaks and simplify design.
You’ll need to run cleaning cycles with specialized solutions or manually wipe accessible areas.
Always check your user manual or manufacturer’s site to confirm your model’s dispenser type before attempting maintenance.
Can Harsh Chemicals Damage My Washing Machine Soap Dispenser?
Yes, harsh chemicals can damage your washing machine soap dispenser. They may degrade plastic or rubber parts, causing cracks or leaks. Over time, strong chemicals can discolor or weaken materials.
Solvents might break seals, which can lead to water leaks. Plus, residue buildup from harsh cleaners can block the dispenser’s functions too.
It’s best to always use manufacturer-recommended cleaning agents. This way, you avoid damaging the components and help ensure your dispenser stays functional and durable.
Taking care of it with the right products really makes a difference.
Conclusion
Keeping your washing machine soap dispenser clean is like giving your appliance a fresh breath. By regularly removing, scrubbing, and drying the drawer and cavity, you prevent buildup that can clog and damage your machine.
Use recommended cleaning agents or natural solutions like bicarbonate and vinegar for thorough care. Follow these steps consistently, and you’ll guarantee smooth detergent flow and extend your washer’s lifespan with minimal effort.
Clean dispensers mean efficient, spotless laundry every time. It’s an easy habit that really pays off!