How To Clean The Detergent Drawer In A Washing Machine – Guide
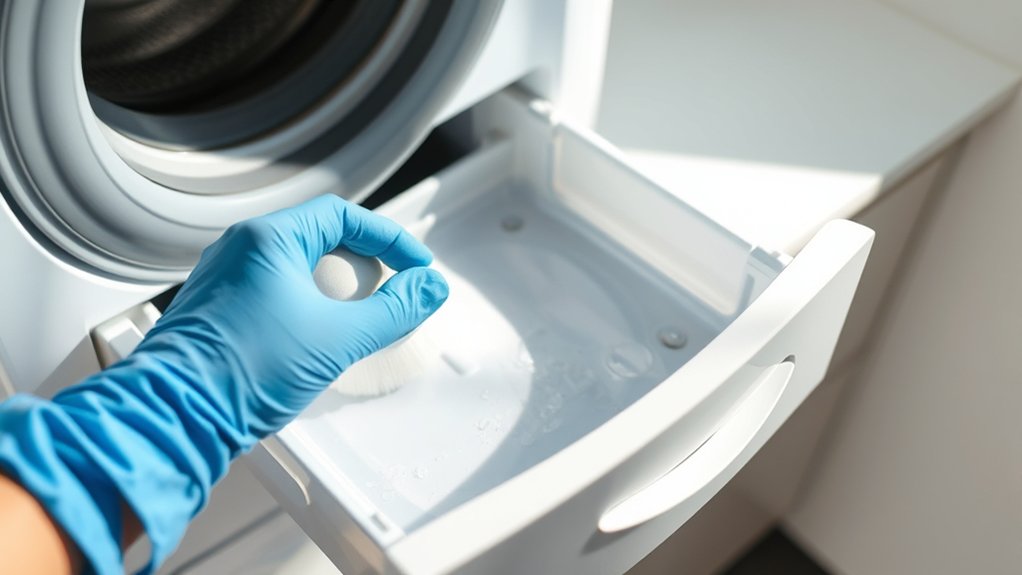
To clean your washing machine’s detergent drawer, first unplug the machine and carefully remove the drawer by pressing the release mechanism. Rinse it under warm water and scrub away residue with a soft brush.
If you run into stubborn buildup, soak the drawer in warm water mixed with vinegar and baking soda for about 15 to 30 minutes. After that, rinse it well and dry thoroughly before putting it back in.
Doing this regularly every few months helps prevent mold, odors, and other machine issues. Keep following to explore more detailed maintenance and prevention tips.
Why Cleaning Your Washing Machine’s Detergent Drawer Matters
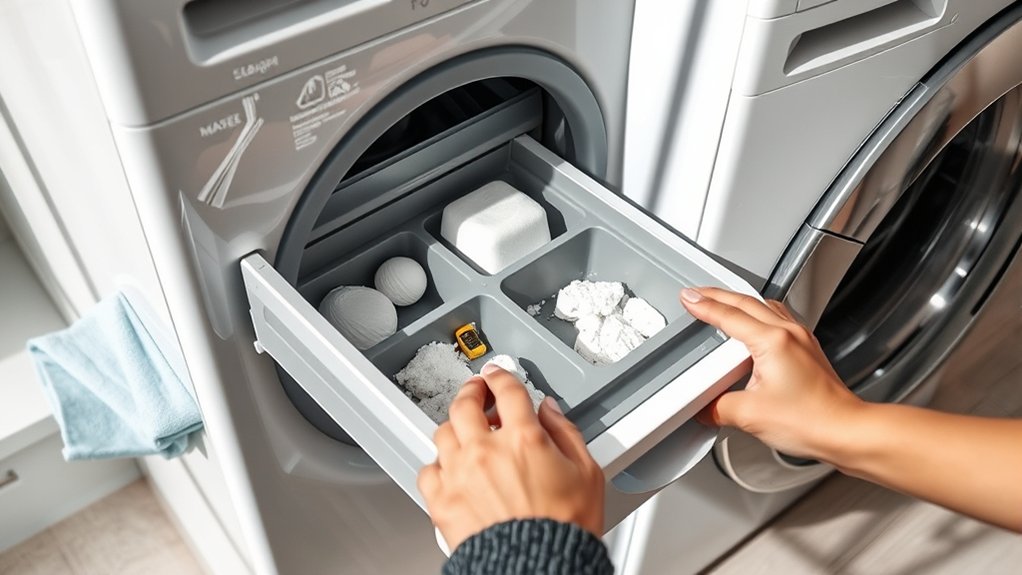
Although it might seem like a minor detail, cleaning your washing machine’s detergent drawer regularly prevents the buildup of detergent, fabric softener, and residue that can clog the system and lead to malfunctions.
Regular cleaning of the detergent drawer removes accumulated grime, mould, mildew, and bacteria. This not only prevents unpleasant odours but also stops stains from transferring onto your laundry.
Maintaining a clean detergent drawer guarantees your washing machine operates efficiently by reducing residue-induced blockages that could impair performance or cause damage. It also contributes to fresher, cleaner laundry with every wash cycle.
Safely Removing Your Washing Machine’s Detergent Drawer
Before you start removing your washing machine’s detergent drawer, make sure the machine is unplugged. It’s also a good idea to check the owner’s manual for any specific instructions related to your model.
When you’re ready, gently press any release mechanisms and carefully pull the drawer out. Take your time to avoid damaging the plastic parts or dislodging any components.
Also, keep an eye out for screws or clips that might need to be put back during reassembly to ensure everything works properly.
Detergent Drawer Removal
When you want to remove the detergent drawer from your washing machine, always turn off and unplug the appliance to guarantee safety.
Start the detergent drawer removal by gently pulling it out until you reach the release mechanism. Depending on your model, press or lift the release button as specified in the owner’s manual.
Some drawers may require a slight tilt or wiggle to fully disengage from the housing. Be cautious not to force it, as this can damage the drawer or the machine.
During removal, keep track of any small parts, like screws or springs, that might come loose.
Once removed, take a moment to inspect the drawer and surrounding area for buildup or damage. This way, you can clean or service it properly before putting everything back together.
Handling And Safety Tips
Since removing the detergent drawer involves handling small parts and potentially harsh cleaning agents, you should always disconnect your washing machine from power first to guarantee safety. This precaution prevents electrical hazards during maintenance.
When handling the drawer, avoid applying excessive force to prevent damage or breakage.
It’s a good idea to consult your owner’s manual for model-specific removal instructions to make sure you’re using the proper technique.
Keep track of any small parts, screws, or clips that may loosen during removal so you don’t lose them and reassembly goes smoothly.
If you use cleaning products, wearing gloves can protect your skin from irritants or harsh chemicals.
Prioritizing these handling and safety measures will help ensure a smooth, damage-free process.
Plus, it keeps both you and your appliance safe during detergent drawer cleaning.
Step-by-Step Guide to Cleaning the Detergent Drawer
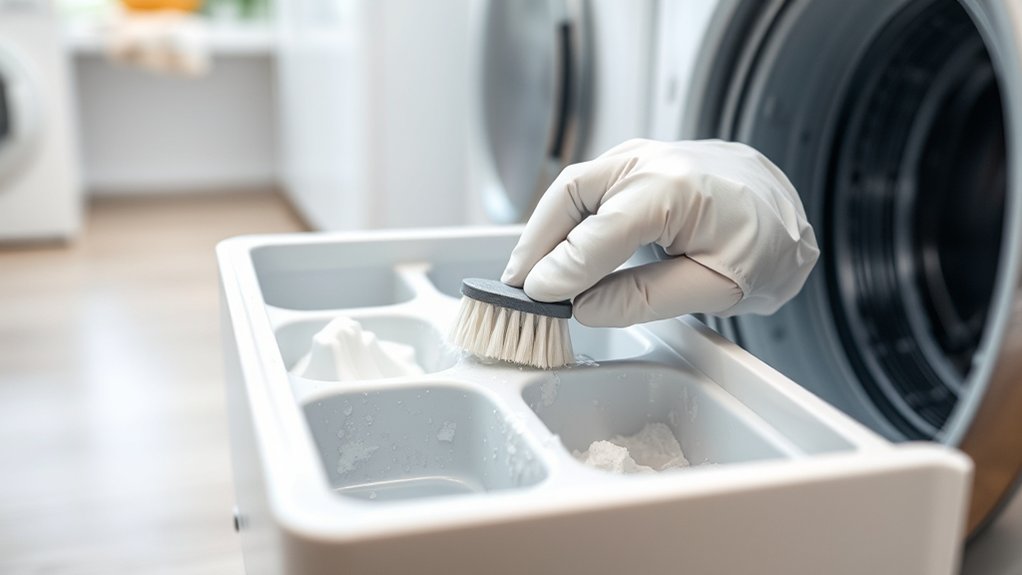
First, you’ll want to take out the detergent drawer following your machine’s instructions. Just make sure the appliance is unplugged before you start.
Once you’ve got the drawer out, give it a good rinse under warm water to wash away any leftover residue.
If you notice any stubborn buildup, grab a soft brush and gently scrub those areas.
After that, disinfect the spots that need it to keep everything fresh and clean.
When you’re done, dry the drawer thoroughly with a microfiber cloth, and then let it air dry completely before putting it back in.
Easy, right?
Removing The Drawer
Before you start cleaning, turn off your washing machine and carefully remove the detergent drawer by pulling it out or pressing the release tab. The removal method varies by model, so consult your owner’s manual if needed. Handle the detergent drawer gently to avoid damaging clips or tracks.
Keep track of any small parts or screws that may loosen during removal to guarantee correct reassembly. Once removed, rinse the drawer under warm water to help remove residue and prepare it for thorough cleaning.
Proper removal of the detergent drawer is essential to access hidden buildup, assuring effective cleaning and maintaining your washing machine’s performance. Avoid forcing the drawer, as this can cause damage or misalignment.
Cleaning And Drying
Once you’ve removed the detergent drawer and given it an initial rinse under warm water, focus on eliminating stubborn residue with a soft brush or non-abrasive cloth. This step is essential to remove detergent residue, fabric softener buildup, and mould deposits effectively.
To clean and dry the drawer properly, scrub all compartments, paying special attention to corners and nozzles where residue accumulates. Use a soft brush to avoid damaging the drawer’s surface. Rinse thoroughly to flush out loosened deposits.
Dry the drawer completely with a microfiber cloth to prevent mould growth. Then, allow it to air dry in a well-ventilated area for several hours to make sure all moisture evaporates.
Following this method guarantees your detergent drawer stays clean and functional, preventing blockages and unpleasant odors. It’s a simple routine that really keeps things fresh!
Soaking and Removing Stubborn Detergent Buildup
Although detergent drawers are designed to handle regular washing cycles, stubborn buildup can still accumulate. So, soaking is often needed to effectively loosen the residue.
To remove this, just submerge the detergent dispenser in warm water mixed with a cleaning solution for 15 to 30 minutes. This helps soften dried detergent and fabric softener deposits, making them easier to remove.
While it’s soaking, use a soft brush to gently break down any hardened residue. Just be careful not to damage the dispenser’s surface.
If the buildup is really persistent, try soaking the drawer in a vinegar and baking soda mixture. This combo works great for dissolving mineral deposits and mold.
After soaking, rinse the detergent dispenser thoroughly under running water to wash away all the loosened residue.
This simple routine keeps your detergent drawer clean and working well, so your washing machine performs at its best.
Drying and Reinstalling Your Detergent Drawer
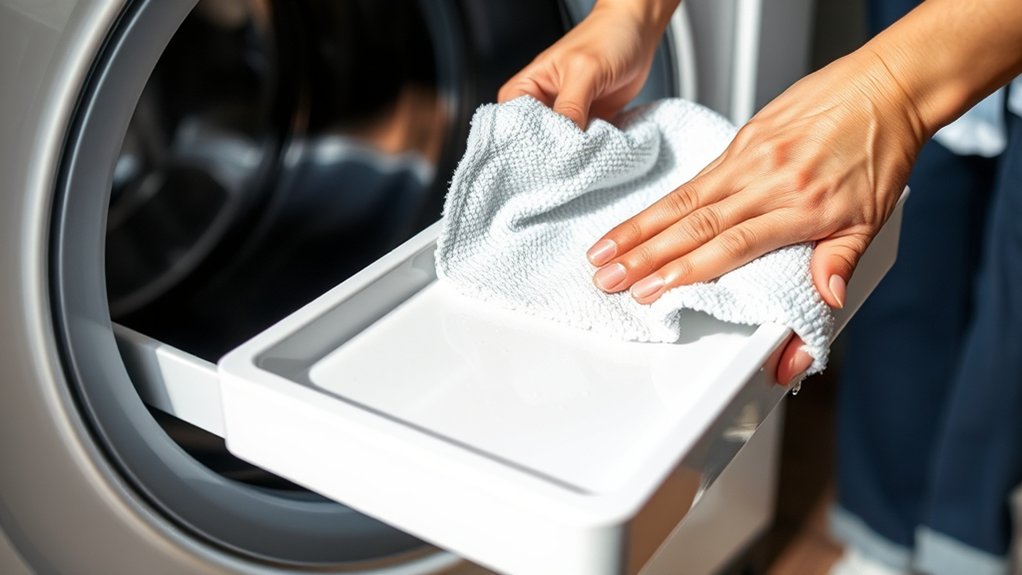
To prevent mold and mildew growth, make sure your detergent drawer is completely dry before putting it back into the washing machine. Proper drying and reinstallation help keep your machine running at its best and stay hygienic.
Start by using a clean, dry microfiber cloth to wipe down the drawer and the area around it. Check carefully to make sure no water or detergent residue is left in any of the compartments.
Use a dry microfiber cloth to thoroughly clean the drawer and surrounding areas, ensuring no water or detergent remains.
When you’re ready to put the drawer back, line it up carefully with its slots. Then, push it in firmly until you hear it click securely into place.
One more thing—leave the washing machine door open for a few hours after reinstalling the drawer. This helps the interior dry out completely and keeps things fresh.
Recommended Products for Cleaning Your Detergent Drawer
After thoroughly drying and reinstalling your detergent drawer, choosing the right cleaning products will really help keep it performing well and hygienic. Dettol Mould and Mildew Remover Spray is great for getting rid of mold, mildew, and those stubborn residues that often build up in detergent compartments.
When it comes to disinfection, Dettol Disinfectant Spray kills 99.9% of bacteria, so you can be sure your washing machine stays sanitary.
Plus, Dettol Washing Machine Cleaner targets limescale, dirt, and buildup right inside the detergent drawer.
To apply these products, use a microfiber cloth to gently wipe the surfaces without scratching the plastic.
If you’re dealing with tougher deposits, a non-abrasive brush works well for scrubbing without causing damage.
Using these recommended cleaning products and tools will help you maintain your detergent drawer thoroughly, which in turn prolongs its lifespan and keeps your washing machine running efficiently.
How Often to Clean Your Detergent Drawer for Best Results
You should clean your detergent drawer at least once every three months to prevent buildup and mold growth. This regular maintenance guarantees ideal detergent dispensing and washing machine efficiency. Adjust cleaning frequency based on your usage and water conditions.
Consider these maintenance tips for your detergent drawer:
- Clean monthly if you detect odors or residue.
- For hard water areas, clean every two to three months to prevent limescale.
- Heavy usage demands more frequent cleaning to avoid clogging.
- Remove and rinse the drawer thoroughly during each cleaning.
- Dry the drawer completely before reinserting to prevent moisture buildup.
Following these guidelines helps maintain your washing machine’s performance and extends its lifespan. It’s a simple step that really pays off in the long run.
How to Prevent Mold and Odors in the Detergent Drawer
Maintaining a clean detergent drawer goes beyond just regularly removing residue. Preventing mold and odors means developing some good habits. To keep mold at bay, make sure to clean the detergent drawer every three months, getting rid of any detergent and fabric softener buildup.
Regularly clean your detergent drawer every three months to prevent buildup and keep mold and odors away.
After each wash, leave the drawer slightly open. This lets air circulate and helps reduce moisture, which is what mold loves. You can also use mold and mildew removal sprays, like Dettol Mould and Mildew Remover, to get rid of any existing mold and stop it from coming back.
Make sure the drawer is completely dry after cleaning because moisture is a mold magnet. Plus, running maintenance wash cycles at around 60°C helps disinfect the area, cutting down on bacteria and mold growth.
Following these simple steps will keep your detergent drawer fresh and odor-free.
Maintenance Tips to Keep Your Detergent Drawer Fresh
Although regular cleaning every three months is essential, adopting consistent maintenance habits can really help keep your detergent drawer fresh for longer. Proper maintenance stops residue buildup, mould, and unpleasant odors, making sure your washing machine works efficiently.
To keep your detergent drawer fresh, try wiping the drawer and surrounding areas with a microfiber cloth after each wash to get rid of detergent residue. It’s a simple step but makes a big difference.
Also, using a disinfectant spray like Dettol Disinfectant every now and then helps eliminate mould, mildew, and bacteria. Running maintenance wash cycles at 60°C with a dedicated cleaner is another great way to prevent odors and bacterial growth.
Don’t forget to let the drawer air dry completely before putting it back in. This helps avoid moisture buildup that can cause problems.
It’s a good idea to check the drawer regularly for any signs of buildup or damage and take care of any issues right away.
Frequently Asked Questions
Can I Clean the Detergent Drawer Without Removing It From the Machine?
Yes, you can clean the detergent drawer without removing it if your washing machine has a release mechanism or access panel.
Just spray a suitable cleaning solution inside the drawer cavity and wipe it thoroughly to get rid of detergent residue.
Running a cleaning cycle also helps flush out any buildup.
That said, for a deeper clean, removing the drawer is usually more effective.
It gives you better access to all the nooks and crannies.
Always check your manufacturer’s instructions to see if in-place cleaning is supported for your model.
This way, you’ll know the best and safest way to keep your detergent drawer fresh.
What Should I Do if the Drawer Is Broken or Stuck?
If your detergent drawer is a locked gate, don’t force it open like a stubborn barrier. Instead, gently press the release button or wiggle it free, like easing open a jammed door.
Check for cracks, and use warm water or a penetrating lubricant to dissolve buildup.
If it’s broken beyond repair, consult your warranty or call a professional technician to replace it safely and prevent further damage.
Taking these steps can save you time and avoid making the problem worse. Just be patient and handle the drawer with care.
Is It Safe to Use Bleach to Clean the Detergent Drawer?
Yes, you can use bleach to clean the detergent drawer, but you must dilute it properly, about 1 part bleach to 10 parts water, to avoid damaging the plastic.
Use bleach sparingly and follow the manufacturer’s instructions carefully.
After cleaning, rinse the drawer thoroughly to eliminate any residual bleach. This helps prevent harm to your clothes and the machine.
Overusing bleach can cause discoloration or degradation over time, so exercise caution.
It’s always better to be safe than sorry when using strong chemicals.
Can Using Too Much Detergent Cause Buildup in the Drawer?
Absolutely, using too much detergent acts like a slow clog in your washing machine’s veins. Excess detergent creates residue buildup in the drawer, trapping moisture and promoting mold growth.
This buildup not only blocks detergent release but also attracts dirt and bacteria, causing unpleasant odors.
To keep your machine running efficiently, use the recommended detergent amount and clean the drawer regularly. This helps prevent deposits that impair performance and hygiene. It’s a simple habit that makes a big difference!
Will Cleaning the Drawer Improve My Washing Machine’s Overall Lifespan?
Yes, cleaning the detergent drawer will improve your washing machine’s overall lifespan. By removing detergent residue, fabric softener deposits, and preventing mold or mineral buildup, you reduce the risk of clogs and internal damage.
This maintenance guarantees smoother operation, prevents unpleasant odors, and avoids drainage issues. Regular cleaning protects internal components from corrosion and limescale.
Ultimately, this reduces repair costs and enhances the machine’s durability and performance over time. So, keeping that drawer clean is definitely worth the effort!
Conclusion
Keeping your washing machine’s detergent drawer clean isn’t just a chore. It’s actually the key to smooth operation and fresh laundry. By following these steps regularly, you’ll nip buildup and odors in the bud. This helps your machine run efficiently.
Remember, a stitch in time saves nine. A little consistent care now prevents bigger problems later. Stick to the recommended cleaning schedule and maintenance tips. That way, your detergent drawer will stay in tip-top shape for years to come.