How To Clean Whirlpool Cabrio Washing Machine Filter Top Loader – Guide
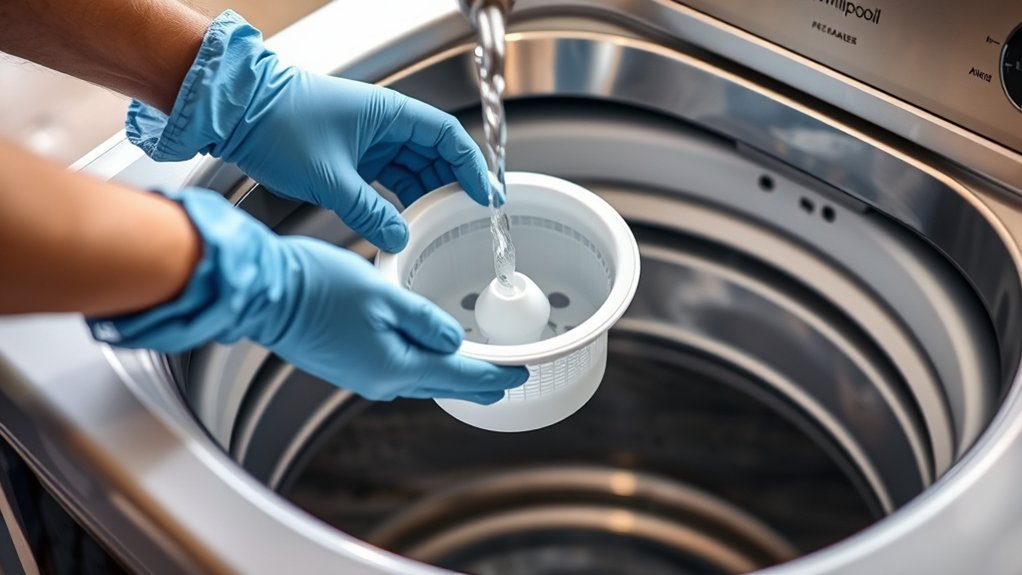
To clean your Whirlpool Cabrio top loader filter, first unplug the machine for safety. Locate the filter inside the agitator or behind the bottom front panel. Use a screwdriver to remove covers, then gently pull out the filter.
Soak it in warm water with vinegar or mild detergent, scrub with a soft brush, rinse thoroughly, and dry before reinserting. Regular filter cleaning prevents clogs, odors, and drainage issues.
Keep following for detailed steps and maintenance tips.
Why Cleaning Your Whirlpool Cabrio Filter Matters
Although it might seem like a minor task, cleaning the filter in your Whirlpool Cabrio Top Loader is vital to maintain peak washing performance. Regular filter maintenance prevents lint, hair, and debris buildup that can clog drainage systems and reduce efficiency.
Cleaning your Whirlpool Cabrio filter prevents clogs and ensures top washing performance.
When the filter clogs, water flow decreases, leading to longer wash cycles and higher energy consumption.
Neglecting this maintenance can cause unpleasant odors, as mold and bacteria accumulate in the filter area. Plus, a dirty filter puts extra stress on mechanical components, resulting in poor drainage and increased wear.
This can potentially cause costly repairs down the line.
By routinely cleaning the filter, you guarantee ideal water flow, prevent mechanical issues, and extend your washer’s lifespan. So, prioritize filter maintenance to keep your Cabrio running smoothly and efficiently.
It’s a simple step that makes a big difference!
Where to Find the Filter in Your Cabrio Washer
You’ll typically find the filter inside the agitator, right beneath the cap or liner, on most Whirlpool Cabrio top loaders. It’s pretty straightforward once you know where to look.
Some models, though, place the filter at the drum’s top rim. That way, you can access it easily without having to take anything apart.
Knowing these common spots really helps when it’s time to locate and clean the filter efficiently.
Filter Locations Overview
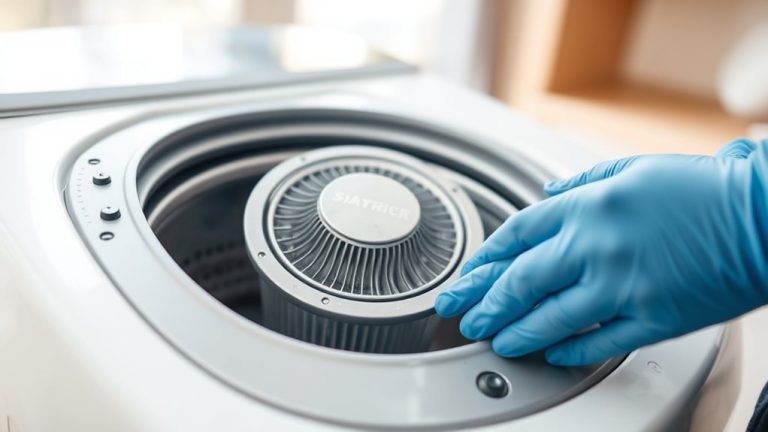
Where exactly is the filter located in your Whirlpool Cabrio top load washer? In most models, you’ll find the main filter inside the agitator, just beneath the central cap. Removing the agitator cap and unscrewing the bolt grants access.
Some models feature an additional filter accessible via a panel on the drum’s top rim. Moreover, the drain pump filter is located behind the bottom front panel. Always check your model’s manual to confirm locations.
| Filter Type | Location | Access Method |
|---|---|---|
| Agitator Filter | Inside agitator | Remove agitator cap, unscrew bolt |
| Drum Rim Filter | Top rim of drum | Open access panel |
| Drain Pump Filter | Bottom front behind panel | Remove front panel |
Knowing these locations ensures proper maintenance.
Inside The Agitator
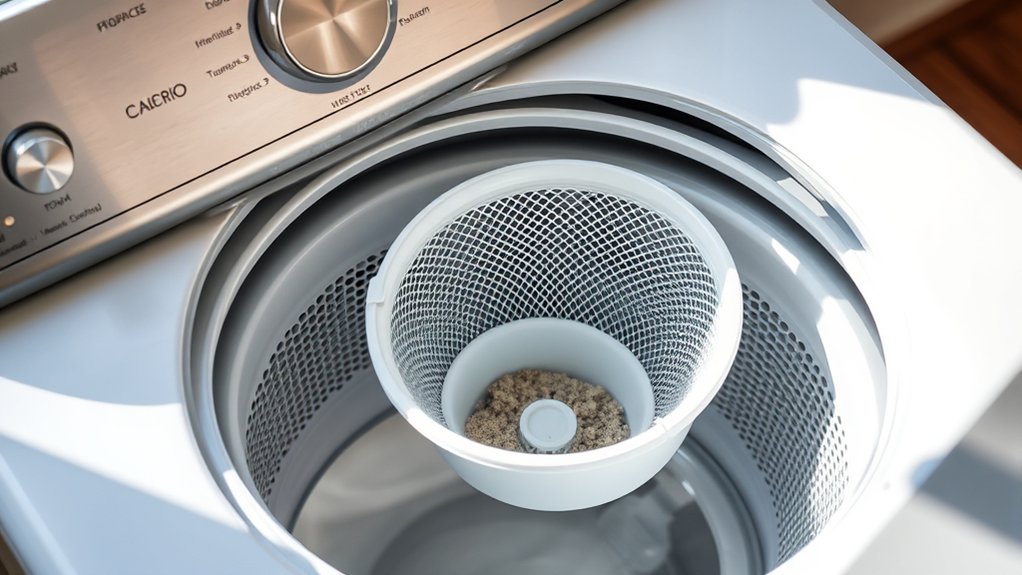
Among the various filter locations in your Whirlpool Cabrio top loader, the agitator houses a primary filter critical for trapping debris. You’ll find this filter inside the agitator, beneath the central cap.
To access it, carefully remove the agitator cap by unscrewing or prying it off.
Once exposed, the filter, typically a small mesh or lint trap, will be visible. It’s positioned at the bottom or side within the agitator.
This filter catches lint, hair, and other debris that might otherwise clog the drainage system.
Regularly inspecting and cleaning the agitator filter prevents blockages and ensures your washer runs efficiently.
Neglecting this component can lead to drainage problems and reduced performance.
Drum Rim Placement
Although some Whirlpool Cabrio top loader models house the filter inside the agitator, others place it around the drum rim for easier access. To locate the drum rim filter, inspect the top edge of the drum opening for a small access panel or slot.
This filter works closely with the drain pump to capture lint and debris, preventing clogs and ensuring proper drainage.
In some models, you may need to remove the agitator cap or trim ring to access the filter integrated into the drainage system. Regularly checking this area helps maintain ideal function and prevents buildup that can impair the drain pump’s efficiency.
Always consult your user manual for your specific model’s drum rim filter location and maintenance instructions to keep your Cabrio washer running smoothly.
Tools You’ll Need for Cleaning
You’ll need five essential tools to clean your Whirlpool Cabrio washing machine filter efficiently. Having the right tools makes sure you do a thorough job without damaging any parts.
First, grab a soft brush or an old toothbrush. Use it to gently scrub the filter, removing lint and stubborn debris without scratching it.
Start with a soft brush or old toothbrush to gently remove lint and debris without scratching the filter.
Next, a microfiber cloth is perfect for wiping down the filter housing and the surrounding areas. This helps prevent dirt buildup.
You’ll also want some warm water and mild detergent or white vinegar. Soak and rinse the filter thoroughly to dissolve grime and residues.
Oh, and keep a screwdriver handy just in case you need to remove the agitator cap or access panels.
These tools will help keep your filter working well and extend your washer’s lifespan.
How to Remove Your Whirlpool Cabrio Filter Safely
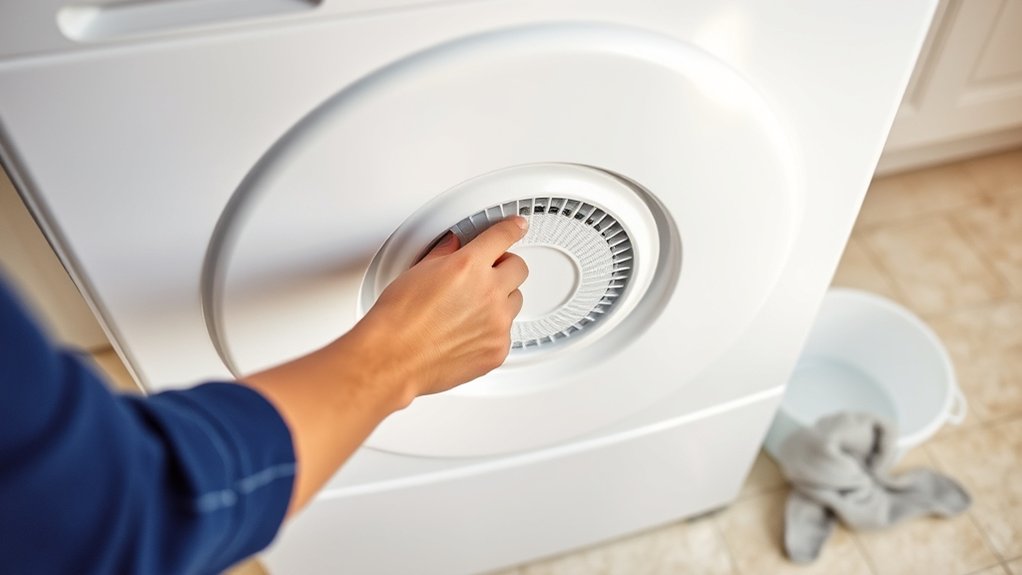
Before you start, make sure to unplug your Whirlpool Cabrio washer to avoid any risk of electrical shock.
Locate the filter, which is usually inside the agitator or near the drain pump, depending on your model.
If the filter is inside the agitator, carefully remove the agitator cap using a flat-head screwdriver if needed.
Gently take out the filter by unscrewing or pulling it out. Be careful not to damage any surrounding parts or cause water to spill.
Handle the filter with care to prevent any harm to the washer’s internal components.
Once it’s removed, you can go ahead and clean the filter thoroughly.
Always double-check that the filter is securely reinstalled before plugging the washer back in.
This helps keep everything running smoothly and prevents leaks.
How to Clean the Filter Thoroughly
Once you’ve removed the filter, carefully clear away any lint, debris, or buildup trapped in the mesh or screen.
After removing the filter, gently clear lint and debris trapped in the mesh or screen.
For effective cleaning, follow these steps:
- Soak the filter in a solution of warm water and vinegar or mild detergent for 10-15 minutes to loosen dirt and residue.
- Use a soft brush or an old toothbrush to scrub the filter thoroughly, focusing on small holes and crevices to remove stubborn deposits.
- Rinse the filter completely with clean water to ensure all debris and cleaning agents are washed away.
This method ensures the filter is free from blockages, which helps keep your washing machine running smoothly.
Proper cleaning also extends the life of your Whirlpool Cabrio filter and prevents drainage issues down the line.
Cleaning the Filter Housing and Surrounding Parts
First, unplug your washer to keep things safe.
Now, look for the filter housing—it’s usually inside the agitator or close to the drum rim. Once you find it, go ahead and remove the filter.
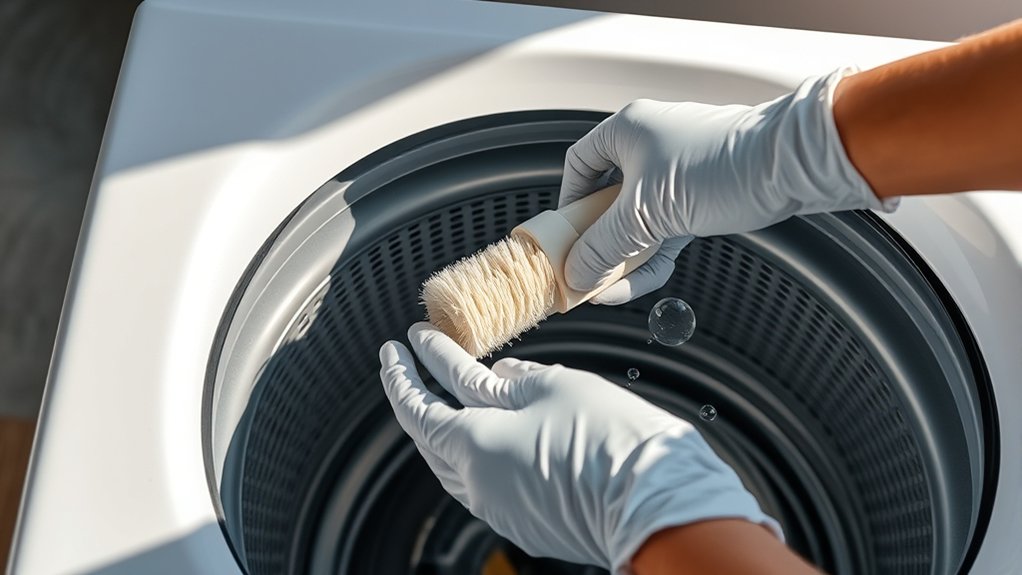
Next, grab a soft brush or a cloth and give the housing and the parts around it a good clean. You want to clear away any lint or debris that’s hanging out there.
Don’t forget to check the drainage holes too; making sure they’re clear helps keep the water flowing properly and stops any clogs from forming.
Filter Housing Maintenance
Two key areas where you’ll find the filter housing in your Whirlpool Cabrio top loader are inside the agitator or near the drain pump, depending on your model. Proper filter housing maintenance prevents clogs and guarantees efficient drainage.
Follow these steps:
- Remove the agitator cap or access panels with a screwdriver to expose the filter housing.
- Use a soft cloth or brush with warm water and mild detergent to clean lint, residue, and debris from the filter housing and surrounding parts.
- Dry the filter housing thoroughly before reassembling to prevent mold and odors, then run a short cleaning cycle to verify proper function.
Regular maintenance of the filter housing during your cleaning cycle extends your washer’s lifespan and keeps it running at its best. It’s a simple step that really pays off in the long run.
Cleaning Adjacent Components
Although you’ve cleaned the filter itself, you should also wipe down the surrounding filter housing and adjacent components to remove lint, detergent buildup, and debris. Use a soft brush or cloth to scrub the inside of the filter housing thoroughly, focusing on drainage holes and corners where residue tends to accumulate.
Rinse the area with warm water to flush out loosened particles. Inspect the surrounding components for mold or mildew, treating affected areas with a mild disinfectant if needed.
After cleaning, carefully reassemble the filter and housing, making sure all parts fit securely. This prevents leaks and maintains proper drainage.
Regularly cleaning these adjacent components helps keep your Whirlpool Cabrio top loader running smoothly and can even prolong its lifespan. It’s a simple step that really makes a difference!
How Often to Clean Your Whirlpool Cabrio Filter
How often should you clean your Whirlpool Cabrio top loader filter to keep it running efficiently? Regular filter cleaning is essential to prevent lint buildup and maintain optimal drainage. Here’s a quick guide to help you schedule your cleaning:
Regular cleaning of your Whirlpool Cabrio filter prevents lint buildup and ensures efficient drainage and performance.
Clean the filter every 3 to 6 months under normal use to ensure consistent performance.
For heavy laundry loads, increase cleaning frequency to every 2 to 3 months to avoid clogging.
If you detect longer wash cycles, odors, or poor drainage, clean the filter immediately to address potential blockages.
Following these intervals, along with regular inspections, will help you maintain your washer’s efficiency and extend its lifespan.
Always stick to the manufacturer’s recommendations when cleaning the filter. It’s worth the effort to keep your washer working smoothly!
When to Call a Professional for Filter Cleaning or Repairs
If you find the filter hard to reach or need to disassemble components beyond basic steps, calling a professional is the safest choice. Persistent drainage problems, abnormal noises, or foul odors after cleaning the filter also mean it’s time to get expert help.
If you’re unsure how to remove or reinstall the filter without causing damage, or if you face electrical issues after maintenance, a certified technician can ensure safe, effective repairs. Relying on a professional prevents further damage and helps your washer run smoothly.
| Issue | Cause | When to Call a Professional |
|---|---|---|
| Difficult filter access | Complex disassembly | Immediately |
| Drainage problems persist | Clogged or damaged filter | After DIY cleaning fails |
| Abnormal noises | Filter or mechanical faults | If noise continues after cleaning |
| Foul odors or mold | Incomplete cleaning | When odors persist post-cleaning |
| Electrical or operational faults | Post-filter maintenance | Immediately |
Frequently Asked Questions
Can I Use Vinegar to Clean the Whirlpool Cabrio Filter?
Yes, you can use vinegar to clean your Whirlpool Cabrio filter.
Soak the filter in a 50/50 mix of white vinegar and warm water for about 30 minutes to break down soap scum and mineral buildup. After soaking, rinse it thoroughly.
Running a hot water cycle with a cup of vinegar inside also helps disinfect the system. Just make sure to avoid applying undiluted vinegar directly on electronic parts or seals to prevent any damage.
It’s an easy and effective way to keep your filter clean!
Will Cleaning the Filter Affect My Washer’s Warranty?
Cleaning your Whirlpool Cabrio washer’s filter won’t affect your warranty as long as you follow the manufacturer’s instructions. You shouldn’t disassemble unauthorized parts or use harsh chemicals that could damage components. Always consult your user manual or Whirlpool customer service first to stay compliant.
Routine maintenance like filter cleaning is typically allowed, but repairs should be done by authorized service providers to keep your warranty valid and intact.
How Long Does It Take to Clean the Filter Completely?
Cleaning the Whirlpool Cabrio filter completely typically takes 20 to 30 minutes.
If you only need to rinse and wipe the filter without removing it, expect about 10 to 15 minutes.
The time can vary depending on how much debris has built up and how easy it’s to access.
A thorough scrubbing might add another 5 to 10 minutes.
If you need to take apart any parts to get to the filter or if you have to troubleshoot, be sure to set aside some extra time.
Getting your tools ready beforehand can really help speed up the process and make everything go smoothly.
Can I Wash Delicate Clothes Without Removing the Filter?
Yes, you can wash delicate clothes without removing the filter, as long as the filter is clean and free of debris. A clogged filter can cause poor wash performance and potentially damage fabrics.
To protect your delicate items, regularly inspect and clean the filter according to the manufacturer’s guidelines. This guarantees ideal water flow and prevents lint buildup.
It helps maintain both your clothes and your Whirlpool Cabrio washer in good condition.
Does Cleaning the Filter Improve Energy Efficiency?
Oh sure, cleaning the filter won’t improve energy efficiency if you enjoy wasting electricity.
In reality, when you keep your washer’s filter clean, it reduces the machine’s workload by preventing clogs and drainage issues. This guarantees ideal water flow and proper cycle times, cutting unnecessary energy use.
Conclusion
Keeping your Whirlpool Cabrio filter clean isn’t just a good idea. It’s really the heart and soul of maintaining your washer’s performance. By regularly removing and cleaning the filter and its housing, you’ll avoid buildup that can cause issues down the line.
Stick to the recommended schedule, and don’t hesitate to call a professional if things get out of hand. Remember, a stitch in time saves nine when it comes to washer maintenance. Taking care of it now can save you a lot of trouble later on.