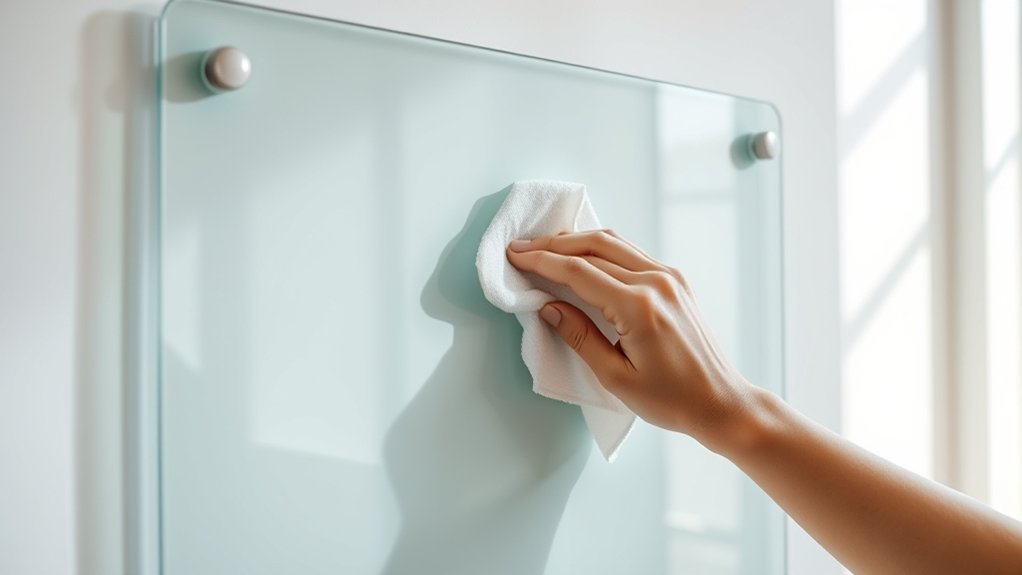
How To Clean Glass Dry Erase Board – Easy Guide
To clean your glass dry erase board, gather microfiber cloths, a glass cleaner or vinegar solution, and a dry eraser. Start by erasing the ink first. If you see any stubborn marks, cover them with a fresh marker before wiping.
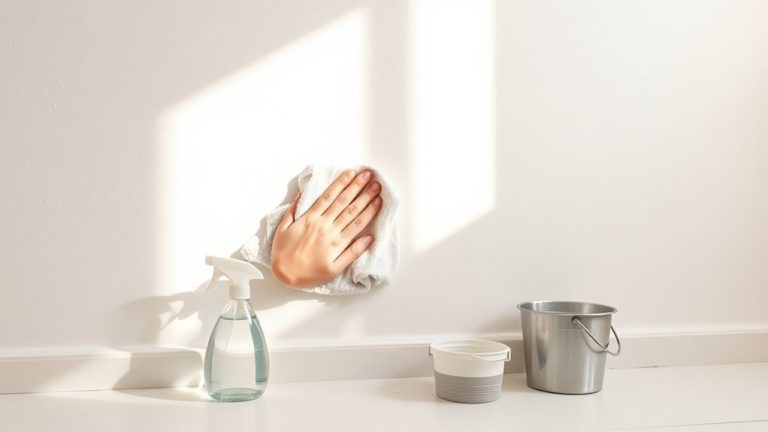
Spray the cleaner lightly on the cloth—not directly on the board—and wipe in straight motions to avoid streaks. Make sure to dry the board thoroughly with a lint-free cloth. Then, buff gently for a nice shine.
Regular cleaning helps prevent ghosting and keeps your board clear. Keep reading to discover effective stain removal and maintenance tips.
Gather the Right Supplies for Cleaning Your Glass Board
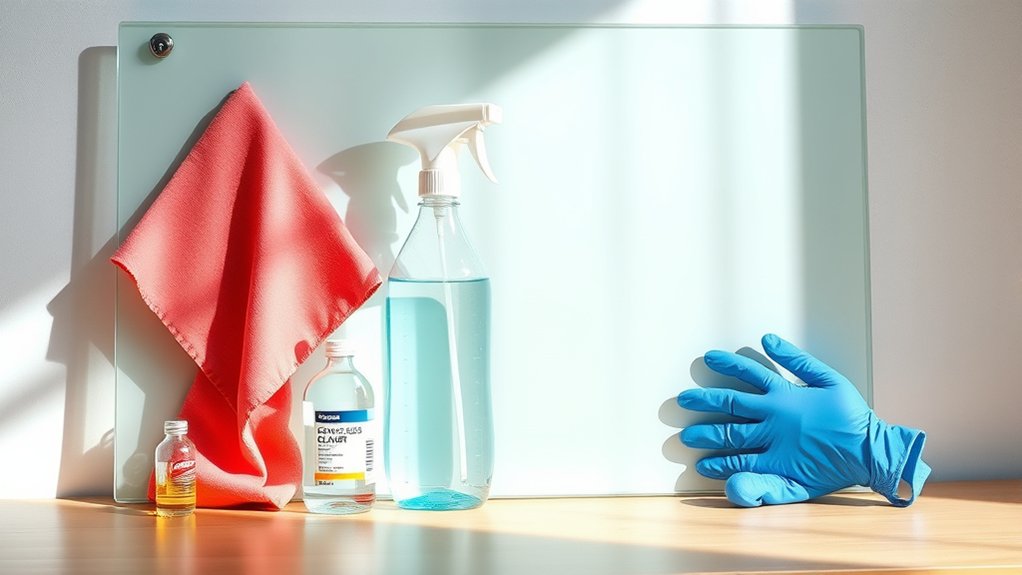
To clean your glass dry erase board effectively, start by gathering five essential supplies: a microfiber cloth or soft towel to avoid scratches, a glass cleaner or vinegar-based solution to tackle smudges, a dry or microfiber eraser designed for glass boards, a spray bottle for even application, and professional tools like a razor blade or lighter fluid for stubborn residue.
Use a microfiber cloth to gently wipe the glass surface without causing damage. Fill the spray bottle with your chosen cleaning solution to guarantee controlled, uniform coverage that prevents streaks.
For residue removal, rely first on the eraser and microfiber cloth.
If needed, carefully use professional tools. Having these supplies ready guarantees precise, efficient cleaning every time. It really makes the whole process easier and leaves your board looking great.
How Do You Erase Dry Erase Ink Properly on a Glass Board?
To erase dry erase ink properly on your glass board, start by using a clean microfiber cloth. It works best when paired with high-quality markers because they help prevent residue and ghosting.
If you come across any stubborn stains, here’s a neat trick: cover them with a fresh marker, wait a few seconds, then gently wipe in circular motions. This usually does the trick.
But if some marks still won’t budge, don’t worry. Just lightly apply a bit of glass cleaner to your cloth before wiping. This way, you protect the surface and keep your board looking crystal clear.
Best Erasing Tools
Although it may seem simple, erasing dry erase ink from a glass board requires the right tools to avoid damage and assure a spotless surface. To erase effectively, choose tools designed specifically for glass boards and maintain them properly.
Use these best erasing tools:
- High-quality dry erase eraser made for glass boards to prevent scratches
- Microfiber cloths lightly dampened with whiteboard cleaner or isopropyl alcohol for stubborn marks
- Clean erasers regularly by washing and drying to keep them efficient
- Avoid abrasive materials or sharp objects that can damage the glass surface
Always erase when the ink is fully dry to prevent smudging. Using the right tools guarantees your glass board stays clean and scratch-free. It’s really all about picking the right stuff and taking good care of it.
Removing Ink Residue
How do you effectively remove ink residue from a glass dry erase board without causing damage? Begin by covering any stubborn stains or permanent ink completely with a high-quality dry erase marker. Wait about five seconds, then wipe it off using a clean microfiber cloth. This method lifts most ink residue without harming the surface.
For more persistent marks, apply a small amount of denatured alcohol or a dedicated glass cleaner to a soft cloth and gently rub the affected area. Avoid abrasive tools or harsh chemicals, as they can scratch the glass.
Always test your chosen cleaner on a small, hidden spot first to prevent streaking or damage.
Using these precise steps guarantees your glass board stays clean and clear, free of stubborn stains and ink residue. It’s pretty straightforward, and your board will look as good as new in no time.
Preventing Ghosting Marks
Since dry erase ink can quickly embed itself into glass surfaces, you should erase marks promptly to prevent ghosting. To properly erase and maintain your glass dry erase board, follow these steps:
Use a soft microfiber cloth or an eraser designed specifically for glass to avoid scratches. Wipe in straight lines or gentle back-and-forth motions instead of circular rubbing to effectively remove ink.
For stubborn marks, apply a small amount of glass cleaner or isopropyl alcohol to your cloth before wiping.
Avoid abrasive tools and excessive pressure, as they can damage the surface and worsen ghosting.
Consistent, careful cleaning helps keep your glass board clear and free from ghosting. This way, your writing stays vivid and easy to erase.
Pick the Best Cleaning Solutions for Your Glass Board
When choosing a cleaning solution for your glass dry erase board, you want to balance effectiveness with surface safety. For routine cleaning, mild, non-abrasive solutions like water mixed with a few drops of dish soap work well to keep glass boards streak-free without damage.
For tougher residue, isopropyl alcohol (70%) is your best bet. It deep cleans without harming the surface. Vinegar-based cleaners also help reduce streaking and maintain clarity.
Avoid harsh chemicals like ammonia or bleach, as they can degrade the glass over time. You can also consider specialized glass board cleaners designed to lift dry-erase ink and preserve shine.
Picking the right cleaning solutions guarantees your board stays clear, functional, and free from ghosting marks. It’s all about keeping your board looking great and ready to use whenever you need it.
Step-by-Step Guide to Cleaning Your Glass Dry Erase Board
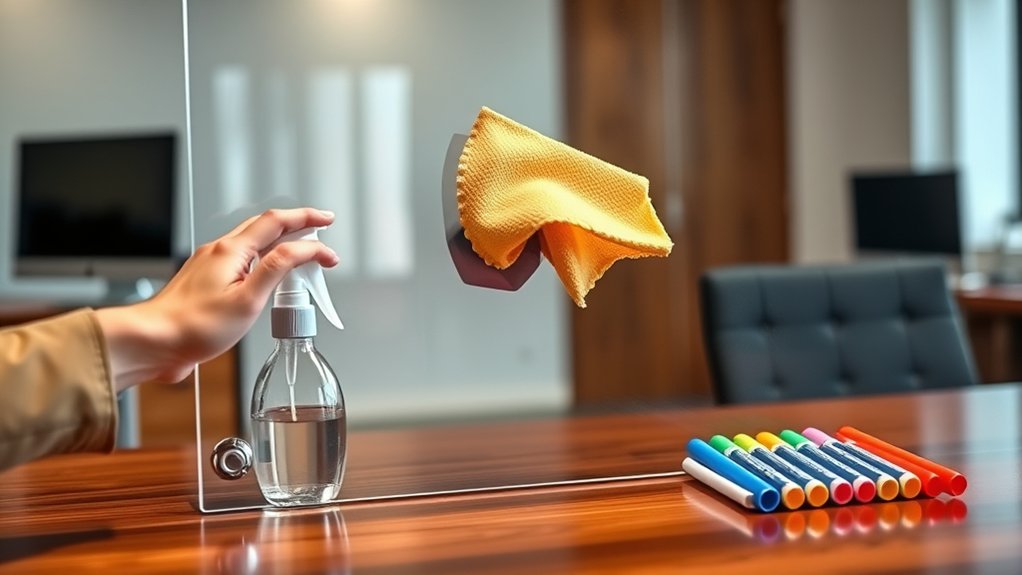
First, gather all the cleaning materials you’ll need—things like a soft eraser, a glass cleaner or a vinegar solution, and some microfiber cloths.
Once you have everything ready, go ahead and apply the cleaning solution evenly across the board.
Then, wipe the surface thoroughly to get rid of any marks and dust.
Finally, make sure to dry the board completely. This will help prevent streaks and keep it looking clear for a long time.
Preparing Cleaning Materials
Before you clean your glass dry erase board, gather all necessary materials to guarantee an efficient process. Preparing your cleaning tools ensures a smooth, streak-free finish while protecting the glass surface.
Start by selecting a soft microfiber cloth, which won’t scratch or damage the board.
Choose an appropriate cleaning solution, either a commercial glass cleaner or a vinegar-based mix.
Finally, have a dry towel ready to remove moisture and prevent streaks.
Prepare the following items:
- A clean, soft microfiber cloth
- A suitable glass cleaner or vinegar-based solution
- A dry towel for finishing touches
- Clean water to dampen the cloth if needed
Make sure all materials are free from dirt or debris before you start.
This preparation sets the stage for effective cleaning without damaging your board.
Applying Cleaning Solution
Although applying the cleaning solution may seem straightforward, doing it correctly guarantees a streak-free, spotless finish. Start by shaking the glass cleaner well to guarantee an even consistency.
Hold the spray bottle about 6-8 inches from the surface, then spray the cleaning solution in a smooth, sweeping motion. This light, even application covers the entire glass dry erase board without oversaturating.
Avoid applying too much pressure or spraying excessively, as this can cause streaks or leave residue behind. After you apply the cleaning solution, let it sit for a few seconds to loosen marker residue and dirt.
This step prepares the surface for effective removal in the next phase, making sure your glass dry erase board looks clean and clear.
Drying And Maintenance
Once you’ve applied the cleaning solution, use a clean, dry microfiber cloth to wipe the glass surface thoroughly. This helps prevent streaks and residue.
Then, dry the board completely with a second microfiber towel to avoid ghosting and staining from marker ink.
Don’t leave any moisture behind because it can cause smudging during your next use. To keep your board looking great and lasting longer, inspect and dry it regularly.
- Always use a clean, dry microfiber cloth for wiping
- Dry immediately after cleaning to remove any leftover moisture
- Check the surface regularly for streaks or smudges
- Avoid using abrasive materials that can scratch the glass
Following these steps guarantees your glass dry erase board stays pristine between uses.
How to Remove Ink Stains and Adhesive Residue From Glass Boards
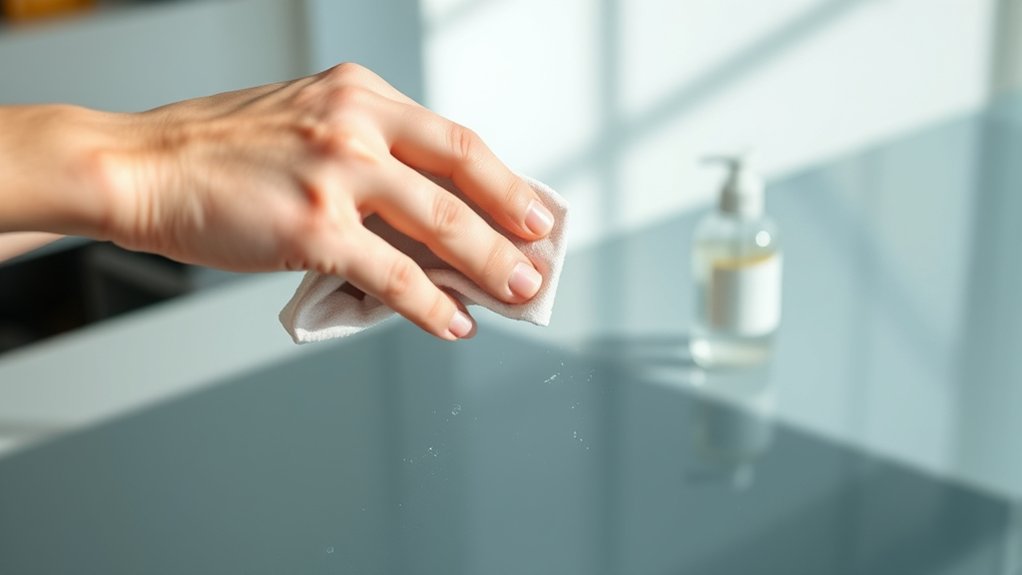
When ink stains or adhesive residue appear on your glass dry erase board, you can remove them effectively with the right approach.
For ink stains, dampen a microfiber cloth with glass cleaner or denatured alcohol and gently wipe the surface. Avoid abrasive tools to prevent scratches.
If adhesive residue lingers, apply a small amount of lighter fluid or a specialized adhesive remover on a soft cloth, then clean the affected area thoroughly.
Always test cleaning solutions on an inconspicuous spot first to avoid damage or discoloration.
After using chemical removers, rinse the area with water to eliminate any leftover residue or fumes.
Following these steps guarantees you safely restore your glass board’s clarity without harming its surface.
Tips for Drying and Polishing Your Glass Board Without Streaks
After removing ink stains and adhesive residue, drying and polishing your glass dry erase board properly guarantees a clear, streak-free surface.
Use a dry, lint-free microfiber cloth for drying immediately after cleaning to prevent streaks. Then, buff the surface gently with a second clean microfiber cloth to polish and enhance shine.
Avoid paper towels or abrasive materials, as they can leave lint or scratches that cause streaks.
For an ideal polished finish, lightly mist distilled water or a glass cleaner before drying.
Always dry in circular motions to distribute moisture evenly and avoid streaks.
Use lint-free microfiber cloths exclusively. Dry immediately after cleaning. Mist with distilled water or glass cleaner before polishing. Employ circular motions for drying and polishing.
How Often Should You Clean Your Glass Whiteboard?
You should clean your glass whiteboard at least once a week to keep it clear and looking its best. Establishing a consistent cleaning frequency is essential for effective whiteboard maintenance.
Daily erasing after each use prevents ghosting and minimizes ink residue buildup, reducing the need for frequent deep cleaning.
In busy settings, consider cleaning every 2-3 days to maintain a pristine surface. Regular cleaning removes marker traces that cause staining and streaking, preserving your board’s clarity.
Also, perform a thorough deep clean monthly or as needed, depending on usage and visible residue.
Common Cleaning Mistakes to Avoid on Glass Boards
Although glass dry erase boards are durable, certain cleaning errors can quickly degrade their surface quality. To keep your board pristine, avoid these common mistakes that cause damage and streaks.
For example, using abrasive cleaners or scrub pads can scratch and dull the glass surface. Also, spraying excessive cleaning solution directly onto the board often leaves streaks and residue behind.
It’s important not to ignore manufacturer guidelines because using unsuitable products may lead to clouding or discoloration. And don’t forget to thoroughly dry the board after cleaning to prevent streaks and dust buildup.
Try to steer clear of harsh chemicals like ammonia or bleach since they weaken the glass clarity over time.
How Do You Remove Permanent Marker From Glass Dry Erase Boards?
If you’ve got permanent marker on your glass dry erase board, don’t worry—it’s easier to fix than you might think. First, grab a dry erase marker and scribble right over the permanent ink. Let it sit for a few seconds, then wipe it off. You’ll often find that the fresh marker lifts the old stain away.
If there’s still some stubborn residue hanging around, try using a microfiber cloth dampened with denatured alcohol or a glass cleaner. Just gently rub the area, and the ink should come off.
For those really tough spots, spraying a little WD-40 before you clean can do the trick. Just remember to avoid anything abrasive so you don’t scratch the glass surface.
Permanent Marker Removal
Three simple methods can effectively remove permanent marker stains from glass dry erase boards.
First, cover the permanent marker completely with a dry erase marker. Wait about 5 seconds, then erase with a microfiber cloth.
Second, use denatured alcohol or a glass cleaner to safely dissolve stubborn marks.
Third, apply WD-40 carefully, then rinse thoroughly to avoid any oily residue.
If the stains are older, repeating the dry erase marker layering and wiping can help lighten them.
Use a quality dry erase marker to cover permanent marker stains. Then, wipe gently with a microfiber cloth after a short wait.
For tougher spots, applying denatured alcohol or glass cleaner works well.
Just avoid abrasive tools or harsh chemicals to protect the glass surface.
These methods guarantee effective cleaning without damaging the glass.
Alternative Cleaning Methods
When you need to remove permanent marker from a glass dry erase board, you can rely on several alternative cleaning methods that are both effective and safe. Start by covering the stain with a high-quality dry erase marker, then wipe it off after 5 seconds for easy removal.
For stubborn marks, try using denatured alcohol, WD-40 followed by glass cleaner, or dedicated glass cleaning solutions. Just avoid abrasive tools to prevent damage. These options ensure deep cleaning without harming the board’s surface.
| Method | Cleaning Solution | Notes |
|---|---|---|
| Dry Erase Marker | Ink from marker itself | Best initial approach |
| Denatured Alcohol | Alcohol-based cleaner | Effective on tough stains |
| WD-40 | Oil-based lubricant | Follow with glass cleaner |
| Glass Cleaner | Commercial cleaner | Removes residues safely |
| Avoid Abrasives | N/A | Prevents scratches on glass |
Simple Tips to Maintain Your Glass Board’s Shine and Longevity
Although glass dry erase boards are durable, maintaining their shine and clarity takes consistent care. To keep your glass board looking its best, focus on proper cleaning and routine maintenance.
Glass dry erase boards stay bright and clear with regular cleaning and consistent care.
Avoid streaks and dullness by following these simple tips: wipe the glass surface regularly with a microfiber cloth and a vinegar-based cleaner to reduce streaks. Also, avoid abrasive or harsh chemicals that can scratch or damage the glass finish.
Make sure to dry the board thoroughly after cleaning to prevent water spots and ghosting.
Try to erase markers immediately and clean the board weekly to extend its lifespan and keep it looking great.
Frequently Asked Questions
Can I Use Vinegar to Clean My Glass Dry Erase Board?
Yes, you can use vinegar to clean your glass dry erase board. Mix equal parts white vinegar and water, then spray the solution lightly onto the surface.
Use a soft cloth to wipe it down. This helps remove fingerprints, smudges, and dried marker residue effectively without damaging the glass.
It also reduces streaking and ghosting, leaving your board clear and easy to write on again.
Is It Safe to Use Abrasive Sponges on Glass Boards?
No, you shouldn’t use abrasive sponges on glass boards. They can scratch the surface, causing permanent damage and making it harder to clean later.
Instead, use non-abrasive, soft tools like microfiber cloths to keep the board smooth and clear.
Abrasive materials create micro-scratches that lead to streaking and ruin the board’s appearance.
Always choose gentle cleaning tools to protect your glass board effectively.
It’s better to be careful now than deal with damage later.
How Do I Prevent Ghosting on My Glass Dry Erase Board?
Did you know 80% of ghosting comes from leftover ink? To prevent it, erase your glass dry erase board right after use.
Use high-quality markers and avoid abrasive sponges that scratch the surface.
Clean regularly with a glass cleaner and microfiber cloth to stop buildup.
For stubborn marks, wipe with isopropyl alcohol occasionally.
These steps keep your board clear and ghost-free, ensuring every idea shines without residue distractions.
Can Sunlight Damage or Fade the Markings on a Glass Board?
Yes, sunlight can fade the markings on your glass board. While the glass itself resists UV damage, the ink pigments break down under prolonged exposure. This makes your writing less visible and harder to erase.
To keep your markings clear and vibrant, avoid placing the board in direct sunlight. Regularly shielding it from UV rays will help preserve the ink’s longevity.
It also helps maintain your board’s usability over time.
What Should I Do if My Board Develops Permanent Scratches?
If your board develops permanent scratches, you should first try minimizing light scratches with a glass polishing kit or a fine abrasive pad. Avoid sharp tools and heavy pressure to prevent worsening the damage.
For deep or persistent scratches, contact the manufacturer or a professional service for polishing or resurfacing.
Handle your board carefully going forward, and clean it regularly using gentle methods to help prevent new scratches from forming.
Conclusion
You’ve got this! Cleaning your glass dry erase board isn’t some impossible chore. It’s just a simple step away from a spotless, sparkling surface that practically glows.
Skip the grime, stubborn stains, and ghost marks forever by following these easy tips. With just the right tools and techniques, your board will look brand-new every time. Your notes will pop like magic.
Don’t let dirt win. Keep your glass board flawless and impress everyone who sees it!