How To Clean Front Load Washing Machine Rubber Seal – Easy Tips
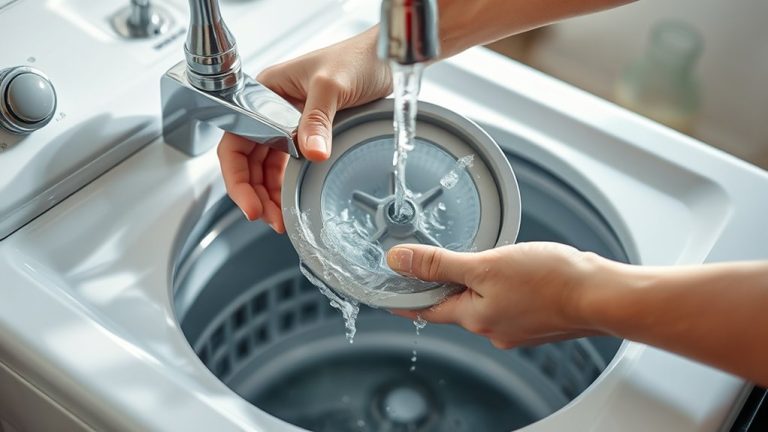
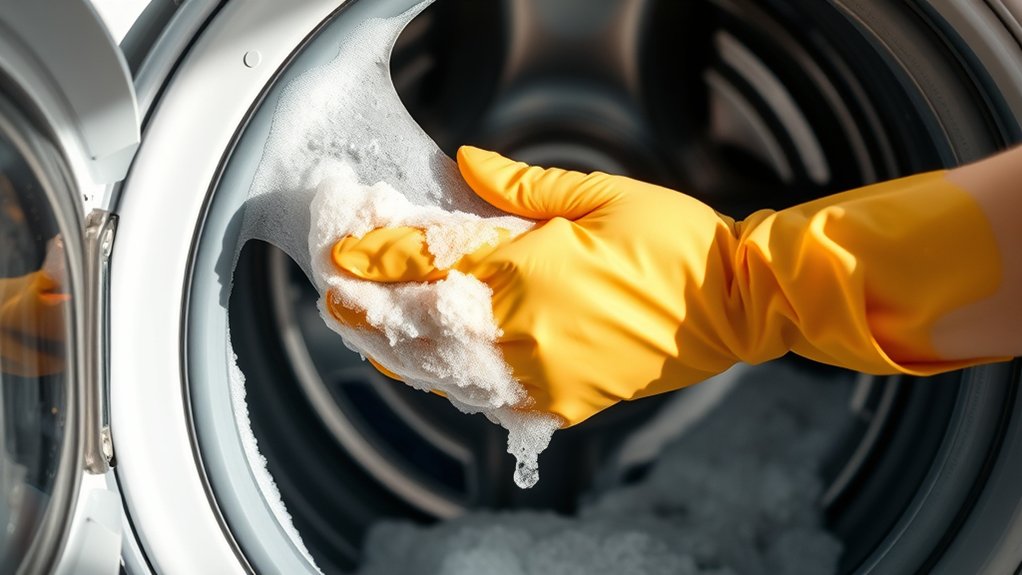
To clean your front load washing machine rubber seal, start by wiping away surface debris. Then, spray a DIY cleaner made from equal parts white vinegar and water with a teaspoon of dish soap onto the gasket, focusing on folds prone to mold. Let it sit, scrub gently with a soft toothbrush, rinse thoroughly, and dry completely with a towel.
Keep the door open afterward for airflow. Regular maintenance like this prevents odor and damage. For detailed steps and tips, explore further guidance.
Why Clean Your Front Load Washer Gasket
Cleaning your front load washer gasket at least once a month is essential to prevent mold and mildew buildup, which causes unpleasant odors.
Regularly cleaning your washer gasket prevents mold, mildew, and odors.
If you don’t clean the gasket regularly, residues accumulate, creating an environment where bacteria and mold thrive. This not only leads to foul smells but can also compromise your washer’s performance and cause leaks.
To maintain a hygienic laundry process, you must clean the gasket thoroughly, removing trapped moisture and debris.
After each use, keep the washer door open to promote air circulation. This helps dry the gasket and inhibits bacteria and mold growth.
Consistent cleaning preserves your washing machine’s efficiency and extends its lifespan by preventing damage linked to mold and mildew on the gasket.
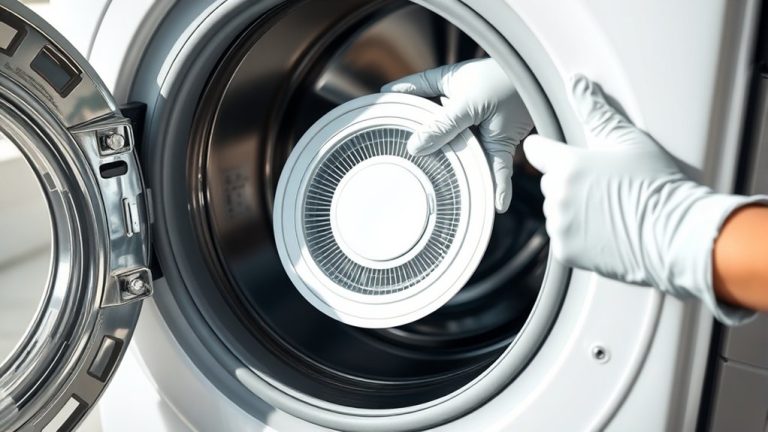
Tools and Supplies for Cleaning Your Washer Gasket
Before you begin scrubbing your washer gasket, gather the necessary tools and supplies to assure an efficient cleaning process. Having everything ready prevents interruptions and guarantees a thorough job.
Essential tools include rubber gloves to protect your hands from cleaning agents, a sponge for scrubbing away grime, and an all-purpose cleaner to dissolve dirt and buildup effectively.
Moreover, a soft cloth or toothbrush can help you reach tight spots within the gasket folds.
Here are three key items to have on hand:
- Rubber gloves to safeguard your skin
- A sponge combined with an all-purpose cleaner for effective scrubbing
- A toothbrush for precision cleaning in crevices
Collecting these tools and supplies upfront sets you up for a safe and efficient gasket cleaning routine. It really makes the whole process smoother and less stressful.
Preparing the Gasket Before Cleaning
First, grab a soft cloth and give the gasket a good wipe to get rid of any surface debris and grime. It’s a simple step but makes a big difference.
Next, you’ll want to pick a cleaner that really works—something like a mix of white vinegar and water is perfect for a thorough disinfecting.
Before you dive in, make sure you have all your supplies handy: a spray bottle, a toothbrush, and some towels. That way, you won’t have to stop halfway through the cleaning process.
Remove Surface Debris
Start by inspecting the rubber gasket closely to identify any visible debris or buildup that could obstruct thorough cleaning. Removing surface debris guarantees your cleaning efforts target grime and detergent residue effectively without interference.
Use a dry cloth to wipe away loose dirt, hair, or lint from the gasket surface, focusing on tight crevices where residue often accumulates.
Follow these cleaning tips for best results: wipe away all visible debris gently but thoroughly to prevent residues from hardening. Pay special attention to folds and seams prone to trapping moisture and detergent residue.
Also, confirm the washer drum is empty to avoid foreign objects disrupting your cleaning process.
This initial step preps the gasket for deeper cleaning and helps prolong its durability by preventing buildup. Taking a little extra time here really pays off in the long run!
Choose Suitable Cleaner
After removing surface debris from the washing machine seal, picking the right cleaner is key to getting rid of mold, mildew, and stubborn buildup effectively.
You want to go for cleaner options that specifically target these issues without damaging the rubber seal. A popular and safe choice is a mix of white vinegar and water. It does a great job sanitizing the gasket thoroughly.
If the stains are tougher, you can use an all-purpose cleaner or even make your own blend with Blue Dawn dish soap, which works well as a degreaser.
Try to avoid abrasive cleaners or scrubbers because they can harm the rubber seal and shorten its lifespan.
Before you dive into cleaning, it’s a good idea to test the cleaner on a small, hidden part of the gasket first. This way, you can make sure it won’t cause discoloration or damage and keep the seal in great shape while you clean.
Gather Cleaning Supplies
To prepare the washing machine gasket for cleaning, gather vital supplies such as rubber gloves, a soft cloth, an all-purpose cleaner or a DIY vinegar solution, warm water, and a dry towel.
These items guarantee a thorough cleaning process and help you clean the gasket effectively.
You’ll also want tools that aid in reaching tight spots and removing grime during cleaning your washer.
Vital supplies include:
- A spray bottle for even application of the cleaning solution
- A toothbrush to scrub hard-to-reach areas of the gasket
- Extra dry towels to remove excess moisture after cleaning
Using these tools supports a thorough cleaning, prevents mold buildup, and prepares the gasket for a clean washer cycle.
Proper drying is essential to avoid excess moisture that fosters mildew.
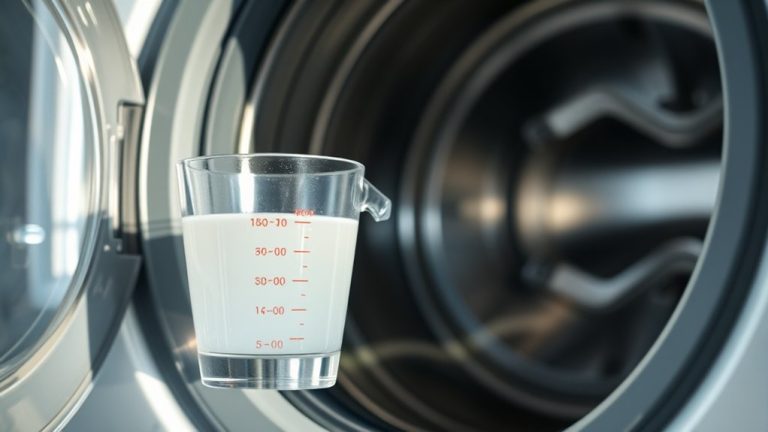
Making a DIY Vinegar and Soap Cleaner
Start by mixing equal parts white vinegar and water in a spray bottle.
Then, add a teaspoon of Blue Dawn dish soap to boost its cleaning power.
Give the bottle a gentle shake to combine everything well before you use it.
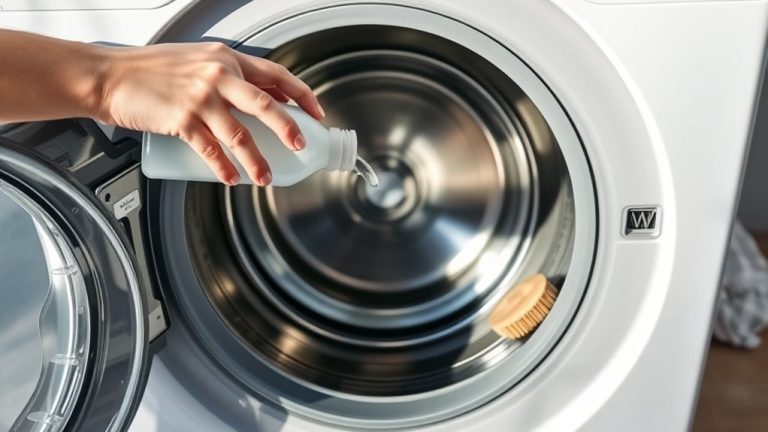
Next, spray the solution generously on the gasket.
Let it sit for a few minutes so it can work its magic.
After that, grab a soft brush and scrub away the dirt and grime effectively.
Easy, right?
Vinegar And Soap Mix
When you combine one cup of white vinegar with an equal amount of water in a spray bottle, you create a powerful base for deodorizing and cleaning your washing machine’s rubber seal.
To boost its effectiveness, add about one teaspoon of Blue Dawn dish soap. This soap enhances the mixture’s ability to cut through grime on the gasket.
Before use, shake the spray bottle gently to mix the vinegar and soap evenly.
Then, spray the solution directly onto the gasket, allowing it to penetrate dirt and odors. Use a soft cloth or brush to scrub thoroughly, focusing on crevices to lift stubborn buildup.
Remember these key points: vinegar deodorizes and breaks down residues. Soap acts as a degreaser on the gasket. Proper mixing guarantees an even cleaner application.
Preparing The Spray
Although cleaning the washing machine seal may seem straightforward, preparing an effective DIY vinegar and soap spray requires precise measurements and proper mixing.
Start by combining 1 cup of white vinegar with 1 cup of water in a spray bottle. Then, add 1 teaspoon of Blue Dawn dish soap to enhance degreasing for thorough gasket cleaning.
Give the bottle a gentle shake to mix the solution evenly.
This spray works as both a cleaner and deodorizer, helping to neutralize odors trapped in your laundry machine’s rubber seal. It’s pretty simple but makes a big difference.
Application Tips
After preparing your vinegar and soap spray, go ahead and apply it generously to the washing machine seal. This will help tackle trapped odors and grime.
Use the spray bottle to saturate the door seal thoroughly, especially in areas prone to mildew buildup.
Let the solution sit for several minutes so it can break down residues effectively.
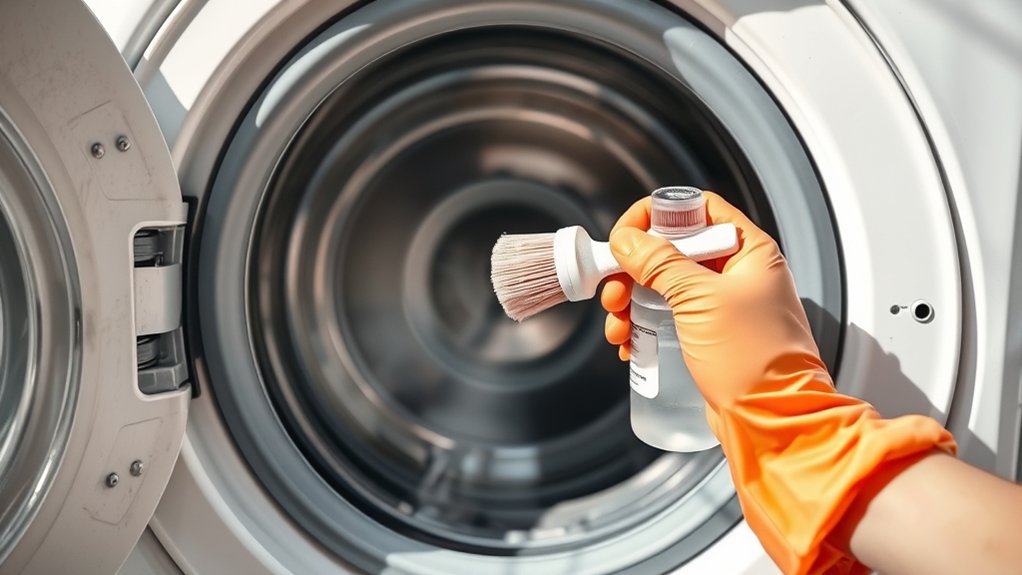
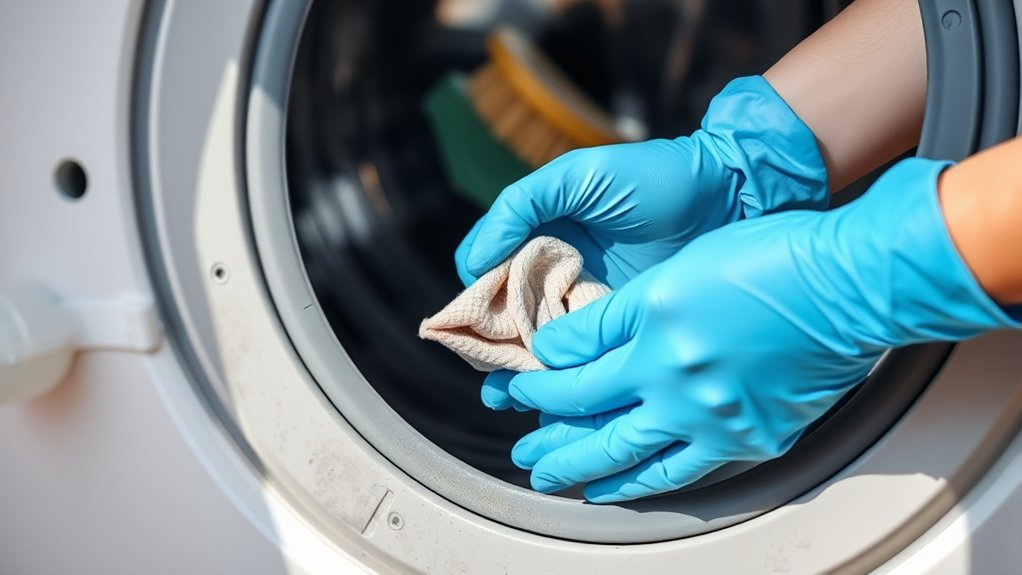
Then, grab a soft toothbrush and gently scrub the rubber gasket. Focus on the crevices where dirt tends to accumulate.
Spray the cleaner evenly around the entire door seal for good coverage.
Use the soft toothbrush to dislodge mildew and stubborn grime without damaging the rubber.
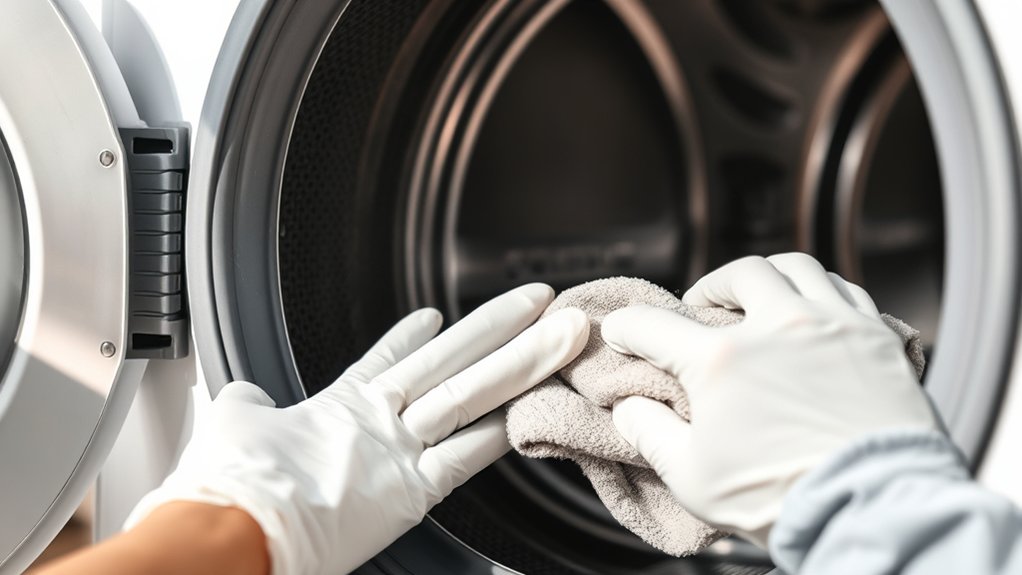
Finally, wipe down the seal with a clean cloth to remove loosened debris and any excess liquid.
Following these steps will help you clean the washer’s door seal efficiently. This reduces mildew and can even extend its lifespan.
How to Scrub Your Washer Gasket
Start by gathering a soft-bristled toothbrush and a DIY cleaner made from equal parts white vinegar and water, plus a teaspoon of Blue Dawn dish soap.
Spray this solution generously onto the rubber gasket, targeting areas where mold, detergent residue, and grime accumulate.
Apply the cleaner thoroughly to the rubber gasket, focusing on spots with mold and grime buildup.
Let it sit for 5 to 10 minutes to penetrate and break down stubborn buildup.
Using the soft-bristled toothbrush, gently scrub the gasket, focusing on the crevices and folds where dirt often hides. This helps prevent mold growth and keeps the gasket fresh.
Pay close attention to any visible residue and scrub until the surface appears clean.
Repeat this process monthly or every 30 wash cycles to keep your front load washer smelling fresh and working its best.
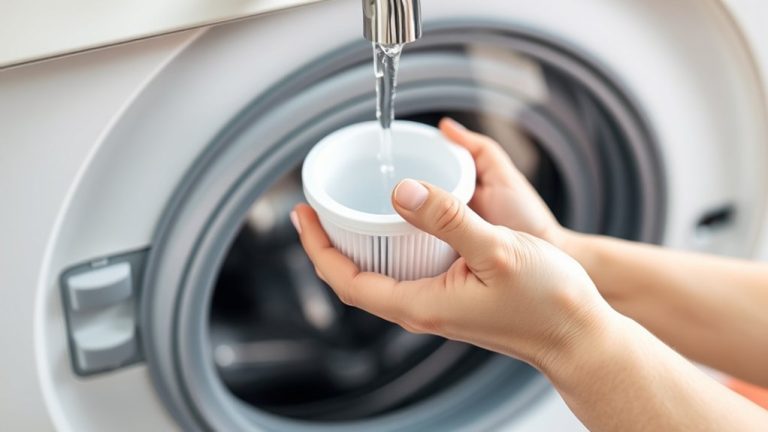
Rinsing the Gasket Without Leaving Residue
When rinsing the washing machine gasket, you’ll want to use a two-towel technique to confirm no soap or cleaner residue remains.
Start by dampening one towel with clean water to rinse the gasket thoroughly from top to bottom. Focus especially on the nooks and crannies, where residue and grime tend to accumulate.
Use the second dry towel immediately after to absorb excess moisture and prevent any leftover residue. It’s a simple trick that really makes a difference in keeping things clean.
Key steps to rinse the gasket effectively:
- Use a damp towel to rinse every gasket section carefully
- Follow with a dry towel to remove moisture and prevent residue buildup
- Repeat if you notice any remaining soap or cleaner residue
This method assures the gasket stays clean and free of residue that could cause odor or damage.
Give it a try, and you’ll notice how fresh your washing machine smells afterward.
How to Dry the Washer Gasket to Prevent Mold
To prevent mold from developing on your washer gasket, you’ll need to eliminate all moisture immediately following each cleaning or wash cycle. Use a dry towel to wipe the gasket thoroughly, making sure no moisture remains.
Keep the washer door open for several hours after use to improve air circulation and speed up drying. If you live in a humid environment, using a fan can help increase airflow around the gasket.
It’s a good habit to regularly inspect and dry the gasket after every wash to stop mold from growing.
| Step | Action |
|---|---|
| 1. Wipe Gasket | Use a dry towel to remove moisture |
| 2. Open Door | Leave door open post-cycle |
| 3. Air Circulation | Allow natural airflow |
| 4. Use Fan (optional) | Increase airflow if humid |
| 5. Routine Check | Dry gasket after each wash |
How Often to Clean Your Washer Gasket
Maintaining a dry washer gasket after each cycle greatly reduces mold growth, but regular cleaning is necessary to keep it fully sanitary. Your cleaning frequency should include both routine wipe-downs and periodic deep cleaning to prevent residue and odors.
Keeping the washer gasket dry and regularly cleaned prevents mold, residue, and odors effectively.
Follow these guidelines for your washer gasket maintenance:
- Perform a quick wipe-down after every load to remove moisture and debris.
- Conduct deep cleaning with a bleach solution monthly or after about 30 wash cycles to eliminate mold and buildup.
- Increase cleaning frequency immediately if you detect mold, unpleasant odors, or visible grime on the gasket.
Additionally, use your machine’s Clean Washer Cycle monthly if available.
Always adhere to manufacturer instructions to optimize gasket longevity and hygiene.
Everyday Tips to Keep Your Washer Gasket Fresh
Anyone aiming to keep their washer gasket fresh should adopt simple daily habits that prevent moisture buildup and grime accumulation. After each wash, wipe the seal with a dry cloth to reduce mildew risk. Use a damp cloth or sponge for spot cleaning visible residue.
Always run clean loads to minimize dirt transfer. And don’t forget to leave the washer door open after the cycle to help it dry out better.
It’s also a good idea to do a monthly cleaning with a vinegar solution. This helps eliminate odors and buildup, keeping your washer gasket in top shape.
| Action | Frequency | Purpose |
|---|---|---|
| Wipe the seal dry | After every wash | Prevent moisture & mildew |
| Use damp cloth/sponge | As needed | Remove grime & residue |
| Check for debris | Weekly | Avoid leaks & maintain seal |
| Leave door open | After each use | Enhance air circulation |
| Monthly cleaning | Monthly | Eliminate buildup & odors |
Washer Features That Help Keep the Gasket Clean
Beyond regular cleaning routines, many modern washing machines come with specialized features that help keep the gasket clean and free from mold, bacteria, and odors.
These washer features work to combat moisture buildup and make sure the seal stays hygienic.
One of these is Antimicrobial Protection. It’s built right into the gasket and helps stop mold and bacteria from growing, which keeps the seal cleaner for longer.
Antimicrobial Protection in the gasket prevents mold and bacteria, keeping the seal cleaner and fresher longer.
Another feature is the FreshFlow Vent System. This improves air circulation inside the drum, cutting down on odors and keeping the gasket fresh between washes.
Then, there’s the Dry Drum Cycle. After your wash, this cycle removes leftover moisture from the drum and gasket. That way, it prevents the dampness that usually leads to mold.
Using washers with these features means you won’t have to clean the gasket as often.
Plus, it helps the gasket last longer by keeping things dry and sanitary all the time.
Frequently Asked Questions
Can I Use Bleach Instead of Vinegar for Cleaning the Rubber Seal?
You can use bleach for cleaning the rubber seal, but you need to be careful. Bleach is really effective at preventing mold. However, if you use it too often, it might damage the seal’s integrity.
When using bleach, make sure to dilute it properly—about a 1:10 ratio—and keep the area well ventilated.
Vinegar is a gentler option and helps keep the rubber flexible if you clean regularly.
To get the best results and keep your seal lasting longer, try alternating between vinegar and diluted bleach. Or, just stick with vinegar for your usual cleaning routine.
What Should I Do if My Washing Machine Gasket Is Already Moldy?
If your washing machine gasket is already moldy, start with mold removal techniques like scrubbing with a DIY cleaner made of equal parts white vinegar, water, and a teaspoon of Blue Dawn dish soap.
For stubborn mold, use a diluted bleach solution carefully.
Make sure to rinse the gasket thoroughly and dry the seal well afterward. It really helps to keep the area dry to prevent mold from coming back.
Try to clean the gasket regularly, about once a month.
Also, leave the washing machine door open when you’re not using it to let it air out.
There are other cleaning solutions you can try too, which help keep mold at bay.
Just find what works best for you and stick with it!
How Can I Prevent My Washing Machine From Smelling Musty Between Uses?
You can prevent musty smells by making sure no detergent residue builds up. Use the right amount of detergent and the correct water temperature for your load. This helps keep things clean and fresh.
After each cycle, dry the drum thoroughly by leaving the door open. This lets the drum dry out and allows airflow. It’s a simple way to avoid moisture buildup.
Try to avoid sealing the door when the washer isn’t in use. Trapped moisture can cause odors to develop.
Also, make a habit of doing a monthly cleaning cycle with vinegar or baking soda. This keeps your washer fresh and odor-free over time.
Is It Safe to Leave the Washing Machine Door Open After Cycles?
Think of door ventilation as the breath your washing machine needs. Yes, it’s safe to leave the door open after cycles. Doing this helps control moisture and prevents mold buildup.
This simple habit improves your washing routine by keeping the seal in good shape and ensuring proper machine maintenance. Just remember to keep pets and children away for safety.
Can Commercial Washing Machine Cleaners Harm the Rubber Seal?
Yes, commercial cleaning products can harm the rubber seal if they contain harsh chemicals or bleach. These substances degrade its elasticity and cause cracks. So, it’s important to be cautious.
For effective washing machine maintenance and mold prevention, always check the manufacturer’s guidelines before using commercial cleaners. That way, you know what’s safe for your machine.
To protect the rubber seal, try gentler alternatives like vinegar and dish soap. This method ensures thorough cleaning without risking damage.
Plus, it helps extend your machine’s lifespan and keeps it performing at its best.
Conclusion
Cleaning your front load washer gasket regularly prevents mold and odors, ensuring peak machine performance. Remember, “a stitch in time saves nine.” Address buildup promptly to avoid tougher problems later.
Use the right tools and a vinegar-soap solution for effective cleaning, then dry thoroughly. Stick to a routine with monthly deep cleans and daily wipe-downs to keep your gasket fresh.
Following these steps helps maintain hygiene and extends your washer’s lifespan efficiently. It’s really worth the effort to keep things clean and running smoothly!