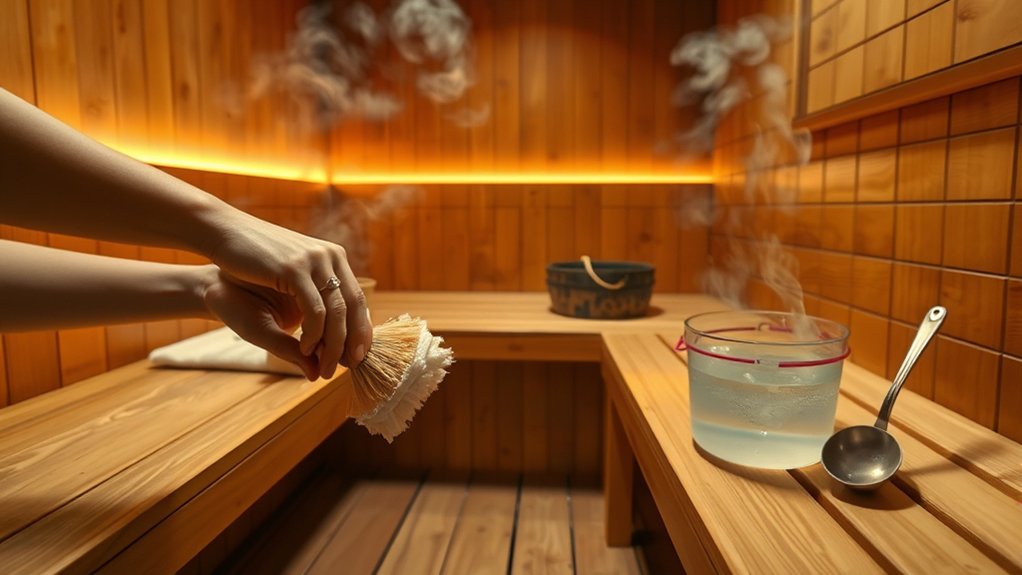
How To Clean A Dry Sauna – Easy Guide
To clean your dry sauna easily, start by cooling it completely and removing all items. Sweep or vacuum dust and dirt from benches, floors, and walls weekly. Spot clean sweat stains with mild soap or baking soda paste, and lightly sand rough wood areas as needed.
Rinse stones with warm water and check your heater for damage. Regularly oil and seal the wood to keep it fresh and protected. Following these steps helps maintain safety and longevity.
If you want to keep your sauna in great shape, these simple tips will go a long way. Just a little regular care can make a big difference!
Prepare Your Sauna for Cleaning
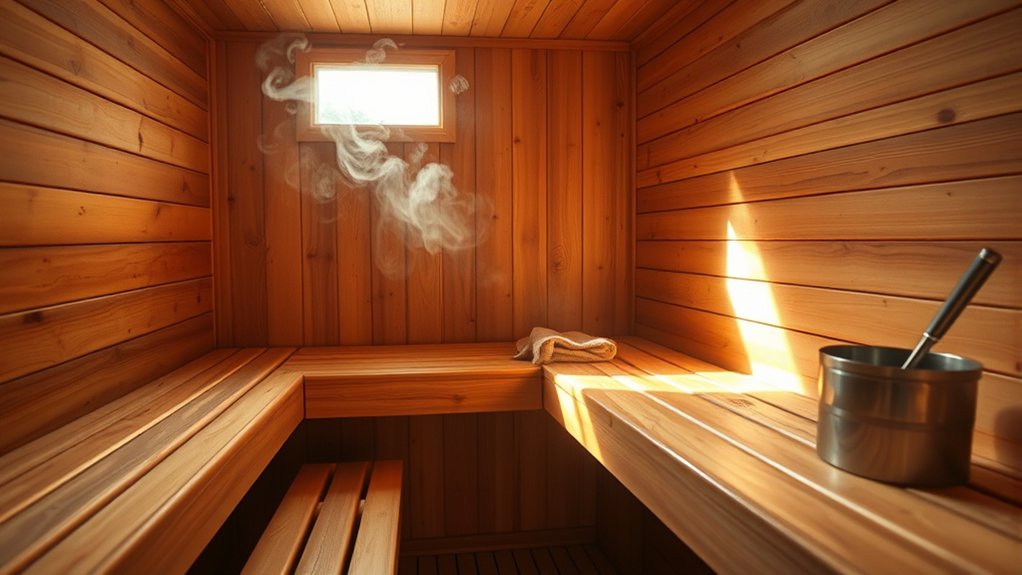
Before you begin cleaning your dry sauna, make sure it’s completely cool. This helps avoid damaging the wood and surfaces.
Ensure your dry sauna is fully cooled before cleaning to protect the wood and surfaces from damage.
To get your sauna ready, start by removing all accessories, towels, and personal items. Clearing the space prevents damage or contamination while you clean.
Next, prop open the door and any ventilation vents to improve airflow. Good ventilation helps dry out leftover moisture and gets rid of odors. This sets the stage for effective cleaning.
Take a moment to sweep or vacuum the floors, benches, and walls. This will get rid of loose dust and debris before you apply any cleaning solutions.
Finally, check the entire sauna for signs of mold or damage. These might need special attention while you clean.
Preparing well like this makes your sauna cleaning safe and efficient.
Remove Surface Dirt and Dust
Although you’ve prepared your sauna for cleaning, removing surface dirt and dust is the essential next step to maintain a fresh and hygienic environment. Use a soft-bristle broom or a small vacuum with nozzles to sweep loose dust and debris from walls, floors, and benches weekly.
Don’t forget under benches and near the stove, where dust can affect air quality. Wipe wooden surfaces gently with a damp cloth to lift dust without harming the wood. Always guarantee the sauna is cool before cleaning to prevent dust from becoming airborne and to protect wood surfaces from moisture damage.
| Area to Clean | Recommended Tool |
|---|---|
| Floors & Benches | Soft-bristle broom/vacuum |
| Window sills/corners | Microfiber cloth/brush |
| Wooden Surfaces | Damp cloth or sponge |
Scrub Sweat Stains and Spot Clean
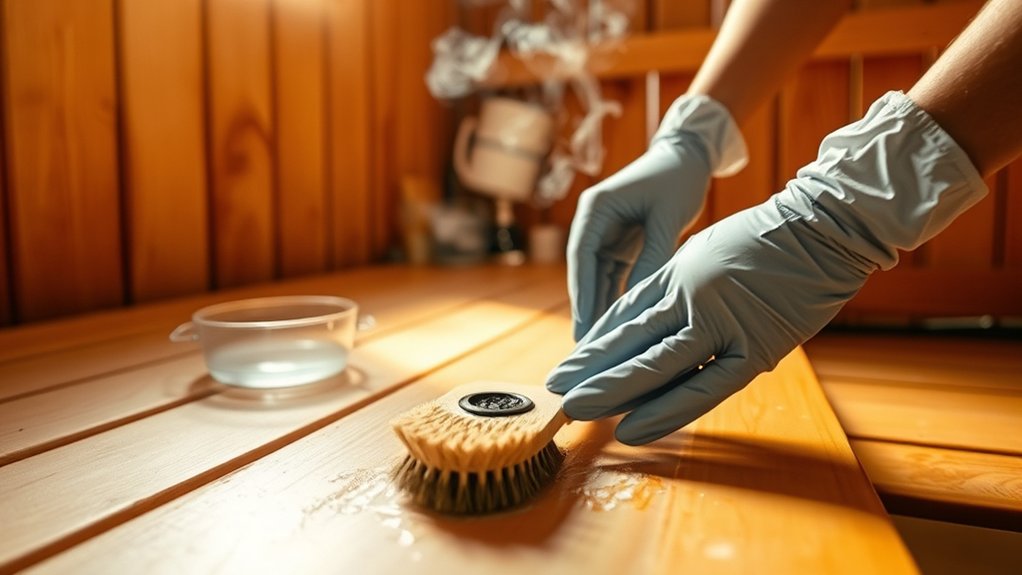
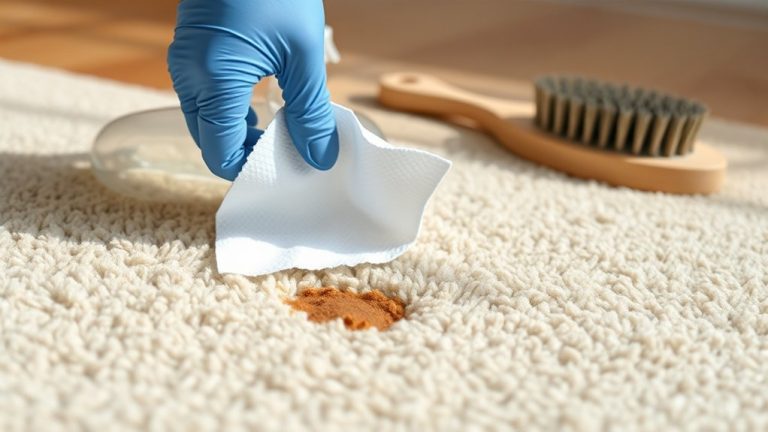
When you notice sweat stains on your sauna benches or walls, use a damp cloth or sponge with mild soap or a specialized sauna cleaner to gently scrub the affected areas right after use. This spot clean method helps prevent discoloration and odors.
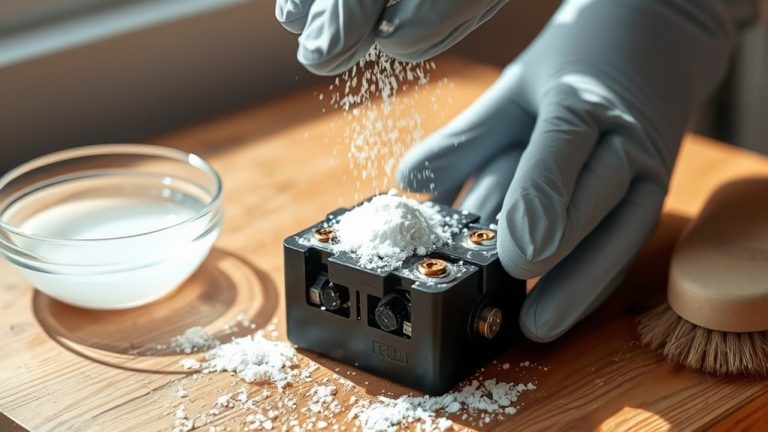
For stubborn sweat stains, make a paste of baking soda and water, apply it, and scrub with a soft brush or cloth. If stains persist or the wood feels rough, lightly sand the area with high-grit sandpaper (150–180 grit) to lift the stain and smooth the surface.
After cleaning, rinse thoroughly with water to remove any residue and avoid buildup of sweat minerals. Regularly spot clean to keep your sauna looking fresh and prevent mold growth. It’s an easy habit that really pays off!
Deep Clean and Maintain Sauna Wood
To keep your sauna wood in top condition, you’ll want to perform a thorough deep clean and maintenance routine at least once a year. Start by gently sanding the wood surfaces with 150–180 grit sandpaper to smooth rough spots and refresh the aroma.
Then, wash cedar benches and walls with warm water mixed with mild soap or a sauna-specific cleaner. Avoid harsh chemicals because they can damage the wood.
Finally, apply a breathable sealant containing oil or wax to protect the wood from moisture and enhance its appearance. Remember, never use varnish, stain, or paint as they block natural heat absorption.
| Step | Method | Purpose |
|---|---|---|
| Sand wood surface | 150–180 grit sandpaper | Smooth, refresh aroma |
| Wash wood | Warm water + mild soap | Remove dirt without damage |
| Apply sealant | Oil or wax-based breathable | Protect and enhance wood |
| Avoid coatings | No varnish or paint | Maintain natural heat flow |
Clean and Maintain Sauna Stones and Heaters
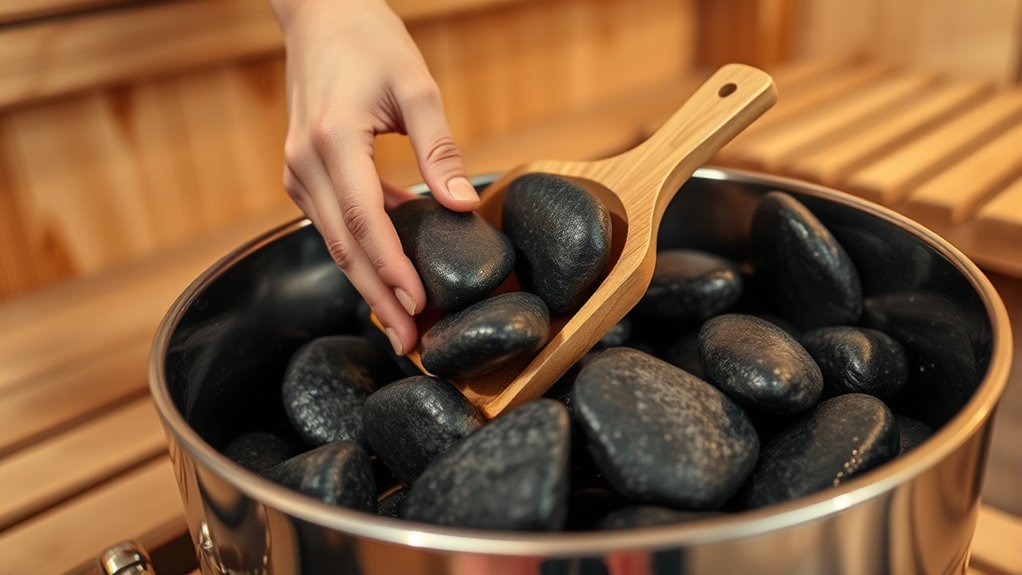
Before you start cleaning your sauna stones, make sure the heater is turned off and completely cool—this helps you avoid any chance of getting burned.
When you take the stones out, handle them gently. Give them a good rinse with warm water to wash away any mineral buildup. While you’re rinsing, take a moment to check if any stones are cracked or damaged since that can mess with how the heat spreads.
At the same time, don’t forget to look over the heater itself. See if there’s any rust or signs of wear on the parts. If you spot anything that looks worn out or faulty, go ahead and replace it.
Doing this will help keep your sauna running safely and smoothly every time you use it.
Sauna Stones Cleaning
A clean set of sauna stones plays an essential role in maintaining your dry sauna’s efficiency and safety. You should clean or replace sauna stones every 50 to 100 sessions to prevent mineral buildup and guarantee even heat distribution. Always remove stones carefully when the heater is cool.
Rinse them with warm water and avoid soaps or chemicals. Inspect each stone for cracks or crumbling. Replace any damaged ones promptly to keep everything working well.
Properly stack the stones in the heater to allow ideal airflow and heat transfer. This helps your sauna heat evenly and stay efficient.
| Step | Action | Frequency |
|---|---|---|
| Remove stones | When heater is cool | Every 50-100 uses |
| Rinse stones | Use warm water, no soap | Each cleaning |
| Inspect stones | Check for cracks, crumbling | Each cleaning |
| Stack stones | Ensure good airflow and heat flow | After cleaning |
Heater Maintenance Tips
Keeping your sauna stones clean is just one part of maintaining your dry sauna’s heater. For effective heater maintenance, disconnect the power supply before removing the sauna stones to guarantee safety during the cleaning process.
Remove the stones every 50-100 sessions, rinse them with warm water, and inspect for cracks or crumbling. Replace any damaged stones promptly to maintain even heat distribution and prevent hazards.
After cleaning, restack the stones carefully, allowing proper spacing for ideal airflow and efficient heating.
Furthermore, regularly inspect heater elements and heating panels for rust, damage, or wear. Address any issues by servicing or replacing parts as needed to keep your heater operating safely and efficiently.
Following these steps extends your sauna’s lifespan and ensures consistent performance.
Control Sauna Odors and Refresh Air
Although you might enjoy the warmth and relaxation of your sauna, controlling odors and invigorating the air is essential for a pleasant experience. To maintain excellent odor control and air quality, always air out the sauna thoroughly after each session by leaving the door open for 15-30 minutes.
Enjoy your sauna’s warmth while keeping the air fresh by airing it out for 15-30 minutes after use.
Incorporate natural deodorizers like baking soda or activated charcoal inside the sauna to absorb lingering smells.
Enhance air quality further by adding essential oils such as peppermint or lemon to your ventilation system or diffusers.
Regularly clean high-touch surfaces with natural disinfectants to eliminate odor-causing bacteria.
Finally, guarantee proper ventilation by maintaining vents and exhaust fans, promoting continuous air circulation and preventing stale, musty odors.
These steps will keep your sauna fresh and inviting every time you use it.
Perform Routine Sauna Safety Checks
You should regularly inspect the stove and burners to make sure they’re free of cracks, corrosion, or debris that might cause problems. It’s important to keep an eye on these parts to prevent any malfunctions.
Also, check all the controls and fixtures to ensure they operate smoothly and safely without showing any signs of wear.
When you keep these components in good shape, it really helps maintain a safe sauna environment.
Inspect Stove And Burners
How often do you inspect your sauna stove and burners to guarantee they operate safely and efficiently? Regular inspections help you spot rust, corrosion, or damage early, preventing potential hazards.
Start by examining the sauna stones. Replace any that are cracked, crumbling, or discolored to maintain peak heating.
Check all electrical connections to the stove and burners, making sure wires aren’t frayed or corroded.
For cleaning, use a soft brush or vacuum to remove dust, ash, and debris from the stove surface and burners since these can impair performance.
These steps not only keep your sauna running smoothly but also extend the life of your equipment.
That way, you ensure a safe, enjoyable sauna experience every time.
Check Controls And Fixtures
Since controls and fixtures are vital to your sauna’s safe operation, performing routine safety checks on them is essential. Start by inspecting all control panels, knobs, and switches to guarantee they function smoothly and are free from dust or debris. Verify that safety features like emergency shut-offs and temperature limiters work correctly.
Pay close attention to any loose or damaged electrical wiring, as these can pose hazards or interrupt operation. Test lighting fixtures thoroughly, replacing any burnt-out bulbs to maintain proper illumination.
Finally, check that vents and airflow controls are unobstructed and operating effectively to prevent overheating or poor ventilation.
Regularly maintaining these controls and fixtures helps ensure a safe, reliable sauna experience every time. It’s a simple step that goes a long way in keeping everything running smoothly and safely.
Protect and Preserve Sauna Wood
Although sauna wood naturally withstands heat and humidity, you’ll want to take specific steps to protect and preserve it over time. Effective sauna maintenance includes applying a breathable wood sealant with natural oils or waxes. This strengthens the wood without blocking heat absorption.
Sauna wood thrives with breathable sealants that protect while allowing heat to penetrate naturally.
Avoid varnishes or paints, as they trap moisture and can cause harmful fumes. Commit to regular cleaning and lightly sanding benches and walls annually to refresh surfaces and prevent splinters.
To maintain wood’s moisture balance and aroma, oil it periodically with paraffin or cedar oil. Also, protect the wood from excess moisture by using towels and ensuring proper ventilation.
Be sure to steer clear of water-based disinfectants since they may cause warping or mold.
Following these steps will extend your sauna’s lifespan and keep its wood in excellent condition. It’s pretty simple once you get into the routine!
Practice After-Use Cleaning Habits for Your Sauna
To keep your sauna in top condition, you should develop consistent after-use cleaning habits. Start by wiping down benches, walls, and backrests with a damp cloth or soft brush immediately after each session to remove sweat and dirt.
Then, leave the sauna door open and prop duckboards off the floor to guarantee proper ventilation and drying. Incorporate regular cleaning using mild, natural cleaners for any stains. Here’s a simple routine to follow:
| Task | Frequency |
|---|---|
| Wipe surfaces | After every use |
| Ventilate sauna | After every use |
| Inspect and sand wood | Monthly |
| Reapply sealant/oil | Annually |
Adopting these habits will prolong your sauna’s life and keep it fresh and clean. It’s easier than you think once you get into the habit!
Frequently Asked Questions
Can I Use Vinegar to Clean My Dry Sauna?
Yes, you can use vinegar to clean your dry sauna. It’s a natural disinfectant that helps remove sweat stains, odors, and mineral deposits from wooden surfaces.
Just mix equal parts vinegar and water, then wipe down the walls, benches, and floors.
Make sure to follow up with a damp cloth to avoid any residue buildup.
Also, be cautious with delicate or unsealed wood because the vinegar’s acidity might cause damage.
Cleaning your sauna this way is simple and effective, but always test a small area first to be safe.
How Often Should I Replace Sauna Stones?
How often should you replace sauna stones to keep your sauna performing at its best? You should replace them every 1 to 2 years or sooner if you notice cracking, crumbling, or discoloration.
Inspect your stones every 50-100 sessions to spot wear early.
Timely replacement prevents safety risks, maintains even heat distribution, and extends your heater’s lifespan. Don’t wait until degraded stones affect your sauna experience or damage your equipment.
It’s better to stay ahead and keep things running smoothly.
What Type of Wood Is Best for Sauna Benches?
You’ll want to choose cedar wood for your sauna benches because it naturally resists moisture, decay, and warping. This ensures your benches stay durable over time.
Hemlock is also a great option since it’s lightweight, smooth, and comfortable. Plus, it has less chance of splintering, which is always a bonus.
Aspen works well too, as it stays cool even in high heat. That makes it really comfortable to sit on during your sauna sessions.
Try to avoid spruce and pine. They tend to splinter and release odors when heated, which can affect your overall sauna experience.
Is It Safe to Use Essential Oils in a Dry Sauna?
You might imagine dousing your sauna with a flood of essential oils, but hold back! It’s safe to use essential oils in a dry sauna only when you add just 2-4 drops to water for steam or diffuse them sparingly.
Pure oils like lavender or eucalyptus enhance your experience without staining or damaging wood.
Avoid direct application on wood and watch for allergies. This careful, minimal use keeps your sauna fresh and wood intact.
Just a little goes a long way to make your sauna time enjoyable and safe.
Can I Clean My Sauna With a Pressure Washer?
You shouldn’t use a pressure washer to clean your sauna. The high-pressure water can damage the delicate wood, causing warping, mold, and stripping away natural oils or finishes.
It can also harm structural joints and risk water infiltration into electrical parts, creating safety hazards. So, it’s really not worth the risk.
Instead, stick to gentle cleaning methods like wiping with a damp cloth and using mild, natural cleaners.
This way, you keep your sauna safe and well-maintained without any damage.
Conclusion
Keeping your dry sauna clean isn’t just about looks. It’s essential for hygiene, safety, and making sure your sauna lasts a long time. You might wonder if skipping routine cleaning really affects how well your sauna works.
The truth is, neglect can lead to odor buildup, damage to the wood, and heaters that don’t run efficiently. By following these steps regularly, you’ll enjoy a fresher and safer sauna experience. Plus, you’ll protect your investment.
So, stay consistent with cleaning. It really does make a noticeable difference.