How To Clean A Washing Machine Drain Pipe – Guide
To clean your washing machine drain pipe, first unplug the machine and turn off the water. Disconnect the drain hose carefully, placing towels to catch spills. Inspect the hose for lint, kinks, or damage.
If you find any debris, remove it using pliers or a drain snake for stubborn clogs. Then flush the hose with water pressure. After that, clean the drain filter and reassemble the connections securely.
Finally, run a test cycle to make sure the drainage is working properly. Following these steps will help keep your washing machine draining efficiently and prevent future blockages.
Signs Your Washing Machine Drain Hose Is Clogged
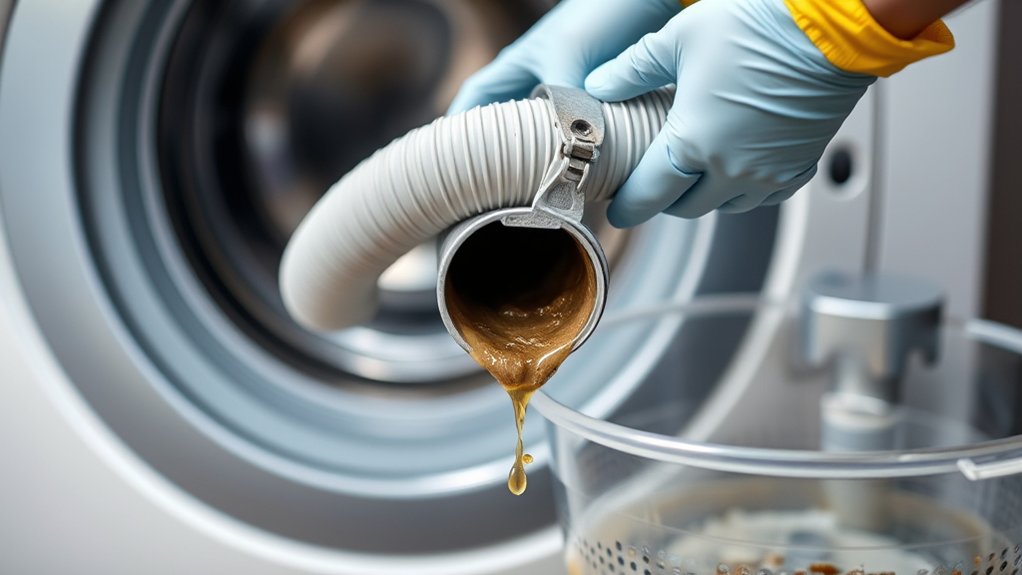
If water backs up into your washing machine drum during or after cycles, it’s a clear sign your drain hose might be clogged. This water backing up often results from a drain blockage preventing proper drainage.
You may notice the washer fails to drain fully or leaves water pooling in the drum, indicating a clogged drain hose.
Unpleasant odors can also signal stagnant water trapped by the blockage. Take a look inside the drain hose for visible lint, hair, or soap residue, which commonly cause partial obstructions.
Even if the pump seems to be working fine, persistent drainage problems often point to a blockage within the hose itself.
Recognizing these signs early helps you deal with the clogged drain hose effectively. That way, you can avoid more serious washing machine issues down the road.
Tools and Safety Steps Before You Start Cleaning
Before you start cleaning, make sure you unplug the washing machine and turn off the water supply. This helps prevent electrical hazards and leaks. Always prioritize safety by confirming both power and water are fully disconnected before moving on.
Next, gather the essential tools to make the process easier and keep yourself protected. You’ll want to have pliers, a screwdriver, a drain snake, a bucket, and some towels ready to go.
Gather pliers, a screwdriver, a drain snake, a bucket, and towels to make cleaning easier and safer.
Don’t forget to wear gloves and goggles to shield your hands and eyes from debris and splashes. When you’re ready, carefully move the washing machine away from the wall so you can access the drain hose without causing any damage.
Before you get started, double-check that all power and water connections are completely disconnected. This step helps minimize any risks while you’re cleaning.
Using the right tools and safety precautions will make your cleaning process more efficient and hazard-free. It’s always better to be safe and prepared!
Disconnect the Drain Hose Without Making a Mess
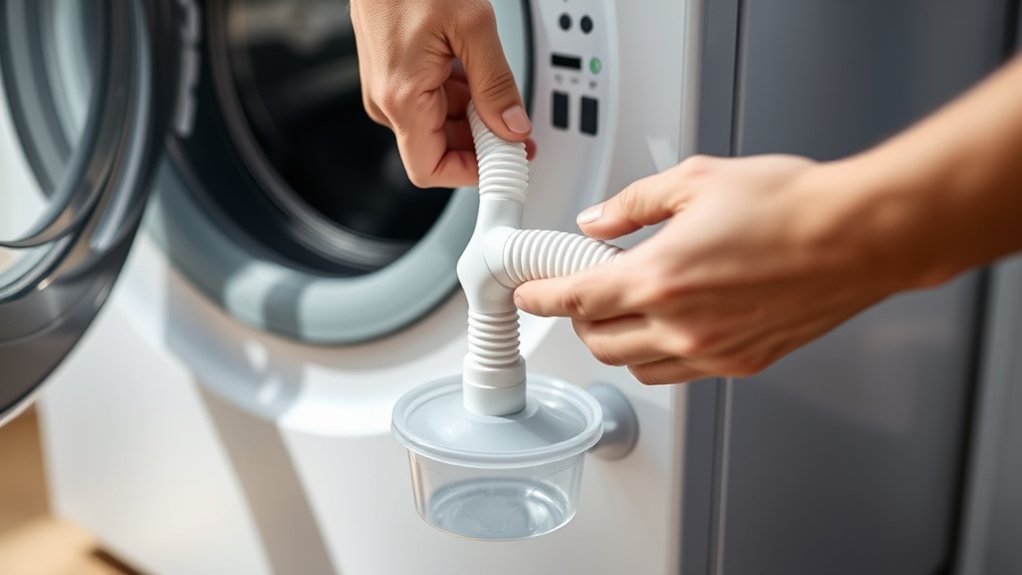
Before you disconnect the drain hose, it’s a good idea to place a towel or a shallow container underneath. This way, you can catch any leftover water that might drip out. Also, keep a bucket or some extra towels close by just in case there are any spills you need to clean up quickly.
When you’re ready, grab some pliers or a screwdriver to loosen the clamp. Then, carefully hold the hose upright as you pull it off. This helps control the water flow and keeps things from getting messy.
Preparing The Area
When you disconnect the washing machine’s drain hose, start by unplugging the machine and turning off the water supply valves to guarantee safety and prevent leaks. Preparing the cleaning area properly helps avoid water spill and damage.
Follow these steps:
- Carefully pull the washing machine away from the wall to access the drain hose.
- Place a towel or shallow bucket under the hose connection to catch any residual water.
- Use pliers or a screwdriver to loosen the clamps securing the drain hose.
- Remove the drain hose slowly and steadily to control any remaining water flow.
Handling Water Spills
How do you disconnect the washing machine drain hose without making a mess? Start by placing a towel or shallow container under the drain hose connection to catch any residual water.
Use pliers or a screwdriver to carefully loosen the hose clamp. Keep steady hands to avoid sudden water release.
As you gently pull the drain hose away, tilt it downward to direct any remaining water into your container or towel. This angle controls the flow and minimizes water spills.
Keep additional towels or rags nearby to quickly absorb any escaping water.
How to Inspect the Drain Hose for Lint, Kinks, and Tears
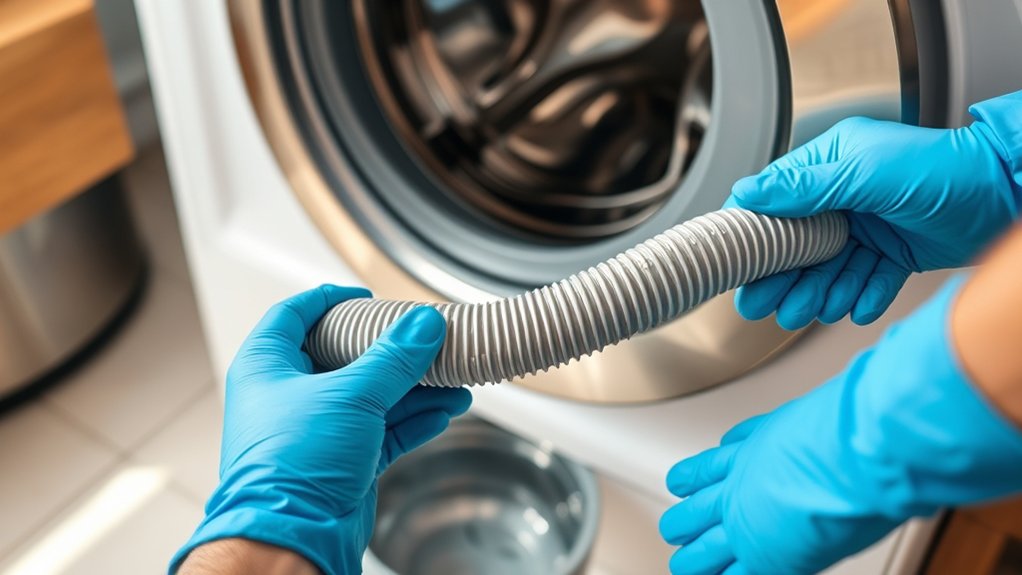
First, take a good look at the drain hose to spot any visible damage, like tears or cracks, which could cause leaks.
Then, check for any kinks or bends that might slow down water flow and potentially cause clogs.
Finally, make sure to inspect for lint buildup, especially around the connection points, to ensure everything drains properly.
Identifying Hose Damage
Although a washing machine’s drain hose is designed to handle constant water flow, you should regularly inspect it for signs of damage like tears, kinks, and blockages. Hose damage can cause leaks and disrupt proper drainage, which might lead to water backup or flooding.
Follow these steps to identify issues:
- Visually check the entire hose length for tears, holes, or cracks that might cause leaks.
- Inspect inside the hose for lint, hair, or debris buildup indicating blockages.
- Confirm hose connections at both the machine and drain are secure and undamaged.
- Replace the hose immediately if you find persistent damage or significant wear that can’t be repaired.
Routine inspections prevent leaks and blockages. They help ensure your washing machine drains efficiently.
Detecting Kinks And Bends
After checking for visible damage and blockages in the drain hose, turn your attention to detecting kinks and bends that may restrict water flow. Inspect the entire hose length, feeling for compressed or twisted areas, especially behind the washer. Use a flashlight to identify sharp bends causing flow restrictions.
Ideal positioning avoids tight bends, maintaining a smooth, gentle curve for optimal drainage. If you find kinks or damage, straighten or replace the affected section promptly to prevent leaks or blockages.
| Inspection Step | What to Look For |
|---|---|
| Visual scan | Kinks, sharp bends |
| Manual check | Compressed or twisted hose |
| Flashlight examination | Hidden bends behind washer |
| Hose positioning review | Smooth curves, no tight bends |
| Maintenance action | Straighten or replace hose |
Spotting Lint Accumulation
When you inspect the drain hose, pay close attention to lint buildup. This lint shows up as fibrous debris that can block water flow. Lint accumulation inside the drain hose often causes clogs and reduces drainage efficiency.
To spot lint buildup effectively, use a flashlight to examine the hose interior for fuzzy debris or clumps. Also, look for kinks or bends that trap lint and restrict flow. Don’t forget to check for tears or holes where lint can accumulate internally.
It’s a good idea to regularly remove and clean the drain hose to prevent persistent clogs. Keeping the drain hose lint-free helps ensure proper water flow and minimizes the risk of blockages.
This way, your washing machine performs at its best.
Removing Debris Manually From the Drain Hose
Since debris like lint, hair, and fibers can accumulate inside the drain hose, you’ll need to remove them manually using long-nose pliers or a wire hanger. First, put on gloves and goggles to protect yourself from mold, bacteria, and sharp edges.
Carefully insert the tool into the drain hose and dislodge any visible debris without damaging the hose walls.
Gently pull out blockages by hand or tool, focusing on removing larger clogs that could obstruct flow. Take your time with this part to make sure you get everything out.
Visually inspect the interior for soap residue, grease, or fibers causing buildup.
Removing this debris helps prevent recurring blockages and guarantees the hose remains clear. Taking these steps thoroughly prepares the drain hose for effective flushing and long-term maintenance.
It’s a simple process that can save you from bigger problems later on.
Flushing Out the Drain Hose With Water Pressure
Although removing debris manually clears large clogs, flushing the drain hose with water pressure guarantees smaller particles like lint and soap scum are fully dislodged.
For effective flushing, first detach the drain hose from both the washing machine and the outlet to assure unobstructed water flow.
Use a garden hose or faucet to direct steady water pressure through each end alternately. This pressure pushes out residual buildup within the hose efficiently.
Follow these steps for thorough flushing:
- Wear gloves and protective eyewear to guard against sudden sprays or debris.
- Attach the water source securely to one end of the drain hose.
- Maintain steady water pressure to flush out obstructions.
- Repeat flushing until water flows freely with no resistance.
This method guarantees your drain hose is clean and clear. Simple as that!
Using a Drain Snake to Clear Stubborn Clogs
If you encounter a clog that water pressure alone can’t clear, using a drain snake provides a direct way to break up stubborn blockages. Insert the drain snake into the washing machine drain pipe until you feel resistance, signaling pipe debris buildup.
Rotate the snake clockwise while pushing forward to break up and dislodge lint, hair, or soap scum causing the clog.
Keep twisting and advancing the snake to make sure you clear the clog completely. Once the blockage clears, carefully pull the snake back out, bringing any loosened debris with it.
Finally, flush the pipe with water to wash away any remaining particles and check that the clog is gone.
After you’re done, clean the drain snake thoroughly to prevent buildup and keep it ready for the next time you need it.
Cleaning the Drain Filter and Inspecting the Drain Pipe
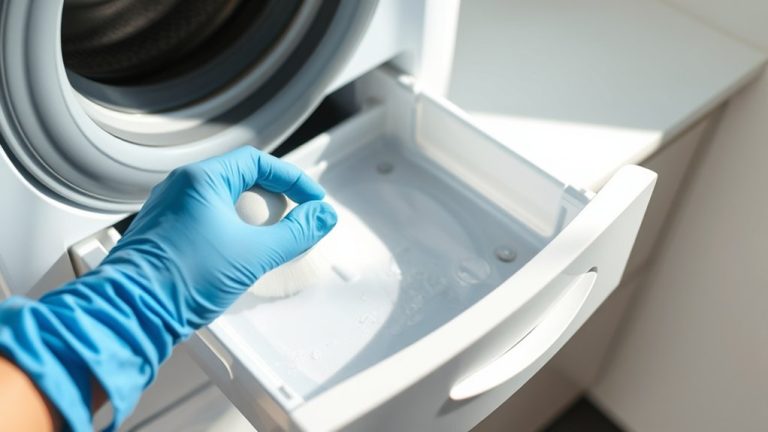
When maintaining your washing machine, start by removing the drain filter. It’s typically found behind a small panel at the bottom front. Rinse it thoroughly under running water to remove soap scum and debris.
Then, check the filter for blockages like lint, hair, or small fibers. Clear any buildup with a brush or cloth.
Next, take a look at the drain pipe to see if there are any signs of clogging or damage.
If water still drains slowly, try using a drain snake to clear deeper blockages. Follow these steps:
- Remove and rinse the drain filter thoroughly.
- Inspect and clear blockages from the filter.
- Inspect the drain pipe for clogs or damage.
- Use a drain snake if blockages persist.
Regularly cleaning and inspecting these parts helps prevent blockages and keeps your machine running smoothly. It’s a simple routine that really pays off in the long run.
Reassembling the Hose and Testing Your Washing Machine
After clearing and inspecting the drain components, reconnect the drain hose securely to the washer and drain pipe using clamps or fittings to prevent leaks. Position the hose about 30 inches above the floor to avoid siphoning and guarantee proper drainage.
Next, reattach the drain filter firmly to prevent water leaks and blockages. Plug in the washing machine, restore the water supply, and run a short test cycle. During this test cycle, watch for proper water drainage, leaks, and unusual noises.
| Step | Action | Purpose |
|---|---|---|
| 1 | Reassemble hose & fittings | Prevent leaks |
| 2 | Position hose 30 inches high | Ensure proper drainage |
| 3 | Reattach drain filter | Avoid blockages, leaks |
| 4 | Run test cycle | Confirm function, detect leaks |
Tips to Keep Your Drain Hose Clean Longer
To keep your drain hose clean longer, it’s a good idea to set up a regular maintenance routine. Try inspecting and flushing it every 3 to 6 months to stay ahead of any potential issues.
Also, watch out for common blockages by not overloading your washer. Using a drain filter can really help too—it catches debris before it has a chance to get into the hose.
And don’t forget about how you position the hose. Keeping it properly placed helps maintain steady water flow, which in turn reduces buildup over time.
Regular Maintenance Schedule
Although regular cleaning might seem tedious, maintaining your washing machine drain hose every 3 to 6 months prevents lint, soap buildup, and debris accumulation. This regular maintenance is essential for clog prevention and peak drainage performance.
To keep your drain hose functioning well, follow this schedule:
- Inspect and flush the drain hose with hot water and vinegar or mild detergent to remove residues and odors.
- Check filters and remove any obstructions to maintain smooth water flow.
- Monitor the hose condition and replace it every 5 years to avoid leaks and severe clogs.
- Schedule these tasks routinely to extend your washing machine’s lifespan and reduce emergency repairs.
Consistent maintenance ensures efficient drainage and reduces the risk of clogs in your drain hose. It’s a small effort that can save you from bigger headaches down the road.
Avoiding Common Blockages
Preventing blockages in your washing machine drain hose starts with regular inspections and proactive measures. Check the drain hose frequently for lint, hair, and fibers that accumulate as debris, which can cause clogs. Use a drain filter or trap to capture debris before it enters the drain pipe, reducing blockages.
Avoid flushing large clothing items or excess soap residue down the drain hose, as these contribute to buildup and slow drainage. Every few months, flush the hose with water or vinegar to dissolve stubborn residues. It’s a simple step that really helps keep things flowing smoothly.
It’s also important to keep the area around the drain hose clean and free from dirt or external debris that might enter the system. These steps will extend the lifespan of your drain hose and minimize blockages effectively.
Taking a little time now can save you from bigger problems later on.
Frequently Asked Questions
Can I Use Bleach to Clean the Washing Machine Drain Pipe?
You can use bleach to clean your washing machine drain pipe, but you need to be cautious. Dilute one cup of bleach in a gallon of water before flushing it through the pipe to avoid damaging rubber or plastic parts.
Use bleach sparingly, as frequent use can corrode metal components and degrade hoses.
For regular maintenance, it’s better to go with hot water and vinegar or specialized cleaners. These options help protect your drain pipe and extend its lifespan.
How Often Should I Clean the Washing Machine Drain Pipe?
You should clean your washing machine drain pipe every 3 to 6 months. If you have pets or children, clean it more frequently to prevent debris buildup.
Watch for signs like slow drainage or water pooling in the drum. These mean you need to clean it immediately.
Regular cleaning prevents odors, mold, and performance issues. It helps your machine run efficiently and last longer.
Don’t skip maintenance because it can lead to costly repairs. Taking care of it now saves you trouble later.
Will Vinegar Help Prevent Drain Pipe Clogs?
Imagine a gentle stream washing away dirt and debris inside your drain. Yes, vinegar helps prevent clogs by dissolving soap scum and mineral deposits, keeping your washing machine drain pipe clear.
Its acetic acid cuts through buildup, while its antimicrobial properties reduce mold growth.
However, don’t rely solely on vinegar for tough blockages. It’s best used regularly and in moderation to avoid damaging pipe seals over time.
Can a Clogged Drain Pipe Damage My Washing Machine?
Yes, a clogged drain pipe can damage your washing machine. It causes water to back up, putting extra strain on the pump and motor. This strain may lead to premature failure.
Standing water can cause unpleasant odors and attract pests. It also wears down hoses and seals, which increases the risk of leaks.
Over time, improper drainage can make your machine overheat or malfunction. So, regularly clearing clogs helps maintain proper water flow and prolongs your washer’s lifespan. It’s definitely worth keeping an eye on!
Should I Call a Professional for Stubborn Drain Pipe Clogs?
Yes, you should call a professional for stubborn drain pipe clogs. If your attempts with a drain snake and flushing don’t work, forcing the blockage can damage pipes or washer parts.
Professionals use specialized tools and camera inspections to pinpoint and safely clear deep or severe buildups.
Relying on their expertise guarantees efficient, thorough cleaning without risking further damage to your plumbing system or washing machine.
It’s just smarter to let someone with the right experience handle it, so you avoid making things worse.
Conclusion
Now that you’ve tackled cleaning your washing machine drain pipe, you’re well on your way to smoother laundry days. Remember, a stitch in time saves nine. Regular checks prevent bigger clogs down the line.
Keep an eye on your hose for signs of wear, and don’t skip routine cleanings. Following these steps guarantees your machine drains efficiently, extending its life and saving you from costly repairs.
Stay proactive, and your washer will thank you.