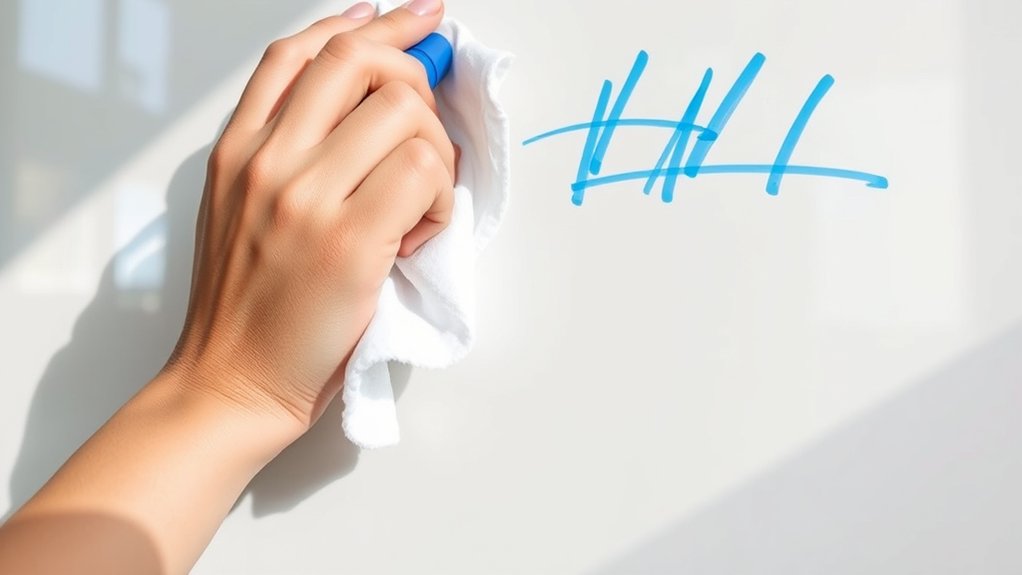
How To Clean Dry Erase Marker Off Wall – Easy Removal Guide
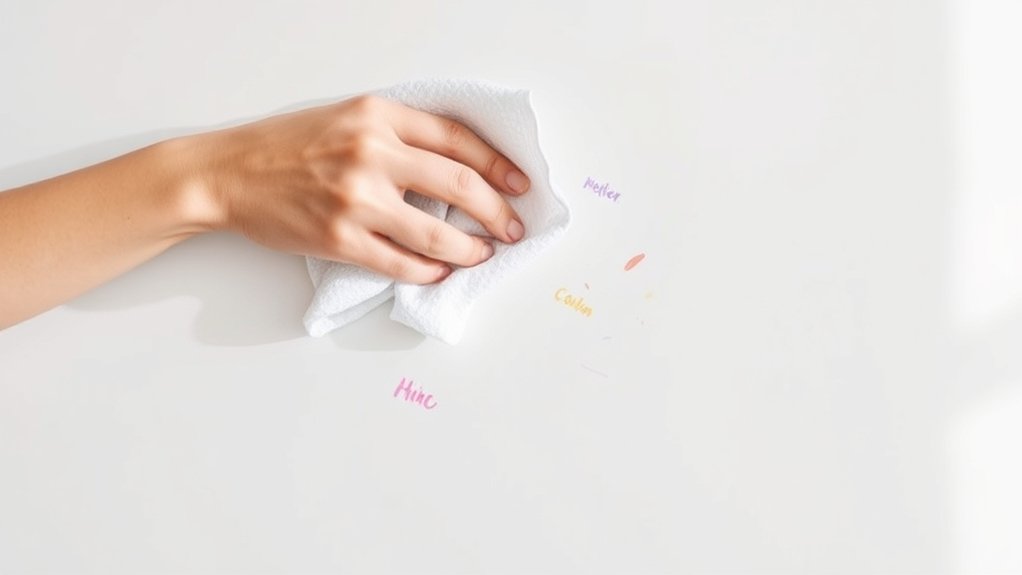
To clean dry erase marker off your wall, first test a small, hidden spot with mild soap and water to avoid damage. For fresh stains, gently scrub with warm soapy water using a soft cloth.
Older marks can be lifted with a baking soda and toothpaste paste or rubbing alcohol. Always test first to be safe.
Magic Erasers help but use cautiously on painted surfaces. Take your time and be patient. If marks persist, there are additional effective methods you can try.
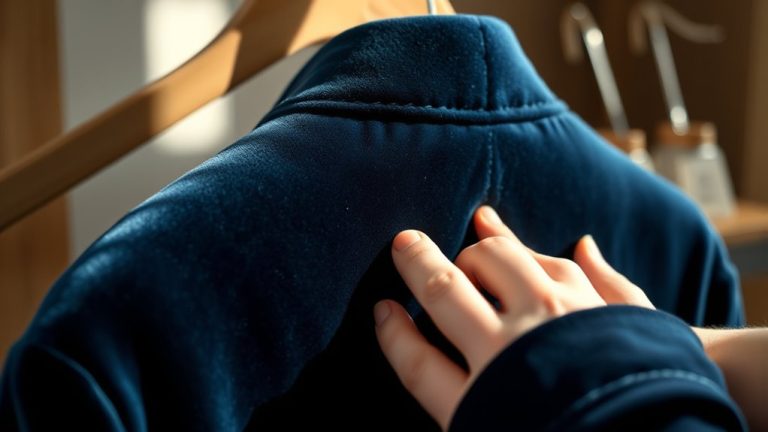
Why Do Dry Erase Markers Stain Walls?
Although dry erase markers are designed for non-porous surfaces, their solvent-based inks can easily stain walls, especially if you leave the marks on for a long time. The wall texture plays a vital role. Rough or porous surfaces allow the ink to penetrate deeper, making stains harder to remove.
Your paint type also matters. Matte or non-glossy finishes absorb ink more readily than glossy or sealed paints. The alcohol in the marker ink dries quickly but causes the stain to set firmly, especially on unsealed or textured walls.
If you scrub too hard, the ink can embed further into the wall surface, making the stain worse. So, understanding these factors helps explain why dry erase markers stain walls and why quick action is essential for effective cleaning.
Test Your Wall Surface Before Cleaning Dry Erase Marker
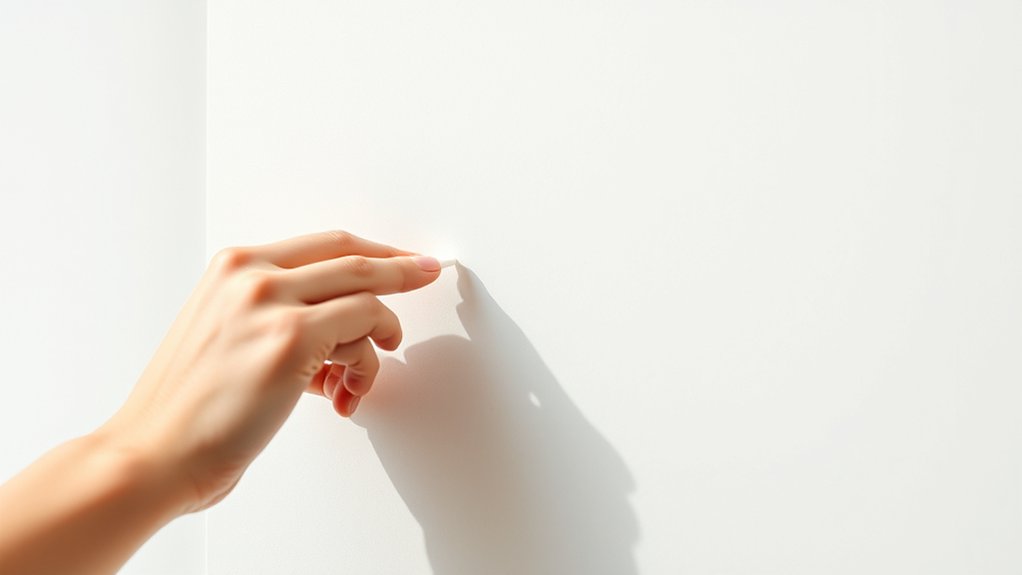
Before you apply any cleaning solution to remove dry erase marker stains, you should test it on a small, hidden section of your wall. This helps verify your wall texture and paint type won’t react negatively.
Use a gentle, non-abrasive cloth or sponge to avoid damaging the finish.
Always choose a soft, gentle cloth or sponge to protect your wall’s finish while cleaning.
For textured or porous walls, pick a less visible spot to prevent uneven results. After applying the cleaner, wait at least 24 hours to observe any discoloration or surface deterioration.
Keep track of your test results to determine if the method is safe and effective for the entire stained area.
Testing first safeguards your wall and helps you choose the best approach for cleaning dry erase marker stains. It’s better to be safe than sorry, right?
This way, you won’t risk any surprise damage when you’re trying to clean up.
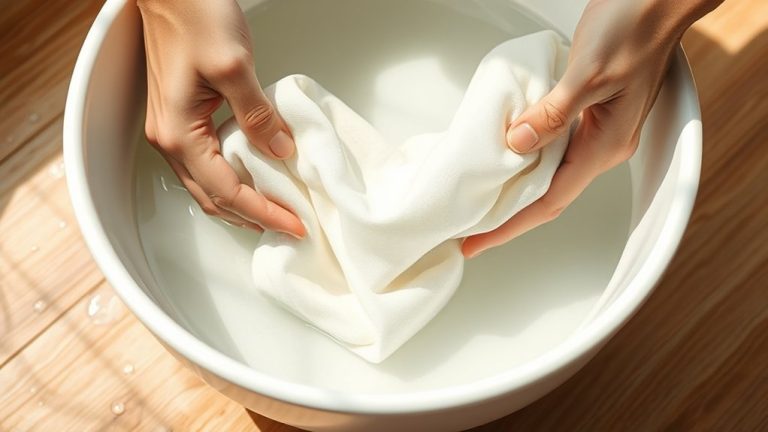
Use Soap and Water to Remove Fresh Dry Erase Marker
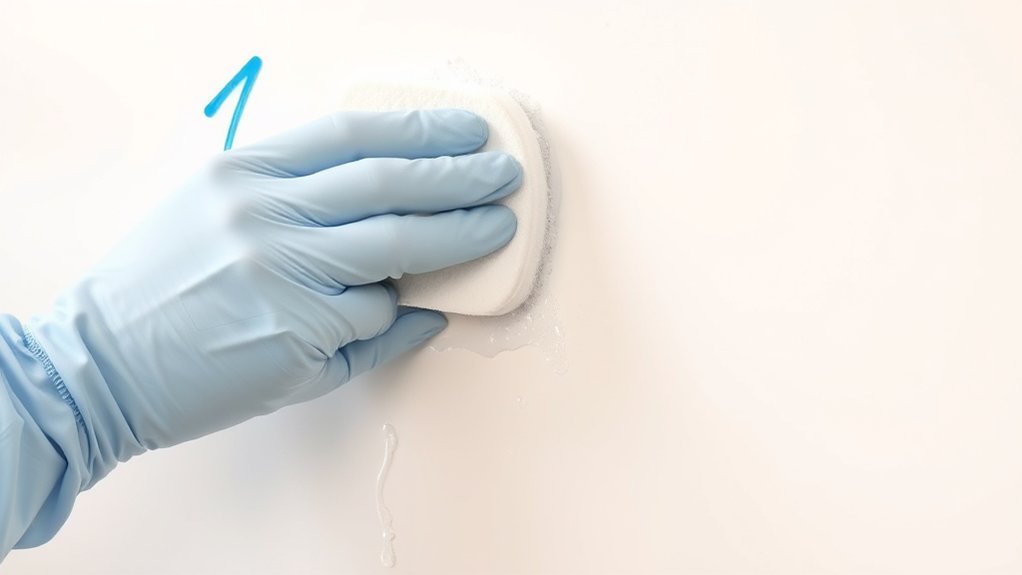
Once you’ve confirmed your wall can handle cleaning solutions, start tackling fresh dry erase marker stains with a simple soap and water mixture. This method respects the color fastness and surface texture of your wall while effectively removing ink.
Use warm water and a few drops of mild dish soap to loosen the marker.
Gently scrub with a soft cloth, applying light pressure to avoid damaging paint or altering texture. Rinse often to prevent spreading ink.
Finish by wiping with a clean, damp cloth to eliminate soap residue and avoid streaks.
Use warm, soapy water to soften fresh marker stains. Apply gentle pressure to preserve surface texture.
Frequently rinse cloth to reduce ink buildup. Avoid harsh scrubbing to maintain color fastness.
Remove soap residue for a streak-free finish.
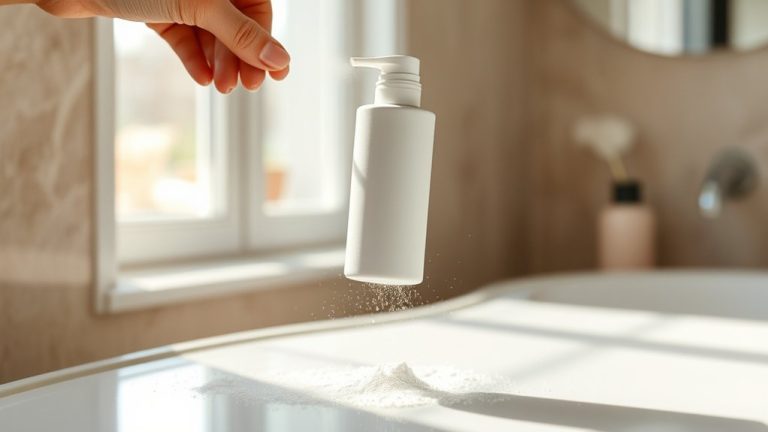
Use Baking Soda and Toothpaste to Remove Dry Erase Marker
You can easily make a gentle cleaning paste by mixing baking soda with a little water. This works great for lifting dry erase marker stains off your wall.
Just apply the paste—or even some toothpaste—directly onto the marks.
Let it sit for a moment, then scrub gently with a soft cloth.
After that, finish up by wiping the area with a damp cloth to remove any leftover residue and bring back your wall’s clean look.
Easy and effective!
Baking Soda Paste
Although dry erase marker stains can be stubborn, mixing equal parts baking soda and toothpaste creates a gentle abrasive paste that effectively lifts the ink from your wall. This method handles color mixing issues by breaking down marker pigments while preserving your wall’s surface texture.
To use baking soda paste successfully, keep these tips in mind: apply the paste directly onto dry erase marks and let it sit for a few minutes. Then, gently rub with a soft cloth to avoid damaging the wall’s texture. After that, rinse thoroughly with a damp cloth to remove residue.
Make sure to test on a small area first to check for any surface reactions. If the stains are stubborn, you can repeat the process, but go slow to ensure gradual removal.
This approach balances effective stain removal with care for your wall’s finish. It’s a simple way to get your walls looking clean again without any harsh scrubbing.
Toothpaste Application
When tackling dry erase marker stains, mixing equal parts toothpaste and baking soda creates a mild abrasive paste that effectively lifts ink without harming your wall. The toothpaste benefits you by adding gentle cleaning agents, while the abrasive properties of baking soda help break down the marker residue.
Apply a thin layer of this mixture directly onto the stain. Then, gently scrub the area using a soft cloth or your finger to avoid damaging the paint or wallpaper.
Once the ink starts to lift, wipe the area clean with a damp microfiber cloth to remove any paste and loosened marker.
If the stain persists, just repeat the process carefully. This method combines toothpaste benefits and gentle abrasiveness for efficient, safe dry erase marker removal. It’s a simple trick that really works!
Safely Remove Dry Erase Marker With Rubbing Alcohol
Since rubbing alcohol dissolves dry erase marker ink almost instantly, it’s a really effective way to get rid of stains from walls.
Before you start, make sure to test a small, hidden spot first. This helps prevent any paint damage or color bleeding.
Lightly dampen a clean cloth or a cotton ball with rubbing alcohol and gently wipe the marker lines.
Be careful not to use too much rubbing alcohol because it can harm delicate surfaces.
Once the marker is gone, wipe the area with a damp cloth to remove any leftover ink and alcohol.
- Test on inconspicuous area first
- Use moderate rubbing alcohol amounts
- Gently wipe to avoid surface damage
- Prevent color bleeding by careful application
- Follow up with a damp cloth to clean residue
Use Magic Erasers to Remove Dry Erase Marker From Walls
How exactly can you remove dry erase marker stains from your walls without harsh chemicals? Magic Erasers offer an effective solution. Start by dampening the Magic Eraser with water.
Remove dry erase marker stains gently using a dampened Magic Eraser—an effective, chemical-free solution.
Gently rub the marker stain using light, circular motions to lift the ink. The Magic Eraser’s abrasive surface breaks down the marker without needing strong chemicals.
However, test it first on a small, hidden area to check for wall damage or discoloration.
Be cautious not to scrub too hard, as excessive friction can remove paint or harm delicate finishes. If the Magic Eraser becomes worn or dirty, replace it to maintain cleaning efficiency.
Using a Magic Eraser carefully helps you remove dry erase marker stains while minimizing the risk of wall damage.
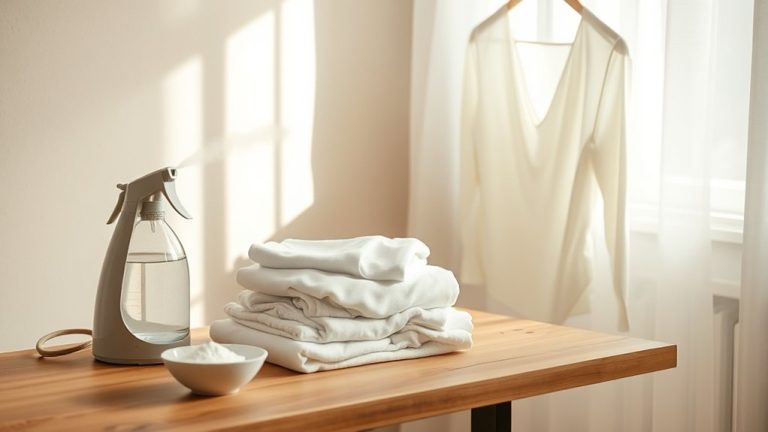
Prevent Dry Erase Marker Stains on Walls
Although dry erase markers are convenient, preventing stains on your walls is much easier than removing them later. To guarantee effective wall protection, focus on marker education and practical measures.
Teach children how to use markers properly and discourage drawing on walls.
Create designated art areas with whiteboards or chalkboards to contain marker use.
Opt for washable or non-permanent markers to minimize staining risks.
Store markers out of reach to avoid accidental scribbles.
Regularly clean walls with gentle methods to stop ink from setting permanently.
These steps help maintain your walls’ appearance and reduce cleanup time.
- Designate specific art zones with whiteboards or chalkboards
- Use washable or non-permanent markers
- Educate children on proper marker usage
- Store markers away from children’s reach
- Clean walls regularly with gentle techniques
Can’t Remove Dry Erase Marker? Troubleshooting Tips
Even with the best precautions, dry erase marker stains can sometimes stubbornly cling to your walls. This usually happens when the ink seeps into porous surfaces, causing deep stain absorption, especially on rough or textured walls.
If water and soap don’t work, try applying rubbing alcohol or hand sanitizer. These dissolve the ink more effectively. You may need to repeat the process for older or more set stains.
Always test your cleaning solution on a small, hidden area first to avoid discoloring the wall texture.
For persistent marks, drawing over the stain with a fresh dry erase marker and then erasing can sometimes lift the original ink.
Patience and careful troubleshooting are key to restoring your wall’s clean appearance. Just take it slow, and you’ll get there!
Frequently Asked Questions
Are Dry Erase Marker Stains Harmful to Wall Paint?
Dry erase marker stains aren’t usually harmful to wall paint if you act quickly. But improper stain removal or prolonged exposure can damage or discolor the paint. So, always test cleaning methods on a small, hidden spot first.
It’s better to be safe than sorry, right? Taking a little extra time upfront can save you from bigger problems later on. Just remember, quick action is key!
Can Dry Erase Marker Ink Damage Wallpaper?
Yes, dry erase marker ink can cause wallpaper damage, especially with ink absorption on porous or textured surfaces.
You should test cleaning methods carefully to avoid peeling or discoloration. This helps prevent further damage to your wallpaper.
Just be gentle and patient when you clean, so you don’t make things worse.
Is It Safe to Use the Pink Stuff on All Wall Types?
Think of Pink Stuff like a double-edged sword. It’s generally safe on wall paint but can cause wallpaper damage if you’re not careful.
Always test a small area first to avoid ruining your walls. Better to be safe than sorry!
How Long Should I Wait Before Cleaning Dried Dry Erase Marker?
You shouldn’t wait long to clean dry erase stains. Ideally, do it within a few hours.
The longer you wait, the more these stains can set and damage your wall paint. This makes removal tougher and risks paint damage.
Can Dry Erase Markers Be Removed From Textured Walls?
Think of textured surfaces like a maze. You can remove dry erase markers by carefully applying cleaning solutions with a soft brush. Patience and gentle methods help you reach ink trapped in crevices without damaging your walls.
It might take a bit of time, but going slow ensures the texture stays intact. Just keep at it, and you’ll get those marks out without any trouble.
Conclusion
Now that you’ve got the tools and tricks to tackle dry erase marker stains, don’t rush. Each wall reacts differently.
Will soap and water do the trick, or will you need the power of rubbing alcohol or magic erasers? Before you jump in, test carefully and stay patient.
The solution is closer than you think, but only if you follow the steps right. Ready to see your walls spotless again?