How To Clean A Washing Machine Drain – Guide
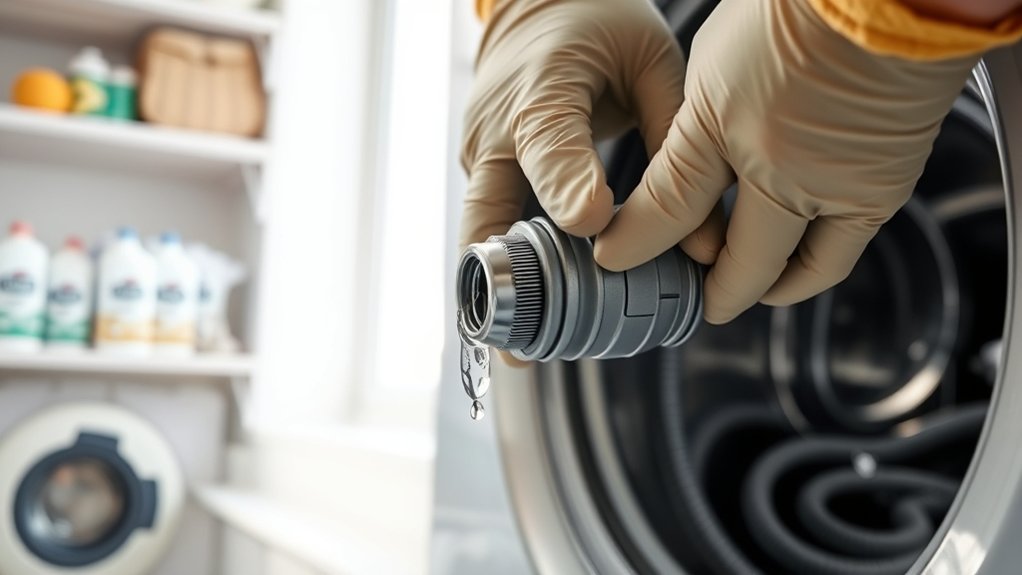
To clean your washing machine drain, first unplug the machine and turn off the water valves for safety. Detach the drain hose and filter, placing a bucket underneath to catch any water. Inspect both for blockages or damage, then clean out debris using brushes and flush with water.
Next, check the drain pipe for clogs. You can use a drain snake if needed to clear any stubborn blockages. Once everything is clear, reassemble the parts securely.
Finally, run a test cycle to make sure the drainage is working properly. Following these steps helps keep your washing machine draining efficiently and prevents future issues. If you want, you can explore further for more detailed maintenance tips.
How To Identify a Clogged Washing Machine Drain Hose
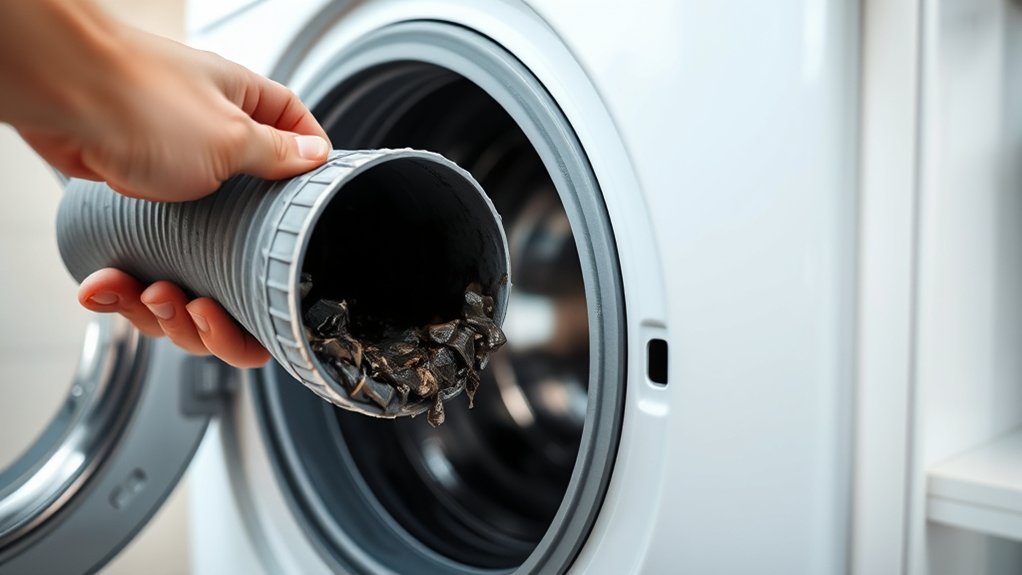
If you notice water backing up into the drum during cycles or unpleasant odors coming from your washer, you should check the drain hose for clogs. A clogged drain hose often causes these issues by preventing proper water flow.
Start with a visual inspection of the hose. Look for visible debris, lint buildup, or kinks that might be restricting drainage. Then, carefully detach the hose and check both ends and the entire length for any blockages or damage.
If your washer isn’t draining fully even after clearing the pump or filter, the clog is probably inside the drain hose. Catching a clogged drain hose early with this simple inspection helps you pinpoint the problem and avoid unnecessary repairs or replacing other parts.
Tools and Safety Steps for Washing Machine Drain Cleaning
Before you start cleaning, make sure to unplug the washing machine. It’s also a good idea to wear gloves and goggles to protect yourself.
Next, gather some essential tools like pliers, screwdrivers, a drain snake, towels, and a bucket. These will help you manage water spills and get the job done more easily.
Finally, set up your workspace with good ventilation. This will keep the air fresh and help you safely handle any cleaning agents without worrying about fumes.
Essential Cleaning Tools
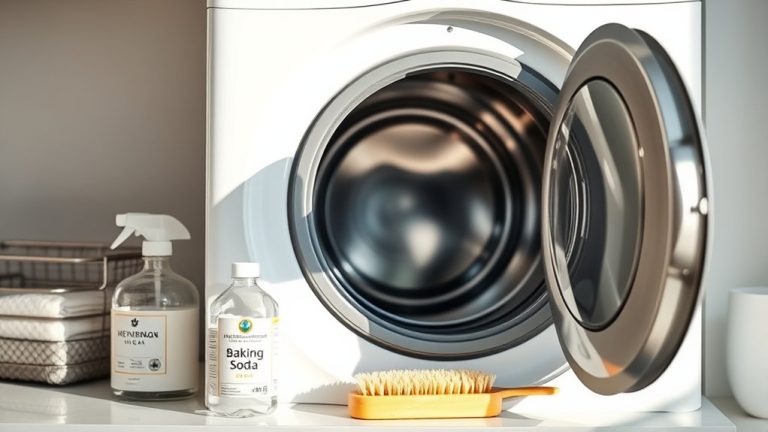
While preparing to clean your washing machine drain, gather essential tools like pliers, screwdrivers, a drain snake, gloves, towels, and a container to catch residual water.
Use pliers and screwdrivers to detach the drain hose and access clogged sections. A drain snake is vital for reaching deep blockages inside the hose or drain pipe, efficiently dislodging debris.
Always wear gloves to protect your hands from dirty water and sharp objects. Towels will help manage spills, while a container positioned beneath the drain hose collects residual water during removal.
These cleaning tools guarantee effective maintenance and minimize mess.
Before starting, remember to unplug your machine to avoid hazards. Properly assembling these tools will streamline your washing machine drain cleaning process.
It makes the whole job easier and less stressful.
Safety Precautions First
Although cleaning your washing machine drain is essential for maintenance, you must prioritize safety throughout the process. First, always unplug the machine to eliminate any risk of electrical shock during drain cleaning.
Wear gloves and safety goggles to shield your skin and eyes from debris, residual water, or cleaning chemicals.
Use the right tools like pliers, screwdrivers, and drain snakes to prevent damage to hoses or components.
It’s also smart to prepare towels or a bucket to catch water when disconnecting hoses, so you avoid water damage.
Finally, work in a well-lit, dry environment to keep good visibility and reduce slip hazards.
Following these safety precautions makes for a secure and effective washing machine drain cleaning experience.
Preparing The Workspace
Since cleaning a washing machine drain involves handling water and electrical components, you need to prepare your workspace carefully.
First, unplug the washing machine to eliminate electrical hazards. Next, turn off the water supply valves to prevent water flow during drain hose removal.
Pull the machine away from the wall to access the drain hose and filter easily.
Gather essential tools like pliers, screwdrivers, a bucket, towels, gloves, and goggles.
Wearing protective gloves and goggles is super important to protect yourself from any residual water, debris, and cleaning chemicals.
Make sure to arrange your tools within easy reach to keep the process smooth and efficient.
This preparation helps guarantee a safe and effective cleaning by minimizing risks and giving you easy access to key parts like the drain hose and water supply.
How To Remove and Inspect the Drain Hose and Filter
First, find the drain hose at the back of your washing machine. Right behind the access panel, you’ll see the filter.
Now, grab some pliers or a screwdriver to loosen the hose clamp. Carefully detach the hose, and don’t forget to place a bucket underneath to catch any water that might come out.
Next, take a good look at both the hose and the filter. Check for any blockages, debris, or damage.
Once you’re sure everything is clear and in good shape, you can put everything back together.
Locating Hose And Filter
Where exactly can you find the drain hose and filter on your washing machine? The drain hose is located at the back, usually connected to a drainpipe or laundry sink.
The drain filter is typically behind a small panel or door at the bottom front of the machine.
To inspect the drain hose, first locate the clamp securing it. Then, loosen it using pliers or a screwdriver before removing the hose carefully.
For the drain filter, open the panel at the washer’s base and remove the filter for cleaning.
Check inside the drain hose for lint, hair, or soap buildup. Clean it with a brush or flush it with water.
Rinse the drain filter thoroughly before reinserting it securely.
Removing Hose Safely
Before you begin removing the drain hose, make sure to unplug your washing machine to eliminate any risk of electrical shock. Use pliers or a screwdriver to loosen the clamp securing the drain hose to both the machine and drain pipe. Place a towel or bucket underneath to catch any residual water.
Carefully pull the hose away, making sure you don’t damage it during removal. It’s a good idea to go slow and steady here.
| Step | Tool Needed | Purpose |
|---|---|---|
| 1. Unplug | None | Prevent electrical shock |
| 2. Loosen clamp | Pliers/Screwdriver | Free hose from connections |
| 3. Catch water | Towel/Bucket | Prevent water spillage |
| 4. Detach hose | Hands | Remove hose for inspection |
This step-by-step removal gets the drain hose ready for inspection and maintenance. It’s pretty straightforward once you get started!
Inspecting Hose And Filter
How do you guarantee your washing machine’s drain system is free of blockages? Start by removing the drain hose. Loosen the clamp securing it to the machine, then carefully pull the hose out. Inspect the inside thoroughly for lint, hair, soap residue, or debris that could restrict flow.
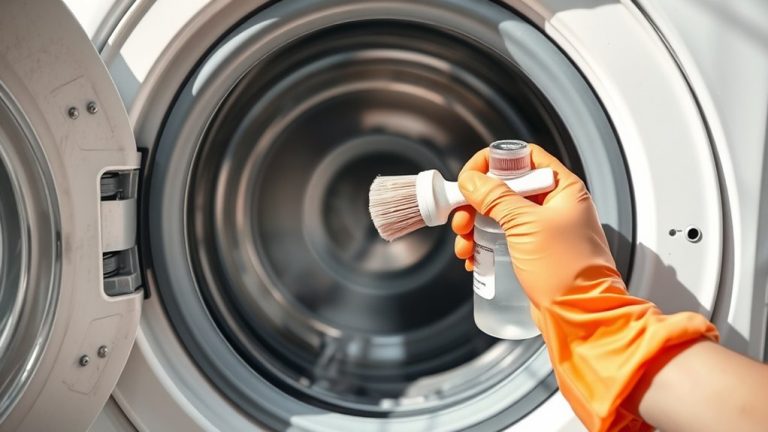
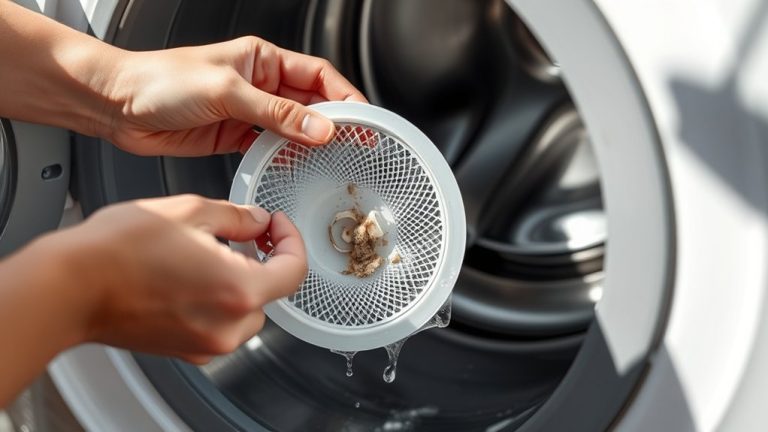
Next, locate the drain filter, usually behind a small panel at the washer’s bottom front. Remove it with care, rinse under running water, and scrub gently with a soft brush to clear buildup.
After cleaning, securely reattach the drain hose and drain filter. Make sure the clamps are tightened properly to prevent leaks.
Regular inspection and cleaning of both the drain hose and drain filter help keep your machine draining well and avoid costly repairs.
How To Clean a Clogged Washing Machine Drain Hose
Why does your washing machine drain slowly or back up? A clogged drain hose often causes this issue by blocking water flow. To fix it, you’ll want to clean out that hose.
First, detach the drain hose from both the washing machine and the drainpipe. You can loosen the clamps with pliers or a screwdriver. Then, check inside the hose for lint, hair, or soap residue. Use needle-nose pliers or a long brush to remove any debris you find.
Next, flush the hose thoroughly using water pressure from a garden hose or faucet. This helps clear out any internal blockages.
If the clog is stubborn, try using a drain auger or plumber’s snake to reach deeper and dislodge it.
Finally, securely reattach the drain hose to both the washing machine and the drainpipe. Make sure it’s properly placed to avoid future clogs.
Following these steps will get your washer draining efficiently again and stop water from backing up.
How To Check and Clear Blockages in the Drain Pipe
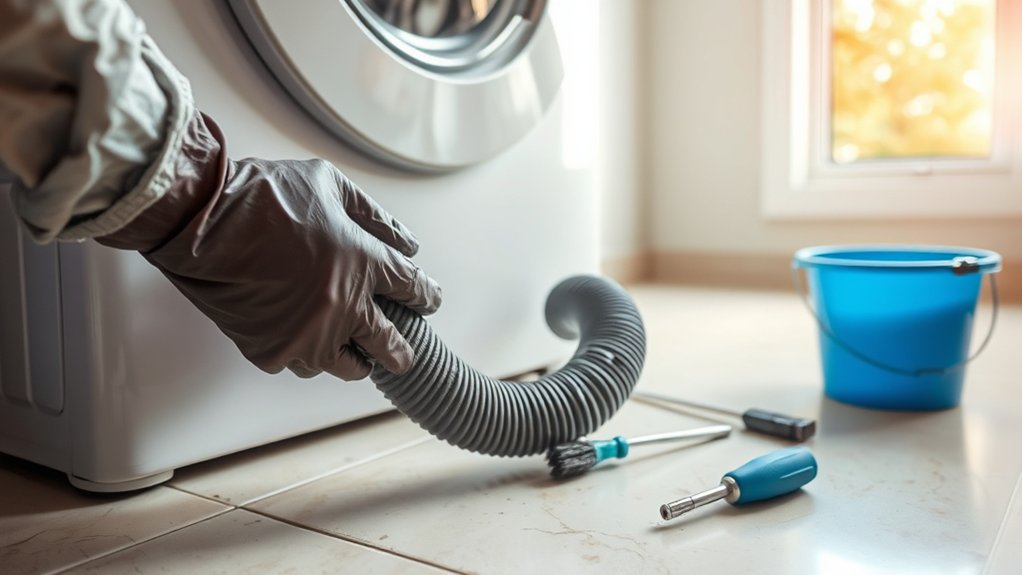
After clearing the drain hose, turn your attention to the drain pipe itself, as blockages here can also hinder proper water flow. Begin by inspecting the drain pipe for visible signs of debris or buildup.
Use a drain auger or plumber’s snake to carefully reach inside the pipe. Gently rotate the auger while pushing forward to dislodge or retrieve any obstructions without damaging the pipe.
Once the blockage is cleared, flush the drain pipe with water or a gentle hose stream to remove residual debris. If you encounter persistent blockages or can’t effectively clear the pipe, consider contacting a professional plumber to avoid causing damage or incomplete cleaning.
This guarantees the drain pipe is fully clear and functioning properly. Taking these steps ensures your plumbing flows smoothly and helps prevent future issues.
How To Reassemble and Test Your Washing Machine Drain
Before plugging your washing machine back in, make sure the drain hose and filter are securely reattached to prevent leaks. Properly reassemble each component to keep the drainage system working well.
After putting everything back together, you’ll want to test the drain function thoroughly.
Follow these steps to reassemble and test your washing machine drain:
- Confirm the drain hose and filter are firmly connected and clamps tightened.
- Run a short, water-only cycle to check for proper drainage.
- Watch the water flow to make sure it drains completely without backing up.
- Check hose connections while the machine is running to spot any leaks; tighten if needed.
- After the cycle ends, turn off the machine and look for any leftover water or blockages in the drain area.
Doing this will help your washing machine drain work smoothly and stay leak-free.
Maintenance Tips to Prevent Washing Machine Drain Clogs
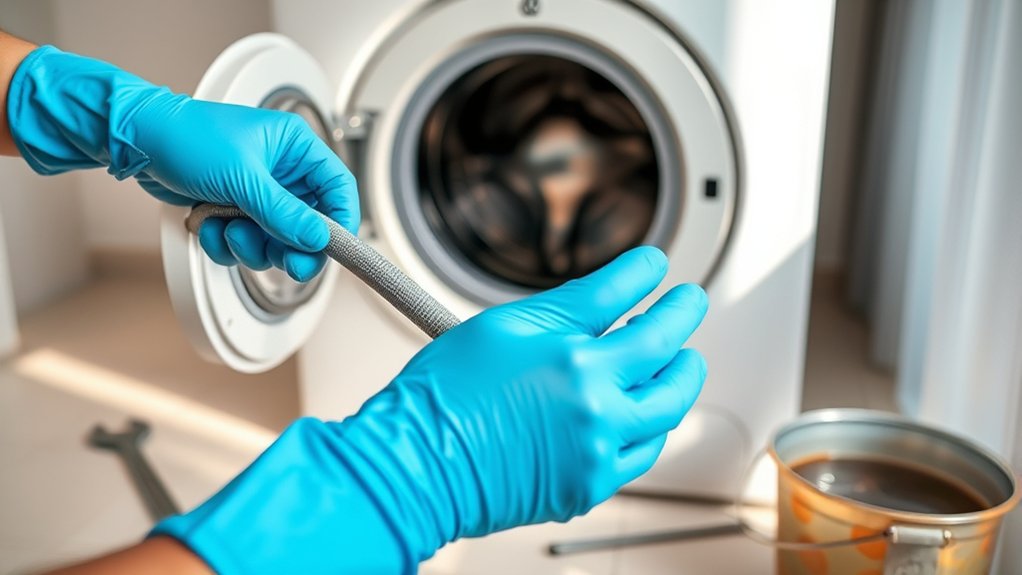
Once you’ve confirmed your washing machine drain is properly reassembled and tested, maintaining it regularly will keep clogs at bay and prolong its functionality.
Start by cleaning the lint filter and drum frequently to prevent debris from entering the drain hose and causing blockages. Use the correct amount of high-efficiency detergent to minimize soap residue buildup that contributes to clogs.
Clean the lint filter and drum regularly, and use the right detergent amount to prevent clogs.
You might want to install a drain filter or trap to catch hair, lint, and other particles before they reach the drain hose.
Every few months, run hot water or a vinegar solution through the drain hose to dissolve soap scum and grease buildup.
Finally, inspect the drain hose for wear and replace it every five years to reduce the risk of leaks and blockages.
Consistent maintenance guarantees excellent drainage and extends your washing machine’s lifespan. It’s worth the effort to keep things running smoothly!
Frequently Asked Questions
Can Using Vinegar Prevent Washing Machine Drain Clogs?
Yes, using vinegar can help prevent washing machine drain clogs by dissolving soap scum, grease, and mineral deposits that build up over time.
You should add vinegar periodically to the rinse cycle to break down organic materials like hair and lint inside the drain hose.
That said, vinegar won’t fully prevent severe clogs caused by large debris.
For the best results, it’s a good idea to combine vinegar use with regular physical cleaning and maintenance of the drain system.
This way, you keep everything running smoothly and avoid bigger problems down the line.
How Often Should I Clean the Washing Machine Drain?
You should clean your washing machine drain every 3 to 6 months to prevent buildup and odors.
If you have pets or children, cleaning every 2 to 3 months is a good idea.
Regular maintenance keeps your machine running smoothly and helps avoid clogs.
Keep an eye out for signs like water pooling or bad smells.
These usually mean it’s time for an immediate clean.
Staying consistent with cleaning not only extends your washer’s lifespan but also helps you avoid costly repairs down the line.
What Causes Washing Machine Drain Hoses to Clog Most Often?
You’ll find washing machine drain hoses most often clog due to lint, hair, and fabric fibers accumulating inside. Soap scum and detergent residues also build up, restricting flow. Small objects like coins or buttons can get stuck, causing blockages.
Moreover, mold and mildew grow in damp hoses over time, worsening clogs. It’s a good idea to keep an eye on these things to avoid bigger problems down the line.
Physical damage such as kinks or crushing further obstructs water flow, so you need to inspect and clean hoses regularly.
Can a Clogged Washing Machine Drain Damage My Machine?
Yes, a clogged washing machine drain can damage your machine. When water backs up, it puts extra strain on the pump and motor. This can lead to them wearing out much sooner than they should.
Standing water also encourages mold and corrosion. That can harm the internal parts and cause unpleasant odors.
Over time, you might even see leaks and structural damage developing. So, to keep your washer safe, make sure to clear any clogs regularly and ensure proper drainage.
Doing this simple maintenance can save you from costly repairs and help your machine last longer.
Are There Commercial Products Safe for Washing Machine Drain Cleaning?
You might think all commercial drain cleaners are too harsh for your washing machine, but some enzyme-based products are safe to use. These cleaners break down organic buildup gently without corroding hoses or seals.
Before you apply any product, check the label for compatibility and follow instructions closely.
Remember, harsh chemical drain openers can void warranties and damage parts, so stick to enzyme-based options or mechanical cleaning methods for the safest results.
It’s always better to be cautious and protect your machine while keeping those drains clear.
Conclusion
By regularly inspecting and cleaning your washing machine drain hose, you can avoid clogs that disrupt your laundry routine. For example, imagine Sarah, who noticed slow drainage and proactively cleared her hose. This simple step saved her from a costly plumber visit.
Follow the steps outlined: remove, inspect, clean, and reassemble to keep your drain flowing smoothly. Consistent maintenance not only extends your machine’s life but also guarantees efficient, hassle-free operation every wash cycle. It’s easier than you might think, and totally worth the effort!