How To Clean A Laundry Room? – Easy Guide
To clean your laundry room, start by decluttering and organizing items into keep, donate, and discard piles. Deep clean your washing machine with vinegar and scrub the rubber gasket. Then clean your dryer’s lint trap and drum regularly.
Don’t forget to clear the dryer vent hose yearly to prevent fire hazards. Wipe down surfaces and mop floors using disinfectant. Keep supplies organized in labeled bins and maintain good ventilation to prevent mold.
Follow these steps for a fresh, efficient space, and uncover more helpful tips for maintenance.
Key Takeaways
- Declutter and organize by sorting items, dusting surfaces, and setting up labeled bins for laundry and waste disposal.
- Deep clean washing machine and dryer regularly, including running vinegar cycles and cleaning lint traps after each use.
- Maintain ventilation by cleaning the dryer vent hose yearly and keeping laundry appliance doors open to reduce moisture.
- Clean surfaces and floors by vacuuming dust and mopping with disinfectant, focusing on hidden corners and appliance exteriors.
- Organize supplies with labeled containers, maintain inventory, and establish a routine cleaning schedule for sustained cleanliness.
Declutter and Prepare Your Laundry Room
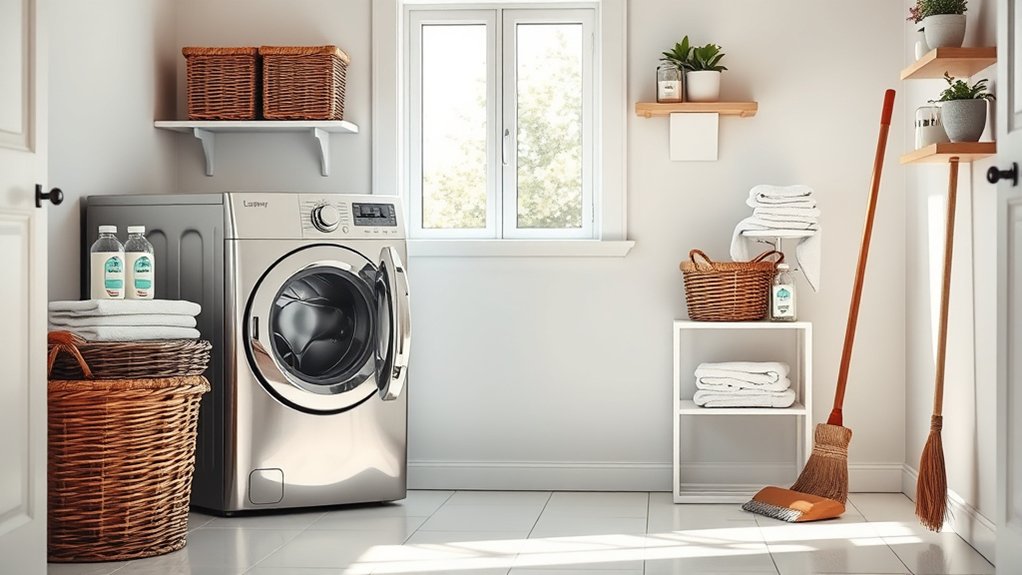
A clean laundry room starts with effective decluttering and preparation. First, remove all items from the room and sort them into keep, donate, and discard piles to declutter thoroughly. Clear countertops, shelves, and appliances to create an organized space that supports your laundry routine.
Dust high surfaces and corners to eliminate grime and refresh the environment.
Next, set up labeled bins for sorting dirty laundry, separating delicates, darks, and linens to streamline your process.
Keep a small, covered wastebasket nearby to quickly dispose of unwanted items and maintain tidiness.
Deep Clean Your Washing Machine
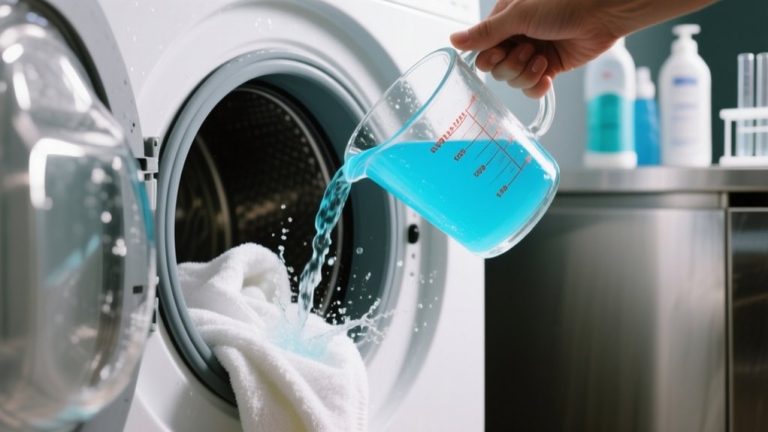
Although your washing machine handles dirty clothes daily, it needs regular deep cleaning to stay efficient and odor-free. Start by running an empty cycle with hot water and two cups of white vinegar to dissolve buildup and banish odors.
Next, scrub the rubber gasket with a vinegar and baking soda mix to tackle mold and mildew lurking in crevices. Don’t forget the detergent drawer—remove and scrub it, or use a toothbrush for tight spots.
After each wash, leave the door open to improve airflow and prevent moisture buildup. Schedule this deep clean every few months to keep your washing machine running smoothly and extend its lifespan.
- Eliminate stubborn odors
- Remove hidden mold and mildew
- Prevent costly repairs
- Maintain peak efficiency
- Enjoy fresher, cleaner laundry
Clean and Maintain Your Dryer and Lint Trap
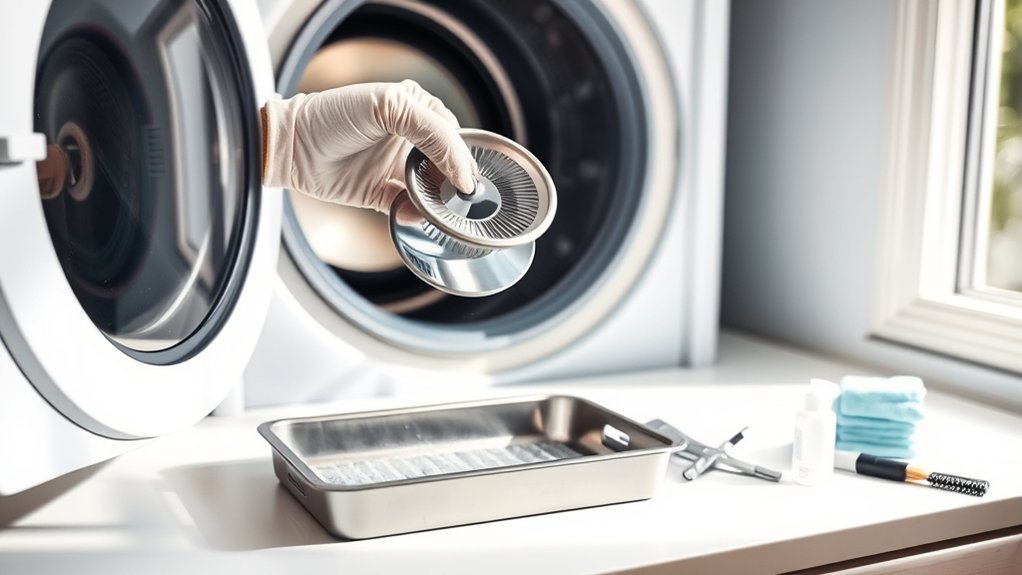
Since your dryer works hard to keep your clothes dry, you should clean the lint trap after every use by removing accumulated lint and washing the screen with warm, soapy water. This prevents lint buildup, maintaining dryer efficiency and reducing fire risks.
Regularly vacuum the lint trap slot and surrounding areas to eliminate hidden lint and dust.
To clean your dryer drum, use a mild soap solution or a vinegar and baking soda mix, scrubbing stubborn residue before wiping dry.
Although cleaning the dryer vent hose is essential, focus here on keeping the lint trap and drum clean. These steps help your dryer perform effectively, extend its lifespan, and keep your laundry room safe.
Make cleaning the lint trap a routine part of your laundry process.
Clean Your Dryer Vent Hose to Stay Safe
First, unplug your dryer and gently pull it away from the wall so you can reach the vent hose.
Next, grab a screwdriver to loosen the clamps and detach the hose.
Once it’s off, use a vacuum or a brush to clear out all the lint that’s built up inside.
It’s important to get every bit because lint can be a fire hazard.
After cleaning, take a good look at the hose for any damage.
If everything looks good, go ahead and reattach it securely.
Finally, push the dryer back into place, and you’re all set for a safer, more efficient dryer!
Dryer Vent Hose Removal
Before you begin cleaning, unplug your dryer and carefully pull it away from the wall to access the vent hose.
Next, loosen the clamps with a screwdriver and gently detach the dryer vent hose without causing damage.
Use a vacuum or a vent cleaning brush to remove lint buildup inside the hose, as lint accumulation creates a serious fire hazard.
Once clean, reattach the hose tightly and push the dryer back into place, ensuring no gaps or leaks.
Remember, cleaning your dryer vent hose regularly protects your home from potential fire hazards, boosts your dryer’s efficiency, extends your dryer’s lifespan, saves energy and reduces bills, and keeps your laundry room safe and fresh.
Stay safe by making this simple task a yearly habit.
Lint Buildup Cleaning
Although it may seem like a minor task, cleaning your dryer vent hose is essential to prevent dangerous lint buildup that can cause fires.
Start by disconnecting the vent hose from your dryer. Use a vacuum or a vent cleaning brush to thoroughly remove accumulated lint and debris inside the hose.
Regularly clean the vent at least once a year to reduce fire hazards and maintain dryer efficiency. Check the vent hose for kinks or crushing that could restrict airflow.
After cleaning, reattach the hose securely and inspect for gaps or leaks to guarantee proper ventilation.
If your dryer vent is long or has multiple bends, consider hiring a professional to clean it thoroughly.
Staying proactive will keep your laundry room safe and your dryer running smoothly.
Hose Reattachment Safety
Once you’ve thoroughly cleaned the dryer vent hose, make certain to unplug the dryer and carefully reattach the hose using a screwdriver to tighten any clamps.
Prioritize hose reattachment safety to prevent air leaks and maintain proper ventilation. A snug fit stops lint buildup and reduces fire risks.
During cleaning, inspect the vent hose for wear or damage; replacing compromised parts guarantees your dryer runs efficiently and safely.
Remember, a secure vent hose connection supports peak dryer performance and protects your home.
- Avoid fire hazards by securely tightening clamps
- Prevent energy loss with airtight vent hose reattachment
- Protect your dryer from damage with careful handling
- Reduce lint buildup by maintaining a clean, intact hose
- Promote long-term safety by inspecting and replacing worn hoses regularly
Clean Laundry Room Floors and Surfaces
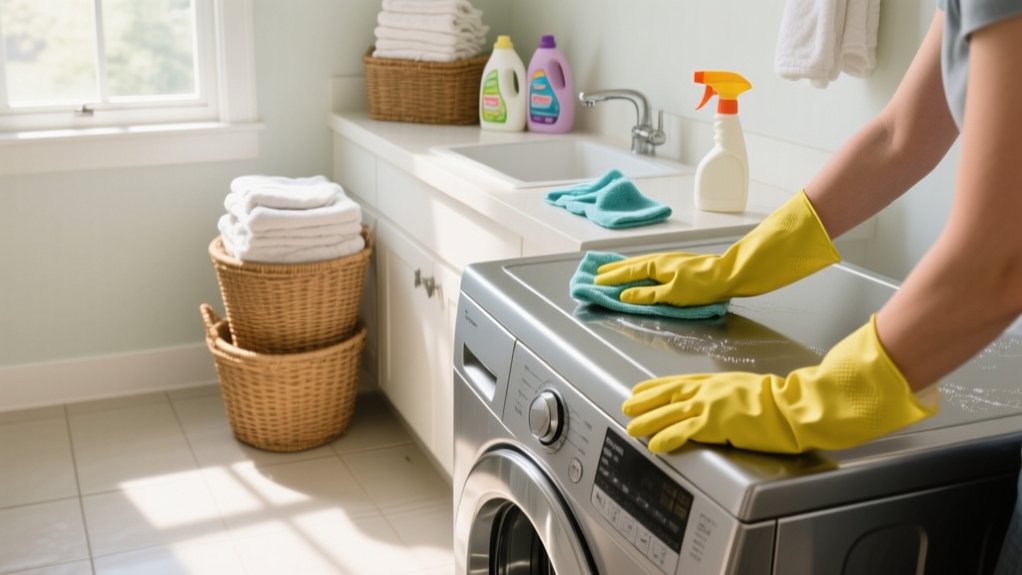
While cleaning your laundry room, start by vacuuming the floors and surfaces to remove dust, lint, and debris. Next, wipe down the entire area with a mild cleaner mixed with warm water, focusing on shelves, countertops, and appliance exteriors. Don’t forget corners and hidden spots behind the washer and dryer, which often collect dust.
Mop the floors using a disinfectant solution to guarantee deep cleaning and eliminate odors. Regularly maintaining these simple tips helps you keep clean laundry room floors and surfaces effortlessly.
| Task | Details |
|---|---|
| Vacuum | Remove dust, lint, debris |
| Wipe Down Surfaces | Shelves, countertops, appliances |
| Mop Floors | Use disinfectant, eliminate odors |
Clean and Organize Laundry Room Baskets and Hampers
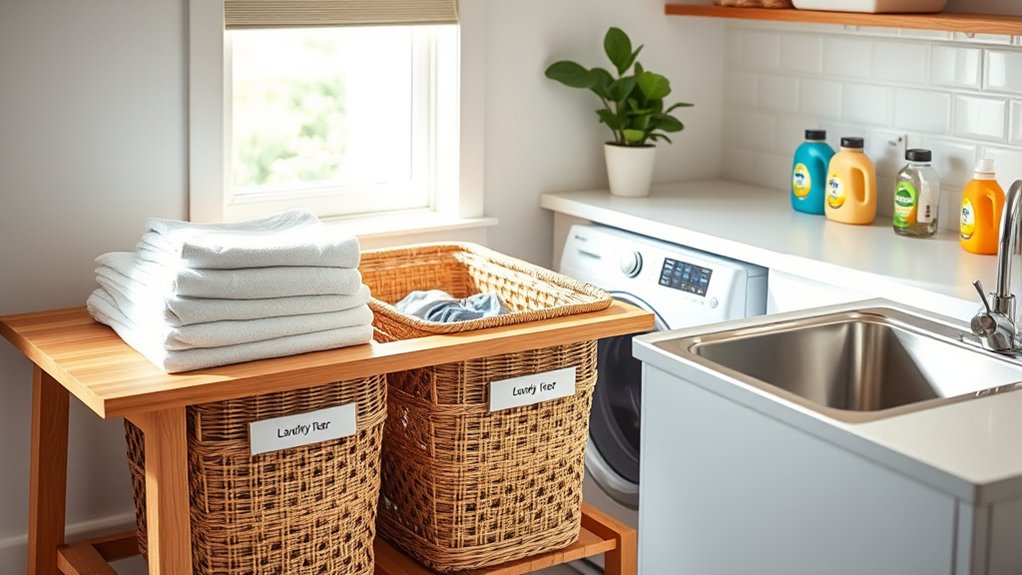
After cleaning your laundry room floors and surfaces, turn your attention to the baskets and hampers to maintain overall hygiene and order.
Regularly wipe plastic laundry baskets with a disinfecting solution or vinegar-water mix to prevent unpleasant smells and bacteria buildup.
For fabric hampers, machine-wash or spot-clean them to keep them fresh.
Vacuum wicker hampers, then use a damp cloth for any remaining dirt.
Don’t forget to clean behind your hampers to avoid hidden dust and grime.
Organize your laundry room by designating specific baskets for sorting laundry by color or fabric type.
This simple step streamlines your washing process and keeps everything neat.
- Say goodbye to lingering odors
- Enjoy a clutter-free laundry space
- Feel confident in a hygienic environment
- Save time sorting clothes
- Create a welcoming, fresh atmosphere
Restock and Organize Your Laundry Supplies
First, take a moment to check what laundry supplies you have on hand. Make a note of anything running low so you’re not caught off guard and needing a last-minute trip to the store.
Then, find some clear, labeled containers or baskets to keep everything neat and easy to find. It really helps to have a designated spot for each item.
And to keep things running smoothly, you might want to set up a regular restock schedule or even try subscription services that deliver your essentials right to your door. That way, you’re always prepared without the hassle.
Essential Supply Inventory
Although laundry days can feel routine, keeping your supplies well-stocked and organized makes the process smoother and more efficient. Maintaining an essential supply inventory lets you avoid last-minute trips and keeps your cleaning routine on track.
Use a detergent dispenser to measure out detergent perfectly every time, reducing waste. Organize laundry supplies in labeled bins or clear containers to find what you need quickly and maintain organized storage. Regularly restock eco-friendly detergents, fabric softeners, stain removers, and dryer balls to optimize your routine.
- Never run out of detergent mid-wash
- Easily spot when fabric softener is low
- Reduce drying time with fresh dryer balls
- Avoid clutter with designated supply spots
- Protect your family with non-toxic products
This methodical approach keeps your laundry room efficient and stress-free.
Storage Solutions Setup
When you restock and organize your laundry supplies, using labeled bins and clear containers helps you categorize items like detergents, fabric softeners, and stain removers for quick access. Install shelves to keep laundry essentials off the floor and within reach.
Place frequently used products at eye level to make your routine efficient. Clear containers provide visibility, so you know when to restock. Decorative baskets on shelves keep your space tidy and organized.
Here’s a simple storage solutions setup to reflect upon:
| Item Category | Storage Type | Placement |
|---|---|---|
| Detergents | Clear Containers | Eye Level Shelf |
| Fabric Softeners | Labeled Bins | Upper Shelf |
| Stain Removers | Clear Jars | Eye Level Shelf |
| Dryer Sheets | Decorative Baskets | Open Shelves |
| Laundry Tools | Small Bins | Bottom Shelf |
Replenishment Scheduling Tips
Because keeping your laundry supplies consistently stocked prevents last-minute runs, create a monthly checklist of essentials like detergent, fabric softener, and dryer sheets. This habit helps you replenish items before they run out.
Organize your supplies in clear, labeled containers for easy access and quick inventory review. Schedule a quarterly review to discard expired products and update your checklist.
Consider subscribing to a laundry supply service to automate replenishment and reduce effort. Proper storage and scheduling keep your laundry area neat and efficient, saving time and stress.
Never face a laundry emergency again.
Enjoy a clutter-free, organized space.
Save money by avoiding impulse buys.
Feel confident your supplies are fresh.
Streamline your laundry routine effortlessly.
Improve Ventilation to Prevent Mold and Odors
To prevent mold and odors in your laundry room, you should prioritize improving ventilation by keeping washer and dryer doors open after use to let moisture escape.
Improve ventilation by leaving washer and dryer doors open after use to let moisture escape.
Install an exhaust fan to remove humid air, especially in smaller spaces prone to dampness.
During humid months, run a dehumidifier to maintain moisture levels between 30-50%, inhibiting mold growth.
Regularly check and clean your dryer vent hose to prevent lint buildup, which restricts airflow and causes musty odors.
Ensuring proper airflow reduces moisture accumulation, a key factor in mold development.
Moreover, keep surfaces and appliances clean to avoid dust and mildew buildup that thrive in poorly ventilated areas.
Set Up a Routine to Keep Your Laundry Room Clean
Maintaining proper ventilation helps keep your laundry room fresh, but consistent cleaning routines guarantee it stays that way. To keep laundry rooms efficient and inviting, set up a weekly cleaning schedule where you wipe surfaces, empty lint traps, and vacuum floors.
Don’t forget to deep clean your laundry monthly by scrubbing the washing machine, dryer, and cleaning the vent hose to prevent buildup.
Organize laundry supplies in labeled bins to reduce clutter and speed up your tasks. Use reminders and checklists to track progress and schedule decluttering sessions.
- Feel pride in a spotless, organized space
- Enjoy the ease of finding supplies instantly
- Prevent frustrating lint and mold issues
- Save time with a clear, consistent routine
- Experience the satisfaction of regular deep cleaning
Frequently Asked Questions
How Often Should I Replace My Washing Machine Hoses?
You should replace your washing machine hoses every 3 to 5 years to prevent leaks and water damage.
Check them regularly for cracks, bulges, or wear, and replace them sooner if you spot any issues.
Always use reinforced rubber or stainless steel hoses, and make sure they’re installed without kinks or twists.
Keep an eye out for water stains near your machine because they often signal a hose leak needing immediate attention.
Can I Use Natural Cleaners Instead of Bleach in My Laundry Room?
You can swap out bleach for natural cleaners and still get a fresh, spotless laundry room. Imagine the crisp scent of lavender oil mingling with the fizz of baking soda tackling stains.
White vinegar cuts odors, while hydrogen peroxide disinfects without harsh chemicals. These options protect your fabrics and the environment, and using eco-friendly brands keeps your space safe and healthy.
Just apply methodically for effective, gentle cleaning every time.
What Is the Best Way to Remove Pet Hair From Laundry?
The best way to remove pet hair from laundry is to shake out your clothes outside first.
Use a lint roller or sticky tape on fabric before washing to pick up loose hairs.
Add half a cup of white vinegar to your wash cycle to break down hair and reduce static.
Use dryer balls or rubber gloves in the dryer to gather hair, running it on low heat for 10 minutes before washing for best results.
How Do I Prevent Static Cling in My Clothes?
To prevent static cling in your clothes, start by using wool dryer balls. They separate fabrics and absorb moisture naturally.
Add half a cup of white vinegar during the rinse cycle; it softens fabrics and reduces static.
Make sure your clothes are fully dry before removing them because static increases when they’re damp.
You can also use modern anti-static sprays or dryer sheets. But honestly, air-drying is the most effective way to minimize friction and static buildup.
Are There Energy-Efficient Laundry Machines Worth Investing In?
Yes, energy-efficient laundry machines are worth investing in. They use 20-50% less water and electricity, which cuts your utility bills markedly over time.
Look for ENERGY STAR-certified front-loaders with load-sensing technology. They adjust water and energy use based on load size.
Plus, their quicker cycles save time and reduce wear on clothes.
Over a year, you could save up to $100, making this investment both eco-friendly and economical.
Conclusion
Now that your laundry room sparkles like a fresh breeze, maintaining it becomes a breeze too. By decluttering, deep cleaning appliances, and organizing supplies, you’ve built a well-oiled machine that runs smoothly.
Keep the floors spotless and vents clear, like opening windows to let in fresh air. With a simple routine, your laundry space will stay as crisp and inviting as freshly folded clothes, ready to tackle every load without a hitch.