What Is Drum Clean In Washing Machine – Explained
Drum Clean in your washing machine is a high-temperature cycle that sanitizes the drum and internal parts without laundry inside. It uses hot water (around 60–70°C), agitation, and spinning to remove detergent buildup, bacteria, and odors.
This cycle prevents mold growth and maintains ideal washing performance. You’ll want to run it monthly and combine it with manual cleaning of seals and dispensers for best results.
Keep exploring to understand how it helps extend your machine’s life and troubleshoot issues.
What Is Drum Clean and How Does It Work?

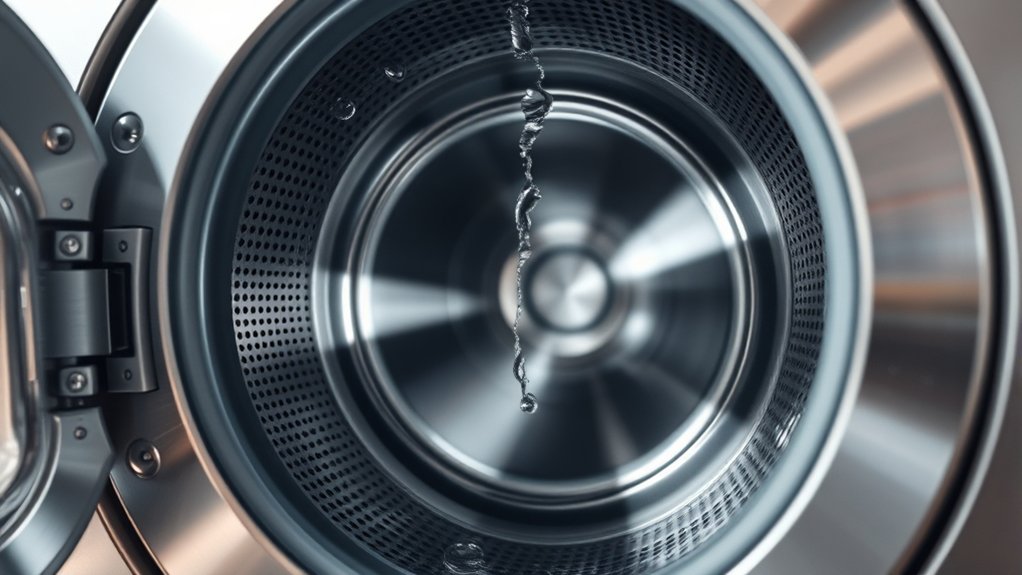
How does the Drum Clean cycle keep your washing machine hygienic? The drum clean cycle is a self-cleaning process that sanitizes the drum and internal components by using hot water heated to 60°C or 70°C.
During this cycle, the machine agitates and spins the drum for 60 to 90 minutes without laundry inside, effectively removing detergent residue, bacteria, and dirt.
The high temperature plays an essential role in eliminating mold, bacteria, and odors, guaranteeing thorough sanitizing.
This buildup removal prevents contamination and maintains peak washing performance.
How Drum Clean Differs From Manual Drum and Door Cleaning
You’ll find that Drum Clean uses an automated cycle with high-temperature water to sanitize the entire drum.
On the other hand, manual cleaning means you have to scrub specific areas like the door seal yourself.
Drum Clean runs without detergent and doesn’t need to be done as often, which makes it way more convenient than regular manual cleaning.
Knowing these differences can help you keep your machine hygienic and running efficiently with less hassle.
Automated Vs Manual Cleaning
Although automated drum clean cycles handle sanitizing the washing machine’s drum through hot water and agitation, they don’t replace the need for manual cleaning. Automated cleaning efficiently removes bacteria, mold, and detergent residues inside the drum within 60-90 minutes, reducing how often you need to do manual maintenance.
But manual cleaning is still essential for areas automated cycles can’t reach, like the rubber door seal and detergent dispensers. You’ll need to physically wipe these parts using the right cleaning agents to prevent buildup and odors.
While the drum clean cycle optimizes drum hygiene automatically, thorough maintenance means combining it with regular manual cleaning. This dual approach helps your washing machine stay hygienic and lasts longer by tackling both the easy-to-reach and hidden grime.
Cleaning Scope Differences
While both drum clean cycles and manual cleaning aim to keep your washing machine hygienic, they actually differ quite a bit in scope and method.
Drum cleaning is an automated cycle that sanitizes the entire drum and internal parts using hot water heated to 60-70°C. It runs for 60-90 minutes and targets bacteria and buildup systematically, all without you having to lift a finger.
Manual cleaning, on the other hand, means you physically wipe or scrub visible areas like the rubber gasket, door seal, and drum. You use detergents or bleach to get rid of surface dirt, mold, or residue as needed.
So, manual cleaning focuses on the spots you can see and reach, while drum cleaning provides thorough internal sanitation on a regular basis.
Together, they work well to cover both external and internal hygiene, but drum cleaning gets to places manual cleaning just can’t reach effectively.
Frequency And Convenience
Understanding the differences in cleaning scope naturally leads to looking at how often and how conveniently each method fits into your maintenance routine. Drum Clean cycles are automated and designed for convenience. They run on a regular schedule, typically monthly, without needing any manual effort.
This automated process uses high-temperature water and agitation to keep things hygienic, so you don’t have to get involved much.
On the other hand, manual drum and door cleaning require more frequent attention—often weekly or bi-weekly. This means physical wiping and targeted cleaning of seals and door areas.
While manual cleaning makes sure dirt and mold are removed thoroughly, it can be a bit of a hassle to keep up with so often.
Why Regular Drum Clean Is Essential for Your Washer
Because detergent residues, bacteria, and mold can build up inside your washing machine drum, running regular drum clean cycles is really important to keep things hygienic and stop any unpleasant smells. Routine maintenance with these drum clean cycles helps get rid of bacteria and mold, so your washer stays fresh inside.
If you skip this process, grime can pile up, which leads to bad odors and might even mess with how well your washer cleans. Plus, by doing drum clean cycles regularly, you help prevent corrosion and mechanical wear caused by leftover residues. This means your machine can last longer.
Most manufacturers suggest doing a drum clean cycle every month to keep your washer working at its best and to avoid any funky smells. Making this a part of your regular maintenance routine keeps your washer running efficiently, protects your laundry’s cleanliness, and extends the life of your machine.
Key Benefits of Frequent Drum Clean Cycle Use
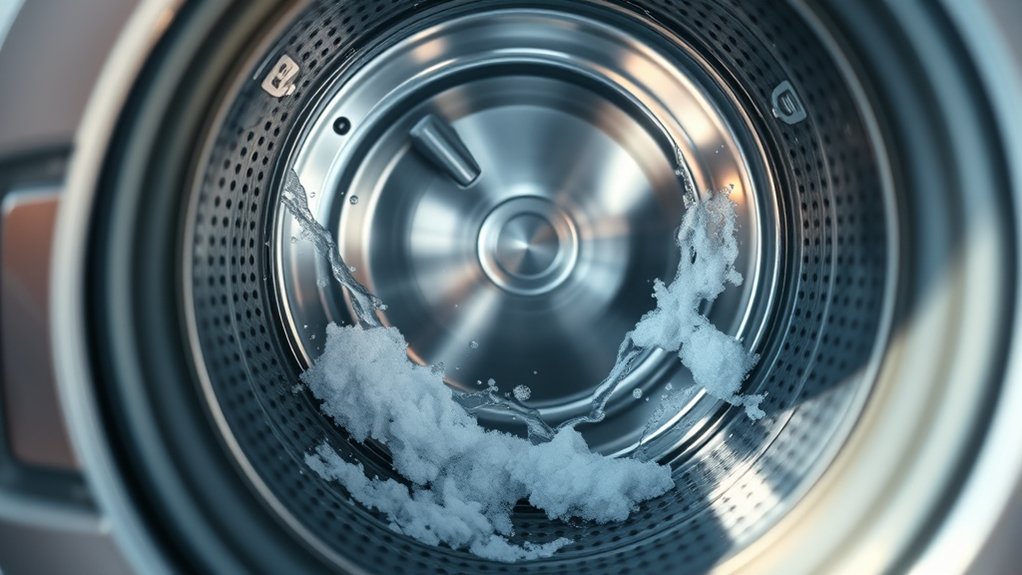
Maintaining a regular drum clean cycle offers several significant benefits that directly impact your washing machine’s performance and longevity. By performing this cycle consistently, you prevent internal buildup of detergent residue and mineral deposits that cause odors and reduce washing efficiency.
This regular maintenance creates a hygienic environment by inhibiting bacteria and mold growth inside the drum. Plus, frequent use of the drum clean cycle ensures grime removal, which results in fresher-smelling laundry.
You’ll also extend your washer’s lifespan by avoiding internal damage linked to buildup. Keeping components clean through this process optimizes the machine’s overall functionality.
Embracing a monthly drum clean cycle is a simple, effective way to prevent odors and keep your washing machine in great shape over time.
Step-by-Step Drum Clean Cycle Guide
Before you start the Drum Clean cycle, make sure the drum is empty and the door is securely closed. Once that’s done, go ahead and select the dedicated Drum Clean program.
Then, just initiate the cycle—it runs at high temperatures to really get the drum sanitized.
When the cycle finishes, it’s a good idea to leave the door slightly open. This helps with ventilation and allows the drum to dry completely. Easy and effective!
Preparing The Drum
When you prepare the drum for a Drum Clean cycle, you need to make sure it’s completely empty. This helps the cleaning process work effectively. Start by checking the drum carefully to remove any laundry or foreign objects.
Don’t add detergent or any cleaning agents unless the manufacturer specifically tells you to do so.
Next, close the washing machine door securely. This ensures the cycle runs smoothly and keeps the right pressure inside the drum during cleaning.
Make sure you’ve selected the Drum Clean or Tub Clean programme on your machine’s control panel.
Preparing the drum correctly is really important. It helps prevent residue buildup and keeps things hygienic.
Once you’ve done these steps, you’ll be all set to start the cycle for a thorough drum maintenance.
Starting The Cycle
Although the drum must be empty and free of any laundry, you can start the Drum Clean cycle by pressing the Power button and selecting the dedicated Drum Clean or Tub Clean program on your washing machine.
Make certain not to add detergents or cleaning agents unless your manufacturer instructs otherwise.
Once you select the cycle, press the Start button to initiate the process.
The machine heats water to around 60°C or 70°C and agitates the drum thoroughly to sanitize and remove residues.
During this cycle, avoid interrupting the process.
The washing machine may display a prompt indicating cycle progress or completion.
Starting the Drum Clean cycle properly ensures effective cleaning and maintenance, preventing mold and odors while protecting your washing machine’s drum from damage.
Post-Cleaning Care
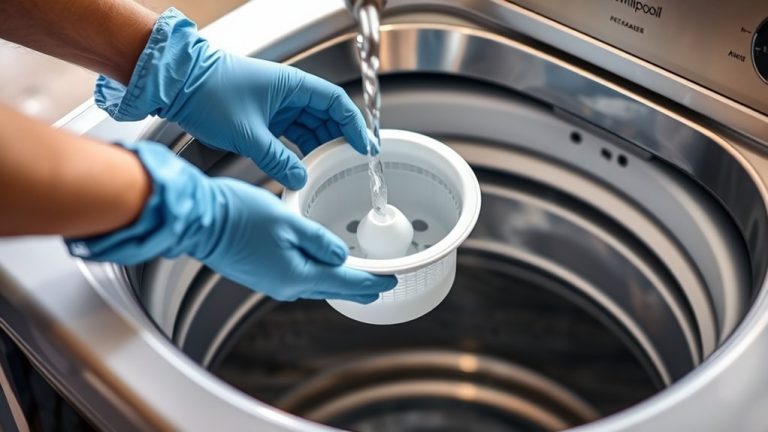
Once the drum clean cycle finishes, you should open the washing machine door and detergent dispenser to ventilate the interior thoroughly. This step allows moisture and odors to dissipate, preventing mold growth.
Next, wipe the drum, door seal, and surrounding areas with a soft cloth to remove any residual dirt or moisture left behind. Pay special attention to the rubber gasket and door seal, inspecting them for mold or residue. Clean these areas as needed to keep things hygienic.
After wiping, leave the door slightly ajar for several hours to ensure proper airflow and complete drying. Doing this regularly helps preserve your washing machine’s cleanliness. It also makes sure each drum clean cycle stays effective in preventing buildup and bacterial contamination.
Common Mistakes to Avoid During Drum Clean Cycles
If you want to maintain your washing machine’s efficiency, you must avoid common mistakes during the drum clean cycle. Interrupting the cycle once it starts compromises its effectiveness, so don’t open the door mid-process.
Adding laundry or detergents during the cycle dilutes the cleaning action and leaves residue behind, reducing cleaning quality. Always verify the drum is completely empty before starting to prevent leftover residue from interfering with the cleaning.
Avoid using harsh chemicals or bleach unless the manufacturer explicitly recommends them, as these substances can damage the drum and internal components.
How to Fix Common Drum Clean Cycle Problems
If the drum clean reminder won’t reset, try unplugging your machine for about 30 seconds. This usually clears the indicator.
Now, if your cycle gets interrupted, take a look at the display for any error codes. These often relate to the door lock or water supply issues.
Fixing those problems as soon as you spot them helps make sure the drum clean cycle runs smoothly and finishes properly.
Resetting Drum Clean Reminder
Although the drum clean reminder helps maintain your washing machine’s performance, it can sometimes persist even after running the cleaning cycle. To reset the reminder, first verify you’ve completed the full cycle, allowing the machine’s internal cycle count to update.
If the alert remains, try unplugging the machine for 30 seconds to clear any temporary software glitches. Some models offer a manual reset option via the settings menu or a specific button combination. Check your user manual for exact instructions.
Persistent reminders may indicate sensor malfunctions or deeper software issues. These often require professional diagnosis or firmware updates.
Following these steps helps ensure the reminder accurately reflects the machine’s maintenance status and prevents unnecessary interruptions in your wash routine.
Troubleshooting Cycle Interruptions
After ensuring the drum clean reminder resets correctly, addressing interruptions during the cleaning cycle becomes important to maintain peak performance. Cycle interruptions often stem from power outages, which halt the process and require a full restart.
Avoid opening the door mid-cycle, as this pauses or cancels the cleaning, forcing you to begin again. If you encounter error messages, check that you’re using compatible cleaning agents since improper products can disrupt the cycle.
Mechanical faults, such as a faulty door lock or sensor, can prevent cycle progress and usually need professional repair.
Furthermore, accumulated debris or residue in the door seal or drum may cause the machine to stop. Performing manual cleaning of these areas before restarting often resolves this issue effectively.
Comparing Drum Clean Cycles Across Washing Machine Brands
When you compare drum clean cycles across washing machine brands, you’ll notice they often use different names. Samsung calls it “Drum Clean,” LG labels it “Tub Clean,” and Bosch also refers to it as “Drum Clean.”
Even though the names vary, these cycles all aim to eliminate bacteria, mold, and detergent residues from the drum.
Cycle duration usually ranges from 60 to 90 minutes, with water heated to 60°C or higher to make sure the drum gets properly sanitized.
Some brands even boost residue removal by adding extra agitation or longer spin phases.
How often you should run these cycles varies, but most manufacturers suggest doing it monthly.
Many machines help you remember by sending maintenance reminders through app notifications or control panel alerts.
Knowing these differences can help you get the most out of your drum clean cycle for your specific washer.
Maintenance Tips Between Drum Clean Cycles
To maintain your washing machine’s performance and hygiene between drum clean cycles, you should regularly wipe down the door gasket and rubber seal with a damp cloth to prevent mold and residue buildup.
After each wash, leave the door slightly open to promote airflow, reducing moisture that encourages mold growth and odors.
Monthly maintenance should include cleaning the detergent dispenser and its housing to eliminate residue and prevent mold buildup.
Periodically check and clean the inlet filters and drain pump filter to ensure ideal water flow and avoid blockages.
Also, don’t forget to wipe down the machine’s exterior surfaces with a soft cloth and mild cleaner to keep it clean and prevent dust buildup.
These simple steps really help preserve your machine’s efficiency and extend its lifespan between drum clean cycles.
Keeping Your Washer Fresh With Regular Drum Cleaning
Although your washing machine handles regular laundry loads, it still accumulates detergent residue, bacteria, and grime inside its drum. Using the drum clean cycle monthly with appropriate washing machine cleaners eliminates buildup, prevents odors, and supports mold prevention.
Hot water (60°C–70°C) during the cycle sanitizes internal components effectively. After the cycle, wipe the door seal and leave the door ajar to enhance drying and inhibit mold growth.
Regular drum clean maintenance guarantees your washer performs at its best and lasts longer.
| Action | Benefit |
|---|---|
| Monthly drum clean cycle | Removes residues, bacteria |
| Use hot water (60°C-70°C) | Sanitizes drum and parts |
| Wipe seal & leave door open | Promotes drying, prevents mold |
Consistent drum clean upkeep is crucial for odor-free, efficient washing.
Frequently Asked Questions
Can Drum Clean Cycles Remove Mold Inside the Detergent Drawer?
No, drum clean cycles can’t remove mold inside the detergent drawer. These cycles focus on cleaning the drum and internal parts but don’t reach the detergent drawer.
Mold tends to thrive there because of leftover moisture and soap.
To get rid of mold in the drawer, you need to take it out and clean it manually with warm water and a soft brush.
It’s important to clean the drawer regularly on its own. Doing this helps prevent mold buildup and keeps your washing machine hygienic.
How Often Should I Use Drum Clean if I Wash Cold Water Loads?
If you frequently favor freezing, frosty fabric washes, run the drum clean cycle every 2 to 3 months. Cold cycles can cause clinging cleanser and continual condensation, creating conditions conducive to mold and mustiness.
Skipping this scheduled sanitation can stunt your machine’s efficiency and scent. So, starting a steady, scheduled scrub guarantees spotless, safe spins and sustains your washer’s lifespan.
This helps prevent persistent problems from piling up unnoticed inside the drum.
Are Drum Clean Cycles Safe for All Washing Machine Models?
Drum clean cycles aren’t safe for all washing machine models. You need to check your machine’s manual first because some older or non-branded models lack this feature or advise against specific cleaning agents.
Using the cycle on incompatible machines or with improper products can damage internal parts.
So, always follow manufacturer guidelines to guarantee you don’t harm your machine while trying to keep it clean. It’s better to be safe than sorry, right?
Just a little extra caution goes a long way.
Can I Add Fabric Softener During a Drum Clean Cycle?
You shouldn’t add fabric softener during a drum clean cycle. This cycle relies on hot water and agitation to sanitize the drum, removing bacteria, mold, and residue effectively.
Fabric softener can interfere with this process, reducing the cycle’s cleaning efficiency.
Always run the drum clean cycle empty and avoid any additives unless your manufacturer specifically recommends a cleaning agent.
This guarantees maximum hygiene and machine performance. It’s best to keep things simple for this cycle to do its job right.
Does Drum Cleaning Affect the Machine’s Energy Consumption?
As the saying goes, “An ounce of prevention is worth a pound of cure.” Yes, drum cleaning does increase your machine’s energy use because it heats water to 60-70°C and runs longer than regular cycles.
However, skipping it can cause residue buildup, making your washer work harder and use even more energy over time.
Conclusion
By running the drum clean cycle regularly, you’ll keep your washing machine operating at peak efficiency. This helps extend its lifespan beyond what you thought possible.
This specialized cycle tackles grime and bacteria that manual cleaning misses, ensuring a truly hygienic wash every time. Don’t underestimate its power. Neglecting it could turn your washer into a breeding ground for odors.
Stay proactive with drum cleaning, and your machine will reward you with consistently fresh, spotless laundry. It’s an easy step that makes a big difference.