How Do You Clean A Dry Brush – Easy Guide
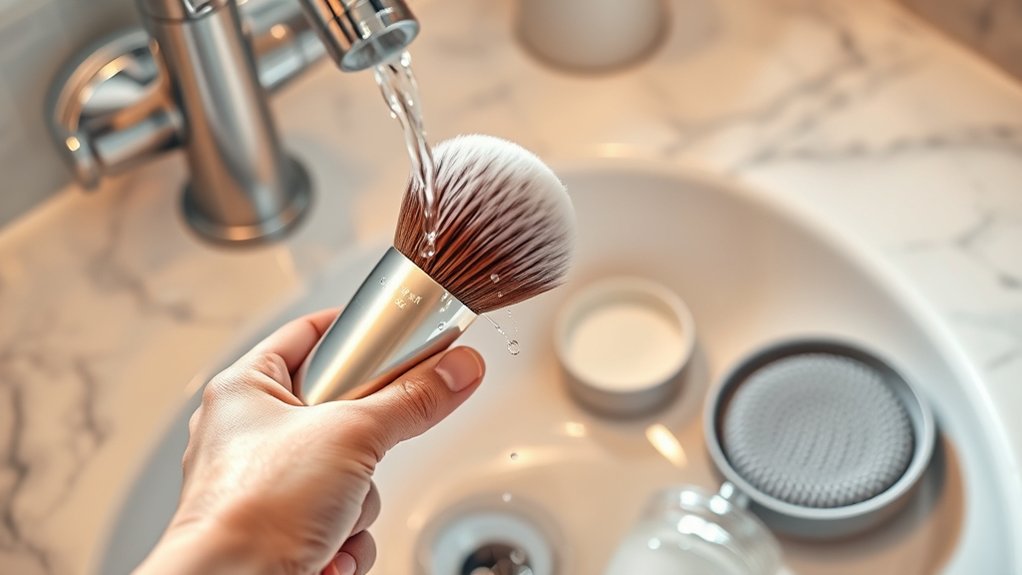
To clean your dry brush, start by tapping it to remove loose debris. Lightly dampen the bristles with water or a natural disinfectant like tea tree oil, then gently swirl to lift oils and dead skin. Shake off excess moisture and let it dry bristles-down in a well-ventilated area, away from direct sunlight.
Clean it every 1-2 weeks if you use it often, and deep clean monthly to keep it fresh and effective. For more tips on maintenance and storage, keep exploring.
What Is a Dry Brush and Why Clean It
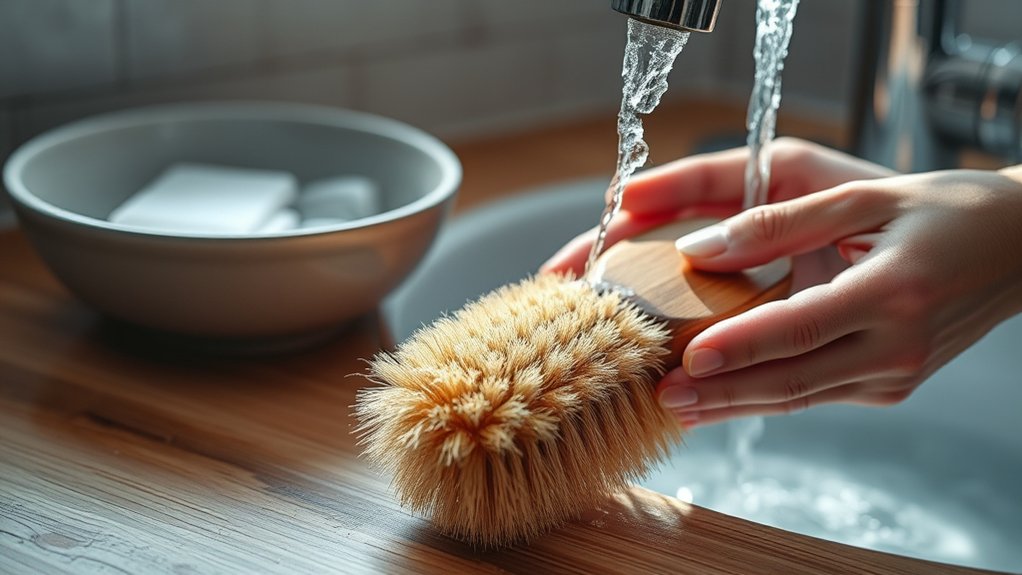
What exactly is a dry brush, and why should you clean it regularly? A dry brush is a firm-bristled tool designed to exfoliate your skin without using water or products. It’s typically made with natural bristles like boar hair and has an ergonomic handle for easy, effective use.
When you dry brush, you stimulate blood circulation and lymphatic drainage while removing dead skin cells for healthier skin. But here’s the thing: if you don’t clean your dry brush regularly, bacteria, mold, and mildew can build up on the bristles. That can lead to skin irritation or infections.
Keeping your brush clean not only protects your skin but also keeps the bristles working well. This way, your tool lasts longer and continues to support your overall skin health. So, regular cleaning is definitely worth it!
Step-by-Step Dry Brush Cleaning
Although dry brushing is a simple process, keeping your brush clean requires a few precise steps to maintain its effectiveness and hygiene. Start by removing loose debris from the dry brush by tapping it gently or brushing the bristles with a comb or your hand.
Next, dampen a clean cloth with water or a natural disinfectant and lightly moisten the bristles. Gently wipe or swirl the bristles in the cloth to loosen and remove dirt, oil, and dead skin cells.
Lightly moisten bristles with a damp cloth to gently lift away dirt, oil, and dead skin cells.
Afterward, shake or blot the brush to remove excess moisture.
Finally, dry the brush thoroughly by placing it bristles down on a towel or in a well-ventilated area, making sure the wooden handle doesn’t soak.
This careful cleaning routine helps preserve your dry brush’s longevity and performance.
Using Natural Antibacterial Agents to Clean Your Dry Brush
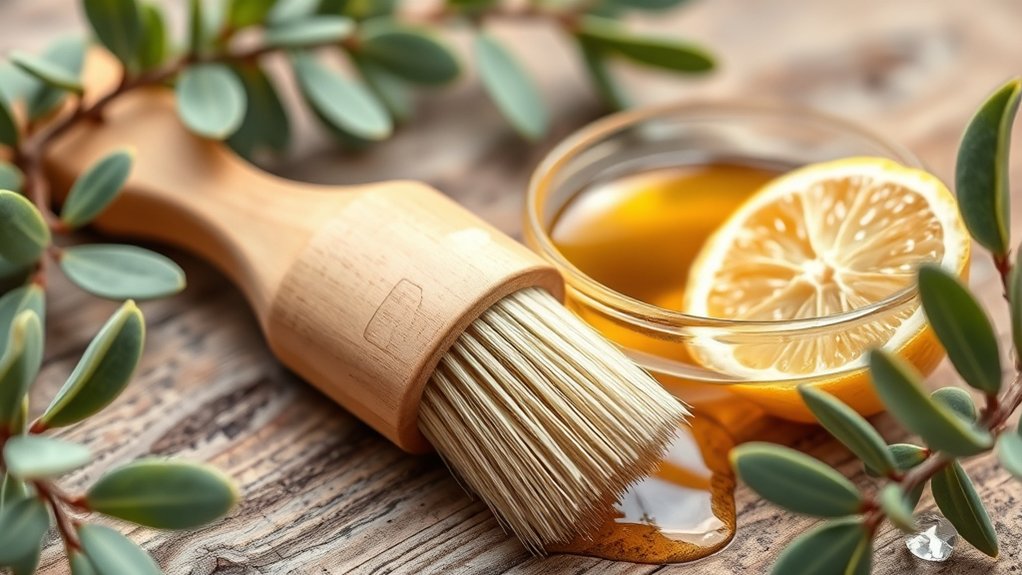
To enhance your dry brush cleaning routine, incorporating natural antibacterial agents offers a powerful and safe way to disinfect the bristles. You can add a few drops of tea tree oil to water, creating an effective antimicrobial solution that kills bacteria, fungi, and mold.
This disinfectant not only cleans but also prolongs your brush’s lifespan.
Witch hazel works similarly, reducing bacteria and oil buildup when applied directly or mixed into cleaning solutions.
Eucalyptus oil, with its antimicrobial properties, is another excellent natural choice to keep your brush hygienic.
Using these agents regularly prevents bacterial growth, ensuring your dry brush remains clean and safe for use.
By choosing natural antibacterial agents, you maintain both your brush’s integrity and your skin’s health.
It’s a simple step that makes a big difference in keeping things fresh and effective.
Give it a try and notice the benefits for yourself!
When Should You Clean Your Dry Brush?
Since your dry brush comes into contact with dead skin, oils, and bacteria regularly, you should clean it at least once a month to prevent buildup. However, how often you clean it depends on how often you use it and the conditions around you.
Here’s a simple guide to keep your brush in great shape:
- If you use your dry brush daily or right after sweating, try to clean it every 1-2 weeks. This helps keep things hygienic and stops any fungal growth.
- If your brush ever smells bad or looks grimy, clean it right away. That usually means bacteria are building up.
- Every three months, give your brush a deep clean. This helps it last longer and keeps it working well for exfoliating.
How to Dry Your Brush Without Damage
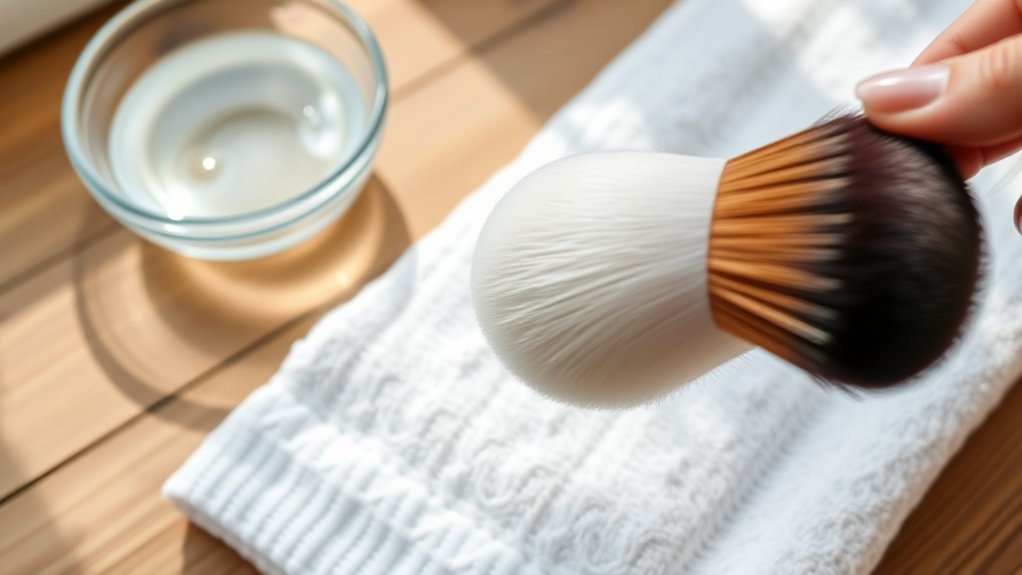
After cleaning your brush, gently blot it with a dry towel. Then, position it bristles-down in a well-ventilated spot. This helps keep the handle dry and lets air circulate properly around the bristles.
Try to avoid placing your brush in direct sunlight because that can damage both the fibers and the wood.
If you’re in a hurry and need to speed up the drying process, you can use a low-heat hairdryer. Just make sure to hold it at a safe distance so you don’t harm the bristles or the handle.
Proper Air Drying
How should you dry your brush to avoid damage and extend its lifespan? Proper air drying is essential.
First, always position the brush with the bristles facing downward. This prevents water from seeping into the handle, which can cause swelling or loosening.
Next, place the brush in a well-ventilated area away from direct sunlight. This helps the brush dry evenly and keeps the bristles from becoming brittle.
Before air drying, gently remove excess moisture using a clean, dry towel to speed up the process.
Also, hang the brush or set it on a drying rack to keep good airflow going and avoid putting it in enclosed, humid spaces.
Avoid sealed containers since they trap moisture and can promote mold growth.
Following these steps will make sure your brush dries thoroughly without any damage.
Avoid Handle Wetness
Even if you clean your brush carefully, letting water soak into the handle can cause lasting damage. To protect the handle, avoid direct water contact during cleaning. After rinsing the bristles, immediately pat the handle dry with a towel or cloth.
Never expose the handle to high heat sources like a hairdryer, as this can cause cracking or warping. Instead, let the handle air dry completely in a dry, well-ventilated area to prevent moisture buildup.
If the handle does get wet, dry it thoroughly with a clean cloth and allow it to air dry before using the dry brush again.
Taking these steps guarantees your brush’s handle remains sturdy and undamaged. It also helps extend the life of your dry brush.
Use Gentle Heat
When you need to dry your brush quickly without causing damage, using gentle heat is an effective method. Gentle heat helps remove moisture after cleaning while preserving the brush’s integrity.
To dry your brush safely, follow these steps:
Use a hairdryer on a low or cool setting to avoid overheating the bristles and handle. Keep the hairdryer about 6-8 inches away from the brush to prevent warping or cracking of wooden parts.
Move the heat evenly across the bristles to ensure thorough drying and reduce the risk of mold or mildew buildup.
Avoid high heat or prolonged drying, as excessive heat can damage the bristles and handle. Using gentle heat is a reliable way to dry your brush efficiently without compromising its longevity.
Just take it slow and steady, and your brush will thank you!
Caring for Wooden Handles While You Clean
Although the bristles require water for cleaning, you should keep the wooden handle dry to prevent damage. Avoid submerging the handle and instead clean it gently with a damp cloth or slightly moist sponge. Just be careful not to soak it.
After cleaning, dry the wooden handle thoroughly with a soft cloth and let it air dry in a well-ventilated area, away from direct sunlight. This helps keep the wood in good shape.
To maintain the handle’s integrity and prevent cracking, apply natural oils like linseed or tea tree oil every now and then.
Also, always store your brush in a dry, ventilated space to avoid moisture buildup, which can cause swelling or warping.
Following these steps will help you properly care for your wooden handle while cleaning, and it’ll extend its lifespan too.
How Often to Deep Clean Your Dry Brush
Taking care of the wooden handle is important, but you also need to focus on how often you deep clean the bristles themselves. Properly cleaning your dry brush ensures hygiene and maintains its exfoliating power.
Here’s how often to deep clean your dry brush: Deep clean every three months if you use it occasionally, preventing dirt and bacteria buildup. Increase frequency to once a month if you use the brush regularly or detect odors or residue.
Also, inspect frequently for mold, mildew, or unpleasant smells. These signs mean you need to deep clean your brush immediately.
Following these guidelines for cleaning your dry brush prolongs its lifespan and keeps your skin health at its best.
Storing Your Dry Brush to Keep It Fresh and Effective
Since moisture and dust can quickly compromise your dry brush, you should store it in a well-ventilated area using a cotton bag or breathable container. Proper storage prevents moisture buildup and mold growth, preserving the bristles and wooden handle.
Avoid airtight containers, as they trap moisture and foster bacteria or mold.
Keep your brush away from direct sunlight and humidity to maintain its integrity. Regularly inspect and clean the storage space to make certain it stays dry and free from dust or pests that might damage your brush.
Position the brush with bristles facing downward or lying flat to prevent dust accumulation and help maintain bristle shape.
Prioritizing ventilation and moisture control in storage will keep your dry brush fresh and effective for regular use. It’s really all about making sure your brush stays dry and clean so it lasts longer and works better every time you reach for it.
Tips to Extend Your Dry Brush’s Life
To keep your dry brush lasting longer, make sure to clean it regularly, but stick to gentle methods. Try not to soak the wooden handle since that can cause damage over time.
Also, store your brush in a dry, well-ventilated spot—this helps prevent mold and keeps it in good shape.
When you notice the bristles wearing out or the handle starting to crack, it’s definitely time to replace it. That way, you’ll maintain effective exfoliation and good hygiene.
Proper Cleaning Routine
How often should you clean your dry brush to keep it performing at its best? To maintain effective dry brushing and ideal exfoliation, clean your brush every three months. This helps remove dead skin, oils, and bacteria buildup.
Here’s a simple cleaning routine to follow: Shake off debris and gently comb the bristles after each use. This minimizes buildup and keeps the brush ready for next time.
For a deeper clean, use a gentle disinfectant like tea tree oil or diluted vinegar. These kill bacteria and help prevent mold from forming.
And one more thing—avoid soaking the wooden handle. Keeping it dry prevents cracking and helps your brush last longer.
Optimal Storage Conditions
Keeping your dry brush clean only goes so far; proper storage plays a key role in extending its lifespan and maintaining hygiene. Store your dry brush in a well-ventilated area, away from moisture to prevent mold and bacteria buildup. Use a cotton bag or breathable container to assure airflow, reducing humidity that can damage bristles.
Avoid sealed plastic containers, as they trap moisture and weaken the brush over time. Place your brush in a dry, shaded spot, steering clear of direct sunlight, which can crack wooden handles.
Regularly inspect and clean the storage area to keep it free from dust, mold spores, and excess moisture.
Following these storage guidelines will help you maintain your dry brush’s condition and prolong its usability effectively. It’s a simple way to make sure your brush stays in great shape and lasts longer. Just a little care goes a long way!
Regular Brush Replacement
When should you replace your dry brush to maintain its effectiveness? Ideally, you should consider replacement every 6 to 12 months. This helps ensure maximum exfoliation and avoids bristle damage.
Proper cleaning and storage can extend the brush’s life, but regular inspection is essential. You want to keep an eye on your brush so it stays in good shape.
Here are three key tips to guide your replacement timing:
- Check the bristles and handle regularly for cracks, fraying, or wear that cleaning can’t fix.
- Use high-quality brushes with durable wooden handles to reduce how often you need replacement.
- Store your brush in a dry, well-ventilated area to prevent mold and deterioration.
Removing Dead Skin and Debris Before Cleaning
Why is it important to remove dead skin and debris before cleaning your dry brush? Doing so prevents clogging of your cleaning solution and assures a thorough, hygienic clean.
Start by gently tapping the brush against your hand or a surface to dislodge loose dead skin cells and debris from the bristles.
Next, use a wide-tooth comb or a dedicated brush cleaner to carefully remove buildup trapped between the bristles.
You can also swirl the brush on a textured surface to lift stubborn dead skin particles.
This pre-cleaning step loosens debris, making the subsequent wash more effective and prolonging your brush’s lifespan.
Removing surface debris first guarantees that your dry brush gets truly clean every time.
It’s a simple step that really makes a difference!
Frequently Asked Questions
Can I Use Vinegar Instead of Rubbing Alcohol to Clean a Dry Brush?
You can use vinegar to clean a dry brush, but it’s less effective than rubbing alcohol. Vinegar softens some dried paint but often requires long soaking and may not fully remove stubborn or oil-based paints.
If you’re dealing with lightly dried or soft paint, vinegar might work. But for quicker, thorough cleaning, rubbing alcohol is your best bet. It dissolves paint more efficiently and leaves your brush cleaner.
Is It Safe to Clean a Dry Brush With Boiling Water?
You might want to think twice before subjecting your dry brush to a boiling bath. Using boiling water isn’t the best idea because it can crack wooden handles, weaken natural bristles, and loosen adhesives holding the brush together.
Instead, stick to warm water with mild cleaners to keep your brush in top shape without risking damage. This way, you’ll preserve its longevity and effectiveness safely.
How Do I Prevent Mold Growth on My Dry Brush?
To prevent mold growth on your dry brush, always dry it thoroughly after use and cleaning. Store it in a well-ventilated, low-humidity spot, like a cotton bag or open container.
Regularly disinfect with natural antimicrobials such as tea tree or eucalyptus oil.
Avoid keeping it in damp or enclosed areas, and check it every three months for mold or dampness.
If you notice any mold, replace the brush to keep it hygienic.
Taking these simple steps can really help your brush last longer and stay fresh!
Can Dry Brushes Be Cleaned in a Dishwasher?
No, you shouldn’t clean most dry brushes in a dishwasher. The high heat and moisture can warp wooden handles and loosen natural bristles.
Dishwashers also risk soap buildup and mold if the brush doesn’t dry properly afterward.
Instead, hand wash your brush gently with mild soap and water, then air dry it thoroughly.
If you have a synthetic brush, check the manufacturer’s instructions before using a dishwasher to avoid damage.
What Should I Do if My Dry Brush Bristles Fall Out?
If your dry brush bristles start falling out like autumn leaves, don’t just sweep it under the rug. First, check the handle for damage. If it’s compromised, replace the brush entirely.
Gently remove loose bristles and clean carefully to avoid more shedding.
Store it in a dry, ventilated spot.
If shedding worsens, it’s time to say goodbye to keep your exfoliation effective and prevent skin irritation.
Conclusion
You wouldn’t skip cleaning your dry brush, right? After all, you want a tool that’s fresh, effective, and not a breeding ground for bacteria. By following these simple steps, you’ll keep your brush in top shape, free from dead skin and grime.
So, don’t let your trusty dry brush turn into a dirt magnet. Clean it regularly, dry it properly, and store it well. Your skin (and nose) will thank you.