How To Clean Dry Grout Off Tiles – Easy Guide
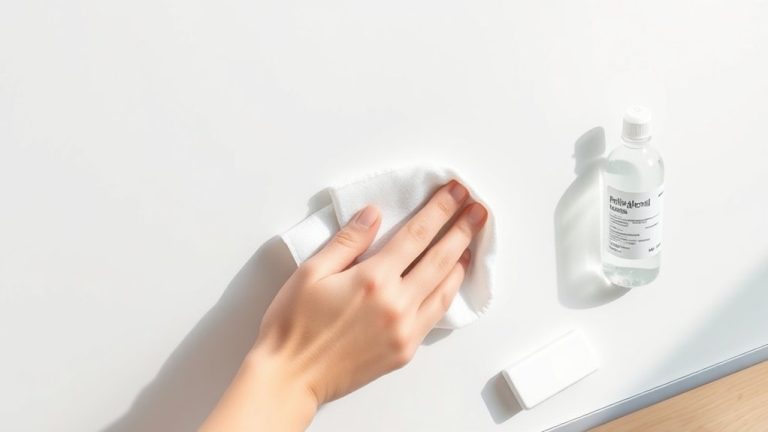
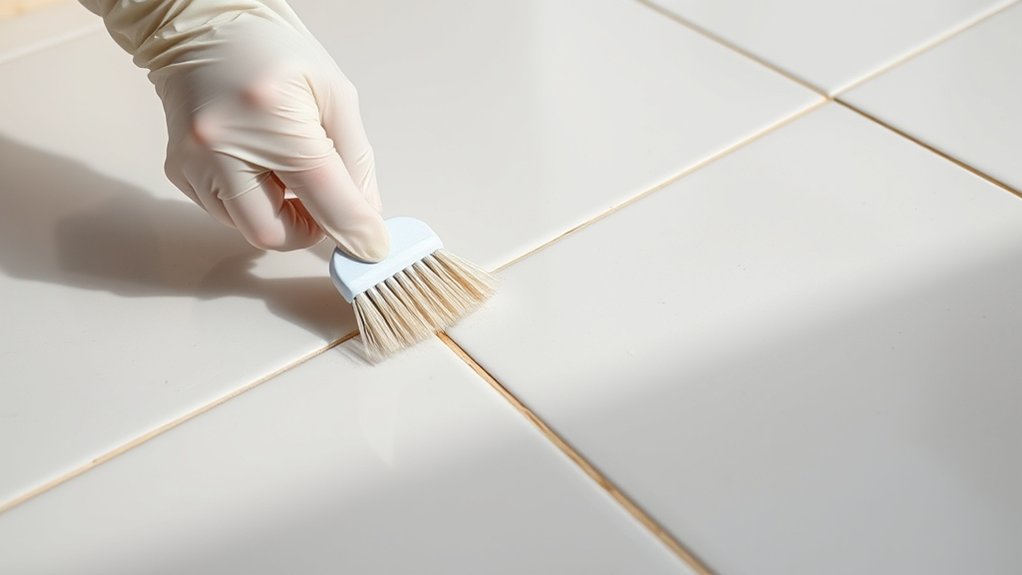
To clean dry grout off tiles, start by softening the residue with a vinegar-water or sugar-water solution. Then, gently scrape using a plastic scraper to avoid scratching. Collect debris with a vacuum or damp cloth and wipe the area clean with a microfiber cloth.
For stubborn haze, use a grout haze remover or vinegar carefully, especially on porous or natural stone tiles. Following these steps keeps your tiles pristine. There’s more to mastering grout cleaning safely and effectively, but this will definitely get you started.
Tools and Materials Needed to Clean Dry Grout Off Tiles
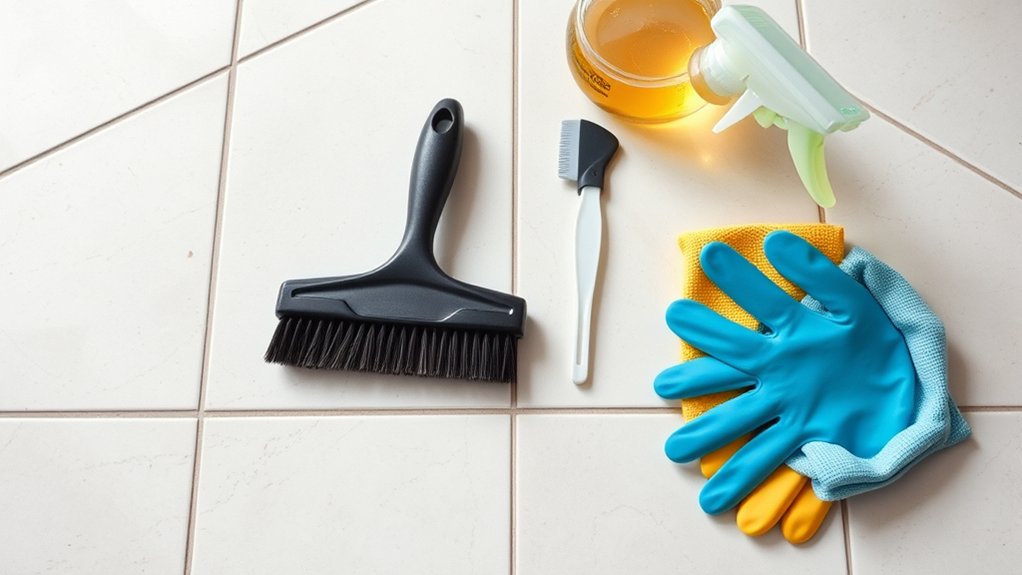
Before you begin cleaning dry grout off your tiles, gather the right tools and materials to guarantee an efficient job. Start with a plastic scraper to gently remove grout without scratching tile surfaces.
Next, assemble cleaning tools such as a microfiber cloth and non-abrasive sponges to safely wipe away residual grout particles.
Protect your hands with rubber gloves, especially when using cleaning solutions. Prepare a solution of warm water mixed with white vinegar to help soften and loosen the dried grout, making removal easier.
For stubborn grout haze, consider specialized grout haze removers, but always follow manufacturer instructions carefully.
Having these essential tools and materials ready ensures you tackle grout cleaning effectively. It helps prevent damage and saves time during the process.
How to Soften Hardened Grout Before Removal
If you want to soften hardened grout, try using a vinegar and water solution or a mix of sugar and hot water. Just apply it to the grout and let it sit for about 15-20 minutes.
This gives the solution time to break down the grout, making it easier to scrape off.
Before you do this on the whole surface, it’s a good idea to test a small area first. That way, you can make sure it won’t damage your tile.
Vinegar Water Solution
How exactly can you soften hardened grout for easier removal? Use a vinegar water solution by mixing four parts water with one part white vinegar. This mixture penetrates and softens grout residue, loosening cement particles for simpler grout removal.
Apply the solution generously to the dried grout and let it sit for 15-20 minutes. This waiting period ensures the vinegar water solution effectively softens hardened grout, making scraping less strenuous.
Afterward, gently scrub the area with a nylon scouring pad or soft brush to remove grout residue without damaging your tiles.
Just remember, avoid this method on porous or natural stone tiles, as vinegar’s acidity can cause damage or staining. Using this vinegar water solution is a reliable way to clean tiles and prepare grout for removal efficiently.
Sugar Water Method
Although vinegar solutions work well for many surfaces, the sugar water method offers a gentle alternative to soften hardened grout without risking tile damage.
To remove dried grout effectively, mix one cup of sugar with one gallon of hot water.
Apply the sugar water to the grout residue with a cloth, sponge, or brush, making sure it soaks in deeply. Let it sit for 15 minutes to rehydrate and soften the grout.
Then, gently scrub with a nylon scouring pad to remove the dried grout without scratching your tiles. This technique is perfect for delicate tile cleaning tasks.
Here’s a quick recap:
- Mix sugar water solution: 1 cup sugar + 1 gallon hot water
- Apply and soak grout residue for 15 minutes
- Gently scrub softened grout to remove dried grout
Use sugar water to soften grout safely and get better tile cleaning results.
Scraping Dry Grout Safely From Tiles
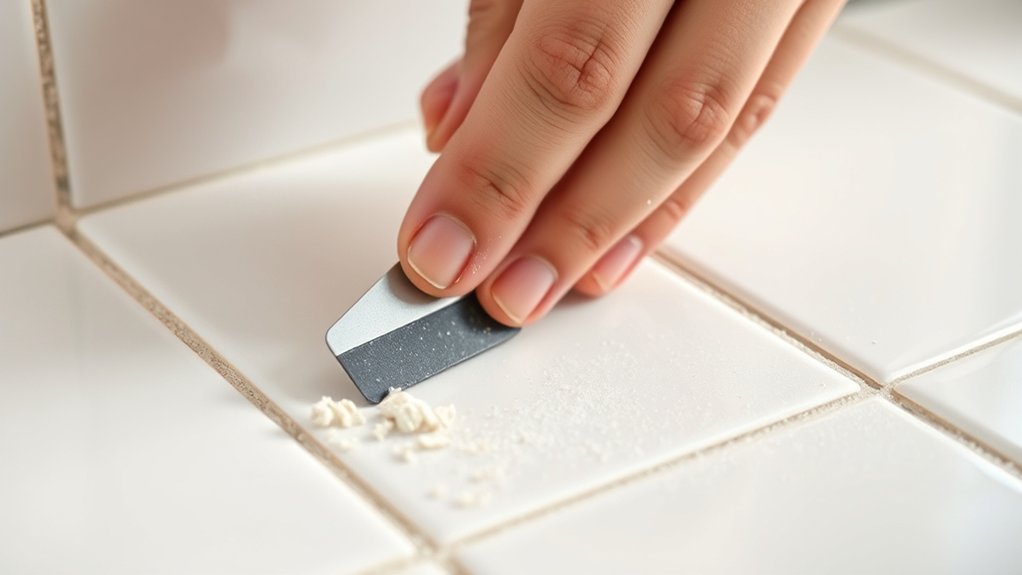
When removing dry grout from tiles, using a plastic scraper is a smart choice because it prevents scratches on delicate surfaces. You want to scrape in a single, consistent direction. Applying light pressure helps remove the grout gently without damaging the tile surface.
Make sure to keep the scraper clean of excess grout. This way, you maintain an effective scraping technique. Also, wearing rubber gloves can really improve your grip and protect your hands during the process.
| Step | Action | Tip |
|---|---|---|
| 1 | Use plastic scraper | Avoid metal tools to prevent scratches |
| 2 | Scrape gently | Apply light pressure |
| 3 | Clean scraper regularly | Maintain smooth removal |
How to Collect and Dispose of Grout Debris on Tiles
You’ll want to collect grout debris carefully to avoid scratching your tiles. A damp cloth works well, or you can use a vacuum with a brush attachment for more thorough cleaning.
For bigger chunks, try using a plastic scraper or a rubber float to gently lift them off without damaging the surface.
Once you’ve gathered all the debris, make sure to dispose of it in a lined container. Just follow your local waste regulations to keep your workspace clean and safe.
Effective Debris Collection
How do you guarantee grout debris doesn’t damage your tiles during cleanup? Effective debris collection is crucial for clean tiles and successful grout removal.
Start by immediately gathering loosened grout debris with a damp cloth or handheld vacuum to avoid scratching surfaces.
Use gentle tools like a plastic scraper or rubber float to lift larger grout pieces without harming the tile.
Finally, thoroughly sweep or vacuum the area to remove fine dust before continuing.
To ensure efficient debris collection:
- Use a damp cloth to pick up grout debris promptly
- Employ non-abrasive tools, such as plastic scrapers, for larger chunks
- Vacuum or sweep thoroughly to eliminate fine particles
Avoid metal tools or abrasive brushes. They risk damaging your tiles during grout removal.
Safe Disposal Methods
Although grout debris may seem harmless, improper collection and disposal can spread dust and damage your workspace. To guarantee safe disposal, collect loosened grout debris immediately after scraping using a dustpan and brush. Use a shop vacuum to remove fine grout dust efficiently from tiles and surrounding areas.
Always place grout debris into a sealed bag or container to prevent messes and contain dust particles. If your cleaning product contains chemicals, or if you suspect chemical debris, follow local regulations for hazardous waste disposal.
After removing all debris, wipe the area thoroughly with a damp microfiber cloth to eliminate residual grout.
Proper disposal practices protect your environment and help keep your workspace clean and safe from harmful dust and chemical residues. Taking these simple steps makes a big difference in maintaining a healthy work area.
Preventing Surface Damage
When collecting grout debris, using a plastic scraper helps prevent scratching delicate tile surfaces. Avoid abrasive tools that can damage tiles.
After scraping, use a damp cloth or microfiber towel to gently gather loose grout debris without harsh contact. This method keeps the cleaning surface intact and avoids spreading grout dust.
Dispose of collected debris promptly in a trash bag or container to maintain a tidy workspace and prevent residue buildup. Regularly clearing away grout during cleaning assures the surface stays pristine.
Use a plastic scraper to prevent scratching. Wipe with a damp cloth or microfiber towel for gentle debris removal. Dispose of grout debris immediately to avoid dust spread.
Following these steps safeguards your tiles while efficiently managing grout debris.
Vacuuming and Cleaning Grout Residue From Tiles
Vacuuming dry grout residue is essential for a thorough tile cleanup, and using a shop vacuum makes the process quick and efficient. Start by confirming your vacuum filter is clean and designed for fine dust to prevent clogging and maximize grout residue removal.
Vacuum the tiles in multiple directions, especially if they’re textured or uneven, to lift all dry grout particles effectively. This method minimizes airborne dust and keeps your workspace clean.
After vacuuming, wipe the tiles with a damp microfiber cloth to pick up any remaining dry grout dust without scratching the surface. This two-step approach ensures your tiles are free from loose grout residue and ready for the next cleaning phase.
Regular vacuuming during grout cleanup maintains a neat, debris-free environment. It really helps keep things under control and makes the whole process smoother.
Cleaning and Rinsing Tiles for a Streak-Free Finish
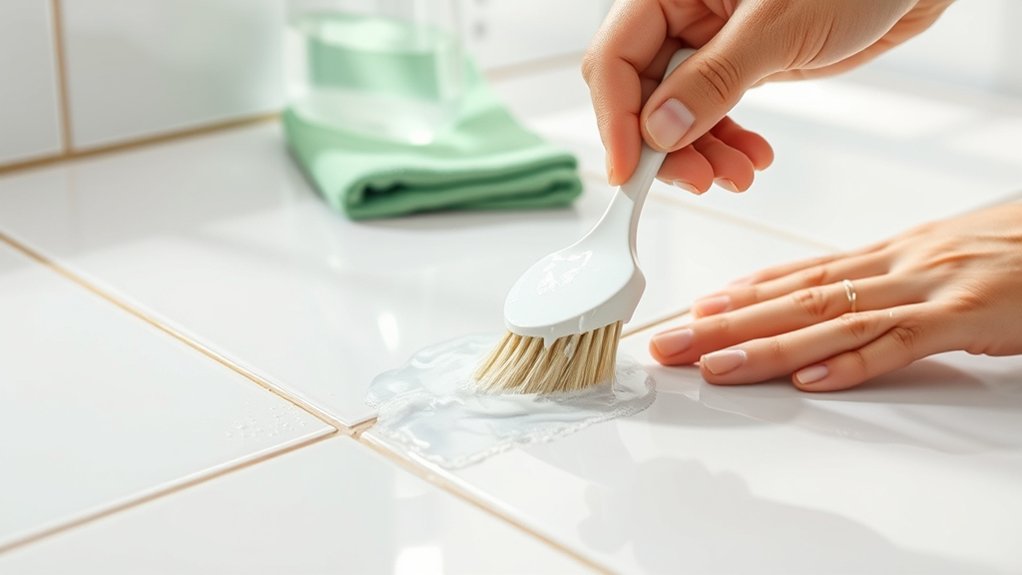
After removing loose grout residue, you’ll want to wipe the tiles with a clean, damp microfiber cloth. This helps lift all the dust without scratching the surface.
Make sure to rinse the cloth frequently with plain water so you don’t spread grout haze or dirt around while cleaning the tiles.
Work in small sections and if you spot any stubborn areas, apply a diluted vinegar solution or grout haze remover before rinsing. It’s all about tackling those tough spots gently but effectively.
Finally, dry the tiles right away with a dry microfiber cloth. This step is key to getting a polished, streak-free finish that really looks great.
Key steps for cleaning and rinsing tiles:
- Use a damp microfiber cloth, rinsing often to prevent residue spread.
- Apply grout haze remover on tough areas, then rinse thoroughly.
- Dry tiles with a dry microfiber cloth for a polished, streak-free surface.
How to Remove Grout Haze From Textured and Porous Tiles
Because textured and porous tiles have uneven surfaces, grout haze tends to cling more stubbornly, making removal trickier than on smooth tiles.
For effective grout haze removal, start by applying a vinegar solution or a specialized grout haze remover. Just make sure to test it on a small area first.
Use gentle scrubbing with a rubber float or nylon scouring pad to loosen the haze without damaging the textured or porous tiles. Avoid harsh tools that can harm the tile surface.
After removing the haze, rinse thoroughly.
You might also want to consider resealing porous tiles to protect against future grout haze buildup. This way, your textured and porous tiles stay clean without compromising their surface integrity.
When to Use Vinegar or Commercial Grout Removers Safely
When you need to remove grout haze effectively, choosing between vinegar and commercial grout removers depends on your tile type and the grout residue’s stubbornness.
Use diluted vinegar (4:1 water to vinegar) for glazed ceramic or porcelain tiles. But avoid it on natural stone to prevent etching.
For stubborn or epoxy-based grout haze, commercial grout removers provide a safer, stronger solution.
Always do a patch test on a small, hidden area of the tile surface before applying any cleaner. This helps avoid damage or discoloration.
Use vinegar for mild grout haze on non-porous tiles only. Opt for commercial grout removers on tough or epoxy grout haze.
And don’t forget to perform a patch test and wear protective gear when using commercial products.
This way, you’ll clean grout haze safely and effectively without any surprises.
Preventing Dried Grout Buildup During Tile Installation
To prevent dried grout buildup during tile installation, apply grout in small sections of about 2 square feet so you can clean excess grout before it hardens. Keep a damp sponge handy for immediate grout removal. Wiping tiles right after application stops dried grout from forming stubborn residue.
Regularly cleaning tiles as you work minimizes grout buildup and simplifies the overall process. Avoid letting grout sit too long on tile surfaces. Dried grout is tougher to remove and can damage the finish.
After grouting, reseal tiles to block grout penetration. This makes future cleaning easier and protects your work.
Common Mistakes to Avoid When Cleaning Dry Grout Off Tiles
Don’t use abrasive tools that can scratch your tiles when removing dry grout. It’s really important to be gentle.
Also, always think about the type of tile you have before picking a cleaning method—this helps avoid any accidental damage.
If you skip these steps, you might actually end up making the problem worse instead of better.
Using Abrasive Tools
Although abrasive tools can effectively remove dry grout, using them carelessly often damages your tiles. To protect your tile finish, avoid aggressive grout removal methods that cause surface damage. Metal brushes or wire wool scratch delicate surfaces, while excessive pressure can chip tiles or grout lines.
Coarse abrasives on glazed tiles strip the glaze, dulling their appearance.
Keep these tips in mind when using abrasive tools:
- Test on a small, hidden area before full cleaning to prevent unintended damage
- Choose gentle cleaning pads over harsh abrasives to preserve the tile finish
- Apply light pressure and avoid power tools unless you’re confident in controlling them
Using abrasive tools thoughtfully guarantees effective grout removal without compromising your tiles’ look or longevity. Just take it slow and be gentle!
Ignoring Tile Type
When you overlook the type of tile you’re working with, you risk using cleaning methods that can seriously damage delicate surfaces like natural stone or unglazed ceramic.
Different tile types, glazed, unglazed, or natural stone, require specific cleaning approaches.
Using harsh acids or abrasive tools on porous tiles may cause etching, discoloration, or surface damage.
Applying a universal grout removal technique without considering tile type often leads to ineffective results or worsens the condition.
To prevent this, always identify your tile type first and test solutions on a small, inconspicuous area.
This step guarantees the chosen cleaning methods won’t harm your tiles.
Ignoring tile type compromises your efforts and can permanently damage your flooring, so tailor your approach to protect delicate surfaces effectively.
Frequently Asked Questions
Can Dry Grout Damage Tile Surfaces if Left Too Long?
Yes, dry grout can damage your tile surfaces if left too long. It hardens and becomes tougher to remove, increasing the risk of scratches or dulling your tiles’ finish.
On porous or textured tiles, it can cause staining or etching, which is often permanent. So, you’ll want to clean grout promptly to avoid harsh scrubbing or chemicals that might harm your tiles and keep them looking pristine.
How Often Should Grout Be Sealed After Cleaning?
Think of grout as the fortress walls of your tiles. It needs regular reinforcement. You should seal your grout every 1 to 2 years to keep it strong and stain-resistant.
After cleaning, don’t wait too long. Apply sealant within 48 to 72 hours while the surface is dry to guarantee it bonds well.
This routine protects your grout from moisture and mold, especially in damp areas like kitchens and bathrooms.
Are There Eco-Friendly Alternatives to Vinegar for Grout Cleaning?
Yes, you can use eco-friendly alternatives to vinegar for grout cleaning. Baking soda works as a gentle abrasive and deodorizer. It’s great for scrubbing without damaging surfaces.
Diluted hydrogen peroxide brightens tiles and breaks down residues safely. Castile soap mixed with water offers a mild, biodegradable cleaner that’s perfect for delicate surfaces.
These options are non-toxic, biodegradable, and generally safe for most tiles, including natural stone. Just make sure you dilute and apply them properly to get the best results.
Can Dry Grout Be Removed From Colored Grout Lines Without Discoloration?
You can definitely remove dry grout from colored grout lines without discoloration if you handle it with kid gloves. Use a damp, soft cloth or sponge to gently lift the residue, avoiding harsh chemicals that could strip the color.
Specialized grout haze removers designed for colored grout work wonders. Always test any cleaner on a small hidden spot first to guarantee the grout’s pigmentation stays intact.
This way, you keep your tiles looking fresh and vibrant.
What Personal Protective Equipment Is Recommended During Grout Cleaning?
You should wear gloves to protect your skin from harsh chemicals and abrasive tools. Safety goggles are essential to shield your eyes from splashes or debris. Use a dust mask or respirator to avoid inhaling dust and fumes.
Protective clothing like long sleeves and aprons helps prevent skin irritation. Always make sure there’s proper ventilation to keep the air clear and reduce exposure to harmful fumes during grout cleaning.
It really makes the whole process safer and a bit more comfortable.
Conclusion
Cleaning dry grout off tiles might seem tough, but with the right steps, you’ll get a spotless finish. Remember, “a stitch in time saves nine.” Tackling grout residue early prevents stubborn buildup later.
Soften, scrape carefully, and use appropriate cleaners to protect your tiles. Avoid common mistakes and keep grout haze at bay for a polished look.
Follow these tips, and you’ll maintain your tile surfaces efficiently and effectively every time.