How To Clean A Washing Machine Agitator – Step By Step Guide
To clean your washing machine agitator, first unplug the washer and remove the agitator cap by unscrewing it. Use a damp cloth with mild soap or wipes to clean the surfaces, focusing on stubborn grime with a soft brush. Rinse and wipe the cap separately with warm, soapy water.
Run a self-clean cycle with an Affresh tablet or bleach monthly to prevent buildup and odors. This helps keep your washer fresh and working well. Follow these steps closely to maintain peak washer performance and durability.
Want to keep your machine in top shape? Discover additional tips and troubleshooting next.
Why Cleaning Your Agitator Is Essential
Although it’s easy to overlook, cleaning your washing machine’s agitator is essential for maintaining washing efficiency. Over time, detergent residue, fabric softener, and grime build up on the agitator, reducing its ability to move clothes effectively.
This buildup can cause dirt lines on fabrics and lead to unpleasant odors or mold growth inside the machine.
By regularly cleaning the agitator, you make sure it operates at peak performance, which improves wash results and keeps your laundry fresh. Neglecting this task can hurt your cleaning results and might even shorten your appliance’s lifespan.
To keep things hygienic and prevent soil accumulation, try to clean the agitator every month. This simple routine helps your washing machine work well and keeps your clothes thoroughly clean.
Find Your Washer’s Agitator Type
How can you determine the type of agitator in your washing machine? Start by identifying whether your washer is a top loader or front loader, since this affects the agitator type and cleaning methods.
Next, locate the model number. You’ll usually find it on a sticker near the tub opening or the lid hinge side. This info helps you find exact details about your agitator type.
Common agitators include traditional post-style designs that extend through the drum, low-profile impeller designs, top loader agitators that require deep cleaning, and front loader agitators that need surface care.
Some models also have specific features outlined in the owner’s manual. Knowing your agitator type makes sure you use the proper cleaning methods without risking damage.
It’s always a good idea to consult your manual for maintenance instructions tailored to your machine.
Tools and Cleaners Needed Before You Start

Before you start cleaning, make sure you have all the essential supplies ready. You’ll want a washing machine cleaner or some liquid chlorine bleach for the agitator.
Also, grab a damp cloth, some mild soap or machine wipes, and a soft-bristle brush to get into those tight spots.
Don’t forget to keep a rag or towel nearby to dry off the surfaces.
And, of course, check your owner’s manual for any instructions specific to your model.
Essential Cleaning Supplies
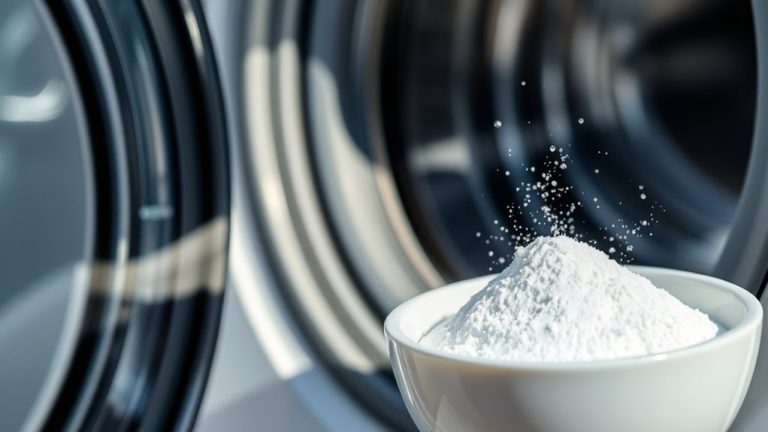
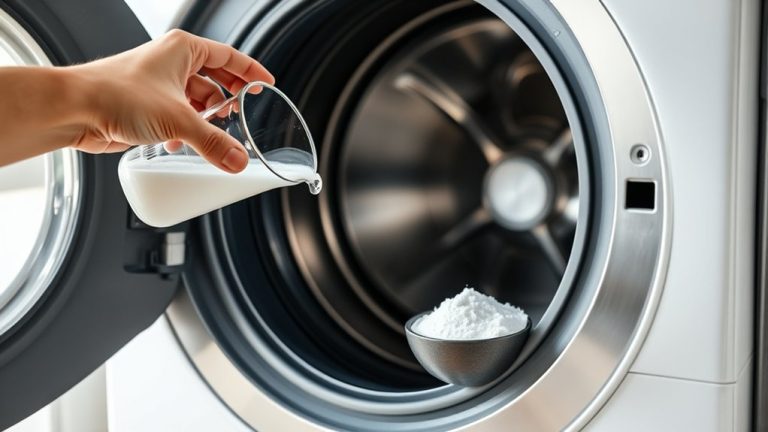
You’ll need five essential cleaning supplies to effectively maintain your washing machine: a washing machine cleaner like an Affresh tablet or 1 cup of liquid chlorine bleach, a damp cloth or sponge with mild soap, a soft bristle brush, access to your owner’s manual, and optional washing machine wipes for quick touch-ups.
Gather these cleaning products before you start to clean the agitator thoroughly and safely.
- Washing machine cleaner or 1 cup liquid chlorine bleach
- Damp cloth or sponge with mild soap
- Soft bristle brush for scrubbing agitator crevices
- Owner’s manual for model-specific instructions
- Optional washing machine wipes for regular maintenance
Having these tools ready guarantees you clean the agitator efficiently and protect your machine’s components.
It makes the whole process smoother and ensures you don’t miss any spots. So, take a moment to get everything together before you dive in.
Recommended Cleaning Agents
Two primary cleaning agents stand out for maintaining your washing machine effectively: affresh washing machine cleaner tablets and liquid chlorine bleach.
Use affresh tablets since they’re specifically formulated to clean without damaging your machine’s components.
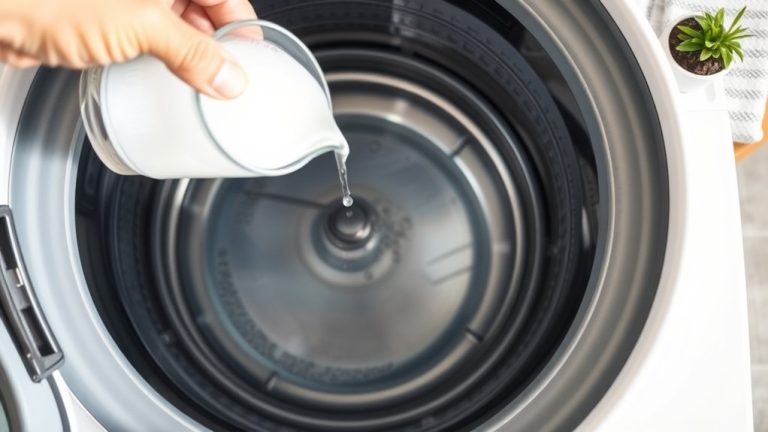
If you don’t have affresh, just add one cup of liquid chlorine bleach to the bleach dispenser before starting a cleaning cycle for a thorough cleanse.
Avoid vinegar as a cleaning agent because its acidity can corrode rubber parts over time.
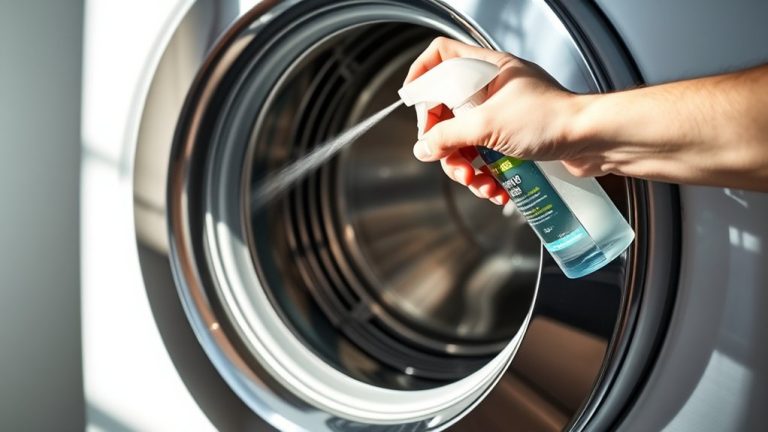
Keep a damp cloth or washing machine wipes handy to manually wipe down the agitator and remove visible grime after the cleaning cycle finishes.
And always check your washing machine’s owner’s manual for model-specific recommendations on cleaning agents and procedures.
That way, you won’t accidentally void warranties or damage your appliance.
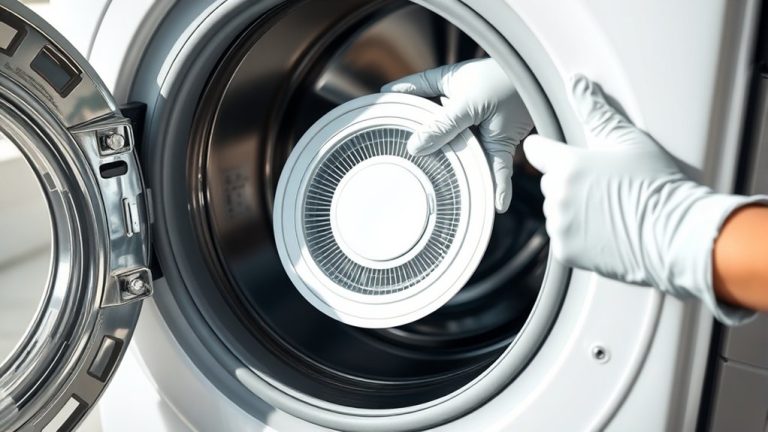
Step 1: Remove the Washing Machine Agitator Cap
Start by unplugging the washing machine to guarantee your safety while working on it.
To remove the agitator cap, begin by locating the washing machine’s fabric softener dispenser or cap at the agitator’s top. Follow these steps precisely:
Start by locating the fabric softener dispenser or cap at the top of the agitator.
Gently lift or unscrew the fabric softener cap if present.
Use a correctly sized socket wrench to unscrew the bolt securing the agitator.
Carefully lift the agitator cap straight up to avoid damaging seals.
If the cap resists, consult your washer’s owner manual.
And don’t forget to keep track of all removed components for reassembly. This way, putting everything back together will be much easier.
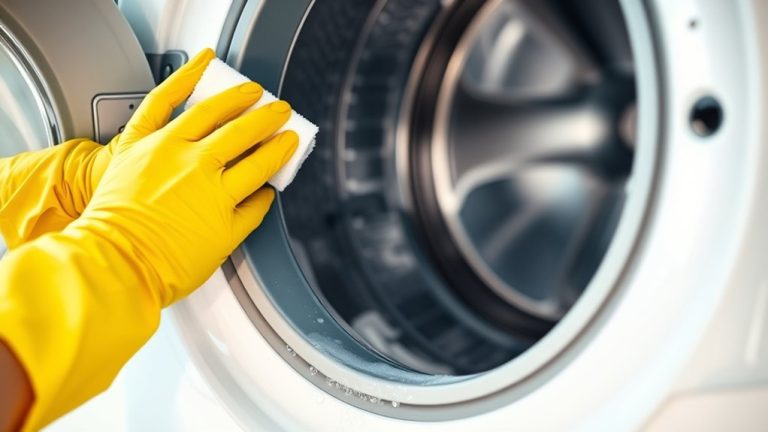
Step 2: Wipe Down the Washing Machine Agitator
Use a damp cloth with some mild soap or affresh wipes to gently clean the agitator’s surface.
Focus on the spots where detergent and fabric softener tend to build up.
If you come across any stubborn residue, just grab a soft brush and give it a little extra scrubbing.
Be gentle though, so you don’t damage anything.
Also, avoid using vinegar because its acidity can corrode rubber parts.
It’s best to stick with soap and water for safe and effective cleaning.
Cleaning Solutions To Use
Although cleaning the agitator might seem straightforward, selecting the right cleaning solutions is essential to avoid damage and guarantee effectiveness.
When you clean your agitator, use mild, manufacturer-approved cleaning solutions to maintain its integrity and performance.
Avoid harsh acids like vinegar, which can corrode rubber components.
To clean your agitator properly, consider these solutions:
- Damp cloth with mild soap for surface grime
- Affresh wipes for convenient, effective cleaning
- Soft brush for scrubbing slits and crevices
- Manufacturer-recommended cleaners to protect materials
- Regular use every 30 days to prevent buildup
Always consult your washing machine’s manual to confirm compatible cleaning agents.
Using proper cleaning solutions guarantees you clean your agitator safely, extending its lifespan and optimizing washing performance.
It’s pretty simple when you stick to these tips!
Agitator Surface Wiping
After selecting the appropriate cleaning solutions, the next step is to wipe down the washing machine agitator carefully. Use a damp cloth with mild soap or affresh wipes to gently clean the agitator’s surface, focusing on the top and sides where detergent and fabric softener residues accumulate.
Don’t forget to clean the removable cap by hand. If you’re unsure how to remove it, check your owner’s manual for specific instructions.
Making sure the agitator is thoroughly cleaned along all accessible areas helps prevent build-up that can impair washing efficiency.
Try to perform this surface wiping monthly to keep your agitator working at its best and improve how clean your laundry gets.
Regular maintenance now means less need for deep cleaning later, which keeps your washing machine running smoothly and effectively.
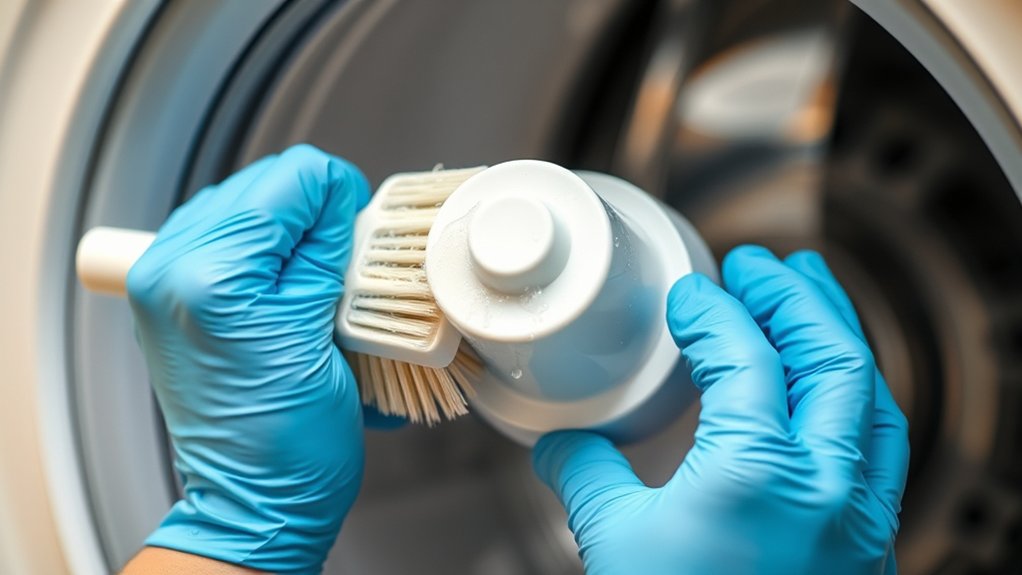
Removing Stubborn Residue
When stubborn residue builds up on your washing machine agitator, wiping it down with a damp cloth and mild soap or affresh wipes effectively removes accumulated dirt and grime.
Use a washing machine cleaner regularly to maintain peak performance.
Follow these steps to tackle stubborn residue thoroughly:
Remove the agitator’s cap (if removable) and clean it with warm, soapy water.
Use a soft bristle brush to scrub slits and crevices where residue and hair accumulate.
Avoid vinegar, as its acidity can corrode rubber components.
Wipe down all surfaces carefully, focusing on areas with visible deposits.
Clean the agitator every 30 days to prevent build-up of detergent and fabric softener.
This method guarantees thorough removal of stubborn residue, preserving your washing machine’s efficiency.
Step 3: Run a Cleaning Cycle to Clear Residue
To run a cleaning cycle effectively, start by making sure your washer is empty.
Then, add either an affresh tablet or 1 cup of liquid chlorine bleach to the tub. Be sure to follow your machine’s manual for bleach use, especially if you have a front loader.
Add an affresh tablet or 1 cup of liquid bleach, following your washer’s manual guidelines carefully.
Next, select the self-cleaning cycle if your washer has one. If not, just choose a normal wash cycle and turn on the Deep Fill option to get more water in the tub. This helps target all the detergent residue and grime that can build up on the agitator and tub surfaces.
Once the cleaning cycle finishes, run a separate rinse and spin cycle right away. This step flushes out any leftover cleaning agents.
Doing this cleaning routine about every 30 days keeps your washer running smoothly. It also prevents odors from detergent buildup and helps your agitator and machine last longer.
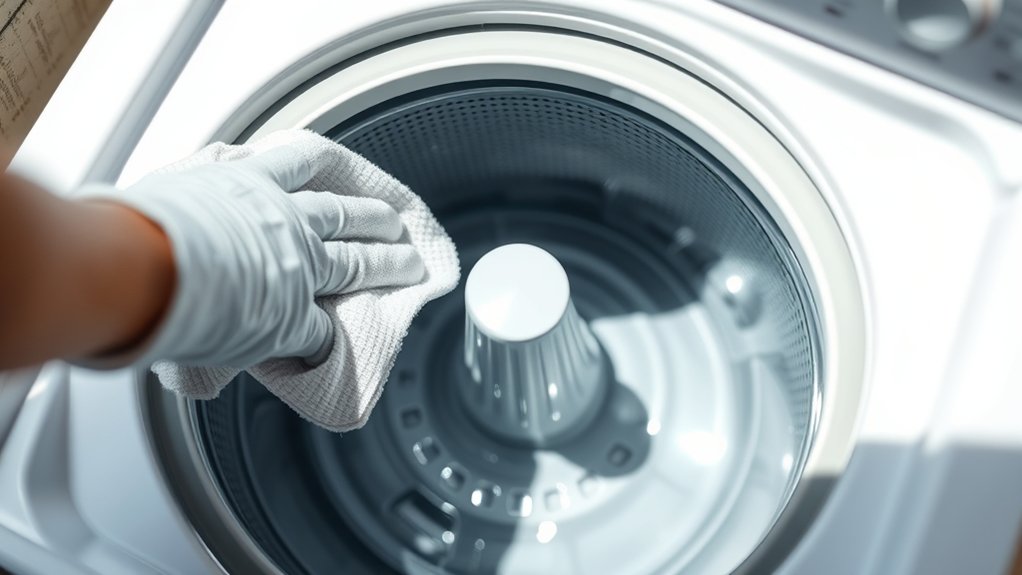
Clean the Inside of Your Agitator Without Removing It
Running a thorough cleaning cycle clears most residue, but the agitator’s interior can still harbor grime and buildup that affect performance.
To clean the inside of your washing machine agitator without removing it, start by pouring hot water into the agitator’s opening to dissolve residue.
If the agitator cap is removable, use a soft-bristle brush to scrub away mold and sludge. Follow with a hot water cycle using a washing machine cleaner or liquid chlorine bleach in the dispenser.
Wipe the agitator’s exterior with a damp cloth and mild detergent to clean the tub’s surface.
Remember, maintaining this routine keeps your agitator efficient and your laundry fresh.
- Dissolves hidden grime
- Removes mold and sludge
- Cleans hard-to-reach spots
- Prevents musty odors
- Maintains tub and agitator efficiency
How Often Should You Clean Your Washing Machine Agitator?
You should clean your washing machine agitator about once a month to keep detergent and dirt from building up.
Doing this regularly helps your washer perform at its best and stops any unpleasant smells or dirt marks from showing up on your clothes.
Just make sure to check your washer’s manual, too, since some models might have specific cleaning instructions.
Recommended Cleaning Frequency
Cleaning your washing machine agitator once every 30 days prevents detergent buildup, grime, and soil accumulation. This recommended cleaning frequency guarantees your machine operates efficiently and your laundry comes out spotless.
Regular cleaning reduces odors and dirt lines on clothes, maintaining hygiene and performance.
Always consult your owner’s manual for model-specific guidelines, as some machines might require different schedules.
Also, adopting good habits supports your cleaning routine:
- Prevents mold growth and musty smells
- Maintains peak agitator function
- Enhances laundry effectiveness
- Prolongs washing machine lifespan
- Keeps your laundry environment fresh
Try to make this monthly cleaning habit part of your maintenance plan. That way, you get consistent, reliable results without compromising your machine’s integrity.
Maintenance Benefits
Maintaining your washing machine agitator every 30 days keeps detergent and soil from building up. This directly supports peak washing performance.
Regular machine cleaning also prevents grime accumulation that can reduce agitation efficiency. That means your clothes come out thoroughly clean without dirt lines or residue.
Plus, the maintenance benefits extend to fresher laundry by eliminating odor-causing buildup and maintaining ideal detergent function.
By wiping down the agitator and running cleaning cycles consistently, you reduce strain on mechanical components. This helps extend the machine’s lifespan.
Neglecting this routine risks decreased washing effectiveness and potential long-term damage.
Common Dirty Agitator Problems and Fixes
Spotting dirt lines on your clothes often signals a clogged agitator. Hair and debris get trapped in its slits and reduce washing effectiveness.
Dirt lines on clothes often indicate a clogged agitator trapping hair and debris, reducing wash effectiveness.
To fix common agitator problems and keep it clean, follow these steps:
Remove the agitator cap if possible and clean it separately to clear accumulated grime. Use a soft bristle brush to scrub inside the agitator, focusing on slits and crevices.
Inspect for mold buildup, which causes musty odors; clean with a mild detergent solution.
Rinse thoroughly to remove detergent residue that impairs washing performance.
Make sure you repeat cleaning every 30 days to prevent grime and buildup that compromise efficiency. This way, your washing machine keeps working like new!
Tips to Keep Your Washing Machine Agitator Clean
To keep your washing machine agitator operating at peak efficiency, you should clean it at least once every 30 days. This routine prevents detergent and soil buildup, ensuring ideal performance during each wash cycle.
Use a damp cloth with mild soap or affresh wipes to clean the agitator’s surface regularly.
If your agitator is removable, check your owner’s manual and take off the agitator cap to clean underneath thoroughly.
After each wash cycle, leave the washer door open to promote air circulation and help prevent mold growth inside the machine.
Also, try to run a dedicated clean washing machine cycle regularly, if your machine has one. This helps maintain the agitator’s cleanliness and overall hygiene.
Following these simple steps will extend your washer’s lifespan and improve your laundry results every time.
Frequently Asked Questions
Can I Use Baking Soda Instead of Vinegar to Clean the Agitator?
Yes, you can use baking soda instead of vinegar to clean the agitator.
Baking soda has some great benefits like being mildly abrasive, which helps remove grime. It also neutralizes odors, making it a handy alternative to vinegar.
Just mix 1/2 cup with hot water and apply it carefully so you don’t damage any parts. Baking soda is gentler on rubber components and works well for light cleaning.
That said, it mightn’t be as effective on heavy buildup compared to specialized cleaners.
Is It Safe to Clean the Agitator With Bleach Regularly?
You’re better off not giving your agitator a bleach spa too often. Frequent use of bleach can gradually wear down rubber parts, so stick to occasional treatments.
Instead, use bleach alternatives like affresh cleaners for regular maintenance. Follow your washer’s guidelines on cleaning frequency and reserve bleach for stubborn grime or odors.
Always rinse thoroughly after using bleach to protect your machine’s longevity and keep your agitator in top shape. It helps keep everything running smoothly without damage.
How Do I Know if My Agitator Needs Replacement Instead of Cleaning?
You’ll know your agitator needs replacement instead of cleaning if you notice reduced agitation effectiveness, visible signs of wear like cracks or broken fins, or if it fails to spin properly.
Unusual noises such as grinding or rattling during cycles also indicate mechanical issues.
Plus, if there’s a burning smell or persistent residue on clothes despite cleaning, these signs suggest the agitator’s function is compromised and replacement is necessary.
Sometimes it’s just better to swap it out than keep fixing the same problem.
Can Cleaning the Agitator Improve My Washing Machine’s Energy Efficiency?
Yes, cleaning the agitator can improve your washing machine’s energy efficiency. Removing detergent buildup and grime guarantees ideal movement and water circulation. This helps reduce wash cycle duration and energy usage.
For energy savings, follow maintenance tips like regular agitator cleaning and inspecting for debris. This prevents repeated cycles caused by poor cleaning performance.
Ultimately, it lowers electricity consumption and extends your washer’s lifespan through consistent, efficient operation.
What Should I Do if the Agitator Is Making Unusual Noises After Cleaning?
If your agitator is making agitation noise after cleaning, first check for loose screws or parts and tighten them.
Inspect the agitator slits for trapped debris causing the noise. Confirm the agitator is correctly reassembled to avoid misalignment.
Run a spin cycle to listen for unusual sounds that might indicate motor or bearing issues.
Follow maintenance tips from your machine’s manual to troubleshoot specific problems and prevent future agitation noise effectively.
Taking these steps should help you figure out what’s going on and get your washer running smoothly again.
Conclusion
Cleaning your washing machine agitator might seem like a chore, but skipping it invites grime and odors that damage your washer’s performance. By regularly wiping down and addressing buildup, you guarantee smooth, efficient cycles versus costly repairs and foul smells.
You’re not just maintaining a part. You’re extending your machine’s life and improving every wash. Take these simple, precise steps now, and enjoy cleaner clothes and a healthier appliance tomorrow.