How To Clean A Kenmore Washing Machine – Guide
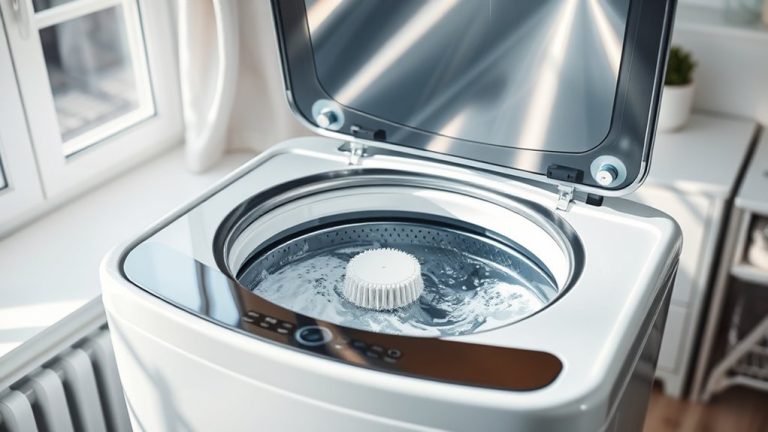
To clean your Kenmore washing machine, start by plugging it in and filling it with hot water on the highest temperature setting. Add a cleaning tablet or two cups of white vinegar to dissolve residue and odors. Then run a full hot water cycle empty.
Next, remove and soak the dispenser drawer and wipe the fill spout. Make sure to thoroughly scrub the rubber door gasket and tub. After cleaning, leave the door open to air dry.
Proper draining and regular maintenance help prevent mold and odors. If you want, you can explore these steps further for detailed troubleshooting and upkeep. It’s a simple routine that keeps your machine fresh and running smoothly.
Prepare Your Kenmore Washer: Plug In and Fill With Hot Water
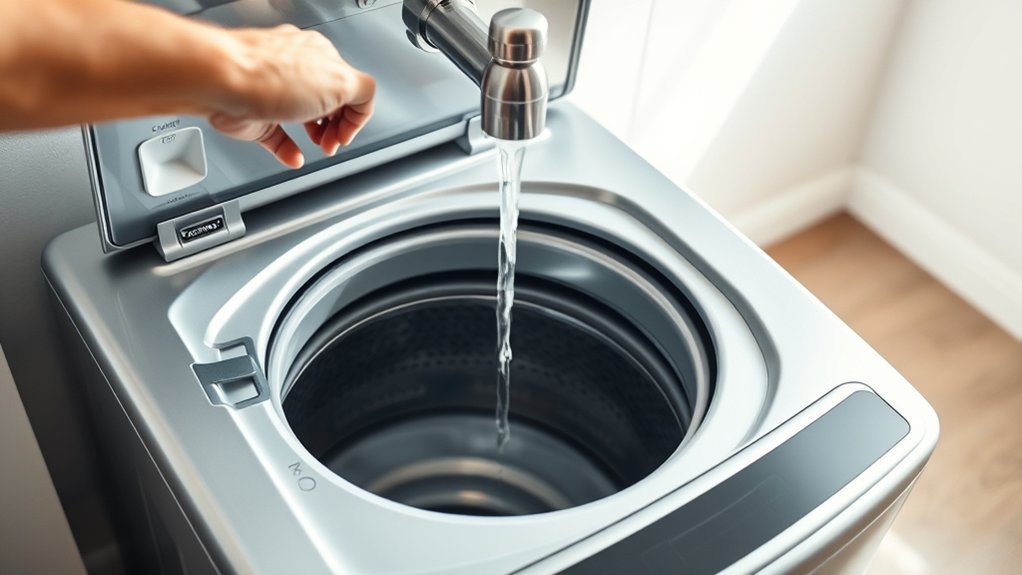
Before you begin cleaning your Kenmore washing machine, make sure to plug it in so it has power throughout the process.
Next, fill the washer with hot water. This is essential to dissolve detergent residues and loosen grime inside the drum.
Use the control panel to select the highest temperature setting. This maximizes the cleaning efficacy by ensuring the water reaches an ideal heat level.
Confirm the lid is closed or make sure the control settings are properly adjusted to start the water fill cycle.
The hot water will saturate the interior surfaces, preparing them for the next cleaning steps.
This preparation is key to keeping your washer’s performance and hygiene in top shape by targeting buildup and residue with hot water.
Use a Cleaning Tablet or Vinegar to Remove Residue and Odors
Once your Kenmore washer is filled with hot water, you can add a cleaning tablet like Affresh or pour in 2 cups of white vinegar to tackle detergent residue and odors.
These cleaning agents work by dissolving mineral buildup and neutralizing odor-causing bacteria and mold inside the drum and seals.
Cleaning agents dissolve mineral buildup and neutralize odor-causing bacteria and mold in the drum and seals.
Run an empty hot water cycle to allow the cleaning agents to effectively break down residue and eliminate musty smells.
For peak maintenance, repeat this process monthly to prevent buildup and maintain a fresh-smelling washer.
Always adhere to the manufacturer’s instructions when using cleaning tablets or vinegar to ensure safety and effectiveness.
This routine helps preserve your washer’s performance and extends its lifespan by keeping internal components clean and odor-free.
Remove and Clean the Kenmore Washer Dispenser Drawer and Fill Spout
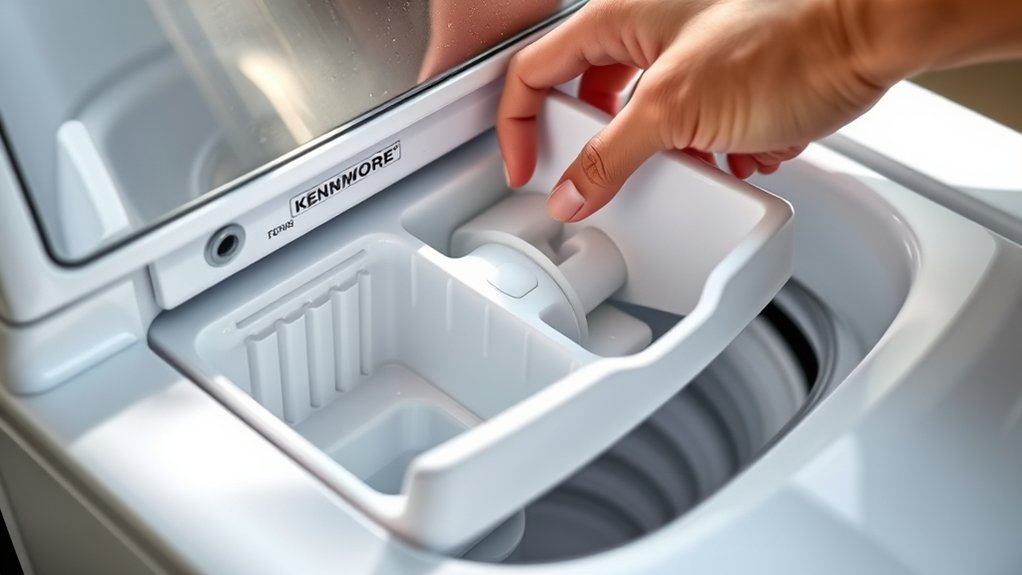
Although your Kenmore washer’s dispenser drawer and fill spout work continuously to deliver detergent and fabric softener, they tend to accumulate residue and mold over time.
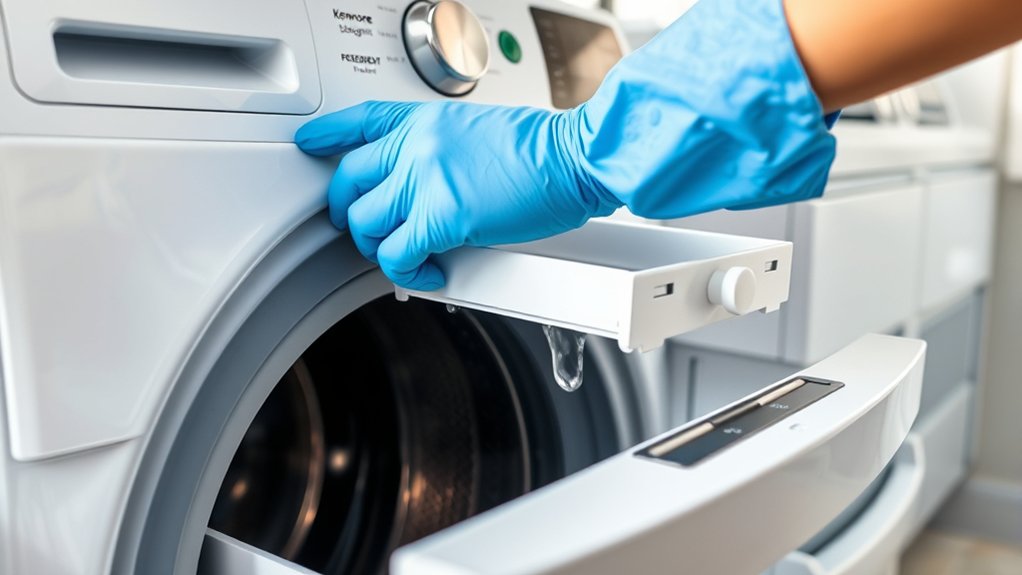
To clean the dispenser drawer, fully remove it by pulling it out from the front of the washer, pressing any release tabs if necessary.
Soak the drawer in warm, soapy water, then scrub thoroughly with a brush or cloth to eliminate buildup. Rinse it under running water to clear any remaining debris before reinserting it.
For the fill spout, wipe it down carefully using a damp cloth or brush to prevent clogs.
Regularly inspecting and cleaning both the dispenser drawer and fill spout every six months guarantees proper detergent flow and helps avoid unpleasant odors.
Clean the Kenmore Washer’s Rubber Door Boot and Gasket Thoroughly
To thoroughly clean your Kenmore washer’s rubber door boot and gasket, start by carefully removing the door boot to access all folds and crevices.
Prepare a cleaning solution by mixing ¾ cup chlorine bleach with 1 gallon of warm water, and wear gloves for protection.
Use a clean cloth or soft brush to scrub the gasket thoroughly, focusing on all folds, crevices, and behind the door gasket to eliminate mold and residue.
After scrubbing, let the gasket sit with the solution for five minutes to maximize disinfecting.
Then rinse the gasket thoroughly with clean water to remove any bleach residue.
Finally, leave the door open to air dry the gasket completely. This helps prevent mold or mildew buildup and ensures the best washer hygiene.
Scrub the Tub and Balance Ring for Deep Cleaning
After thoroughly cleaning the rubber door boot and gasket, focus on the tub and balance ring to remove hidden buildup. First, carefully remove the plastic balance ring from the top of the tub by pulling it off.
Use a brush dipped in warm water mixed with mild detergent to scrub all grooves and crevices of the balance ring, eliminating detergent residue and buildup.
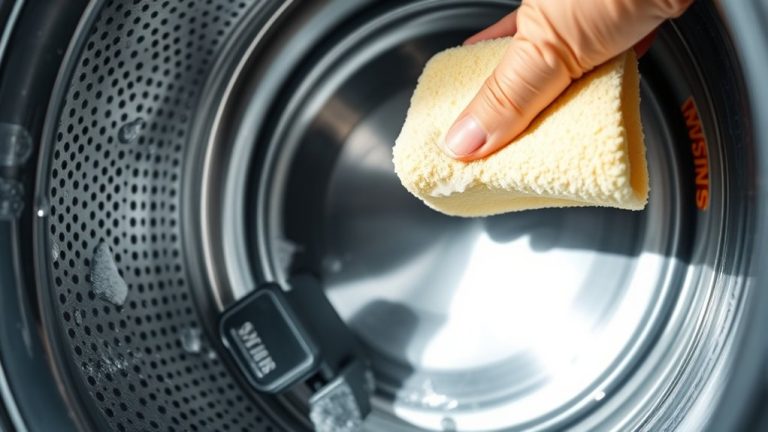
Next, clean the tub’s interior with a soft cloth or sponge. Pay close attention to areas behind the balance ring and around the edges.
Once it’s thoroughly cleaned, securely reattach the balance ring to ensure proper sealing and prevent leaks during washing cycles.
Regular scrubbing of both the tub and balance ring prevents mold, mildew, and odor buildup. This helps maintain your Kenmore washer’s hygiene and performance.
Keeping up with this simple step can really make a difference!
Rinse and Drain the Kenmore Washer Properly After Cleaning
After you’ve finished cleaning, make sure to position the drain hose securely over a floor drain or a utility sink. This helps prevent any leaks while the washer is rinsing.
Next, run a full rinse cycle using clean water to flush out all the leftover cleaning residues thoroughly.
Also, it’s a good idea to keep the lid switch connector disconnected during this process. That way, you can avoid accidentally triggering the lid lock while the washer is draining.
Proper Drain Hose Position
How should you position the drain hose to guarantee your Kenmore washer drains efficiently during rinsing? Proper placement is vital to prevent leaks, siphoning, or backflow. Follow these steps:
First, secure the drain hose connection and position it 18-30 inches above the floor to maintain the ideal height. Then, insert the drain hose into a standpipe or laundry tub equipped with a vent for proper airflow.
Next, elevate the hose slightly during rinsing to help gravity assist drainage and stop water from siphoning back.
Also, make sure the drain hose is free from kinks, clogs, or crushing. Secure it with a clip or support so it doesn’t slip out.
Correct positioning of the drain hose guarantees efficient water flow and protects your Kenmore washer from drainage issues. It’s a simple step that can save you from a lot of headaches down the line.
Effective Rinse Cycle
Why is running an effective rinse cycle essential once you’ve cleaned your Kenmore washer? The rinse cycle makes sure all leftover cleaning solutions and debris get flushed out completely. This helps prevent buildup and odors from forming.
Start by selecting a hot water rinse cycle to get the best residue removal. Also, check that the drain hose is positioned correctly so the water drains fully and there are no leaks. If the water doesn’t drain properly, you can disconnect the drain hose and direct it to a floor drain or a large basin.
Keep the lid switch disconnected during the rinse cycle to stop the washer from starting too soon or getting interrupted. When the rinse cycle finishes, leave the washer door open to let the drum air out. This simple step helps prevent mold and musty smells.
Following these steps ensures your Kenmore washer stays clean and works at its best every time. Easy, right?
Managing Lid Switch
To manage the lid switch properly during rinsing and draining, keep the lid switch connector disconnected to prevent accidental starts or electrical issues.
Follow these steps to guarantee efficient rinsing and draining:
- Position the drain hose securely into a floor drain or utility sink for effective water removal.
- Keep the lid open throughout rinsing to avoid premature cycle stoppage by the lid switch.
- Don’t force the lid closed during cleaning to prevent damaging the lid switch.
After rinsing and draining, reconnect the lid switch connector firmly before running a test cycle.
This ensures everything works correctly and safely before you use the machine again.
Troubleshoot Common Odors and Issues Before Scheduling Professional Maintenance
First, take a close look inside the drum, around the door gasket, and in the dispensers to spot any odor sources like mold, mildew, or detergent buildup.
You’ll want to check for common issues too, such as leaks, unusual noises, or drainage problems. Sometimes, these can be fixed by simply cleaning the hoses or troubleshooting the control components.
If you’ve tried these steps and the problem still isn’t resolved, then it’s definitely time to call in professional maintenance.
Identifying Odor Sources
Where do those unpleasant odors in your Kenmore washing machine come from? Identifying the source is essential before scheduling maintenance. Typically, odor develops from mold and mildew buildup in the door gasket, dispensers, or drum.
Residual detergent, fabric softeners, and dirt trapped in rubber seals also produce musty smells. Plus, if the door seal and interior don’t dry properly, it can foster bacterial growth. And don’t forget clogged or dirty drainage systems; they cause stagnant water and foul odors.
To pinpoint odor sources, inspect these areas carefully. Regular cleaning cycles with vinegar or specialized cleaners help eliminate residue buildup and prevent odors from coming back.
Taking care of these spots ensures your washer stays fresh, lasts longer, and keeps your laundry hygienic.
Common Washer Issues
How can you quickly identify and resolve common issues causing odors or malfunctions in your Kenmore washing machine before calling a professional? Start by inspecting the door seal, dispenser, and drum for mold, mildew, or detergent buildup. These are often the main culprits behind persistent odors.
Next, check for leaks or unusual noises. These might signal clogged or damaged water inlet valves, cracked hoses, or worn door seals. If your washer fails to drain properly, take a look at the drain pump and drain hose for clogs or obstructions. Also, make sure to verify the pressure switch is working as it should.
If your washer isn’t spinning or won’t start, check the control board, lid switch, and door lock mechanism for any faults. Regularly cleaning and inspecting these parts can help prevent odors and mechanical failures. Doing this keeps your Kenmore washing machine running smoothly and efficiently.
When To Call Professionals
After addressing common issues like mold buildup, clogged drains, and faulty seals, some problems may persist or even get worse. That’s usually a sign you need to call in a professional.
You should consider appliance repair services when persistent odors remain despite thorough cleaning. This could mean mold or drainage blockages that need an expert’s inspection.
If you notice unusual leaks or water pooling during cycles, it might be damaged hoses or internal parts that require repair.
Frequent cycle failures or error codes popping up can point to control board or mechanical faults beyond what you can fix yourself.
And if your machine keeps making excessive noise or vibrating after you’ve leveled it, that could be suspension or motor issues needing a pro’s diagnosis.
Scheduling professional maintenance ensures accurate troubleshooting and helps prevent further damage.
Frequently Asked Questions
How Often Should I Clean My Kenmore Washing Machine?
You should clean your Kenmore washing machine once a month to prevent odors and residue buildup. If you use it frequently, consider cleaning every 2 to 3 weeks.
Perform a deep clean using products like Affresh or vinegar every 4 to 6 weeks. Don’t forget to regularly clean the rubber door boot and dispenser drawer.
Following these steps will help maintain your machine’s peak performance and extend its lifespan. It’s a simple routine that really pays off in the long run!
Can I Use Bleach Instead of Vinegar for Cleaning?
You can use bleach instead of vinegar to clean your Kenmore washing machine, but treat it like handling fire. It’s powerful but risky. Add 1 cup of chlorine bleach to a hot water cycle and run the washer empty to disinfect.
Just be careful not to overuse bleach because it can degrade rubber seals and hoses. Always run an extra rinse cycle afterward to flush out any harsh chemical residue.
This helps protect your machine’s components.
What Cleaning Products Are Safe for Kenmore Washers?
You should use washing machine-safe products like Affresh tablets, white vinegar, or chlorine bleach, but only if your Kenmore manual approves them. Avoid abrasive or harsh chemical cleaners that could damage seals or internal parts. Always follow the manufacturer’s recommended dosage and instructions.
Stick to products specifically formulated for washing machines to effectively remove residue, mold, and mildew without harming your Kenmore washer’s components or performance. It’s really important to keep things gentle so your washer lasts longer and works better.
Just check your manual first, and you’ll be good to go!
How Do I Prevent Mold Buildup in My Washer?
You mightn’t realize how essential this step is: always leave your washer door open after each use. This prevents moisture from lingering and mold from taking hold.
Next, clean the rubber gasket regularly with bleach and warm water to kill spores.
Run monthly cleaning cycles using vinegar or an Affresh tablet to remove residue.
Finally, wipe detergent dispensers dry and make certain your laundry area is well-ventilated to keep mold at bay. It really helps keep everything fresh and mold-free.
Is It Necessary to Clean the Washing Machine Filter?
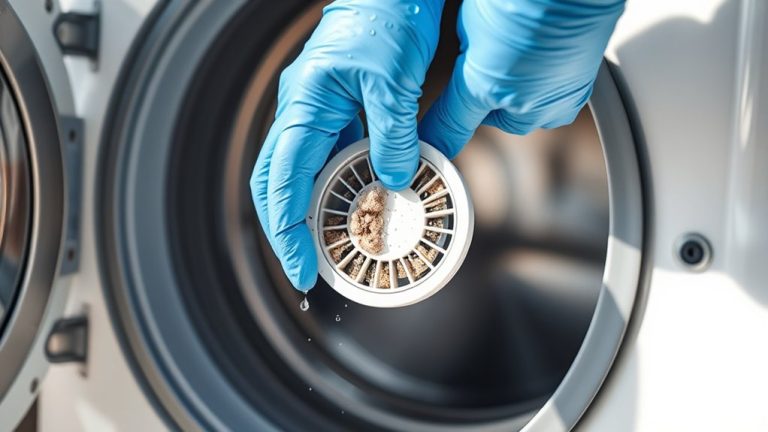
Yes, you need to clean the washing machine filter regularly. It traps lint, hair, and debris that can clog drains and reduce cleaning efficiency.
Neglecting this maintenance leads to poor drainage, odors, and potential leaks.
Check your Kenmore model’s manual for the filter location and cleaning frequency. Remove the filter every few months, rinse it thoroughly, and replace it properly.
This helps guarantee peak performance and prevents mold buildup or mechanical issues.
Conclusion
By following these steps, you’ll keep your Kenmore washer running like a well-oiled machine. Regular cleaning tackles buildup and odors before they sneak in, ensuring every load is fresh and spotless.
Treat your washer with care, and it’ll repay you with years of efficient performance. When in doubt, addressing issues early can prevent costly repairs. Think of maintenance as the oil that keeps your laundry routine smooth and trouble-free.