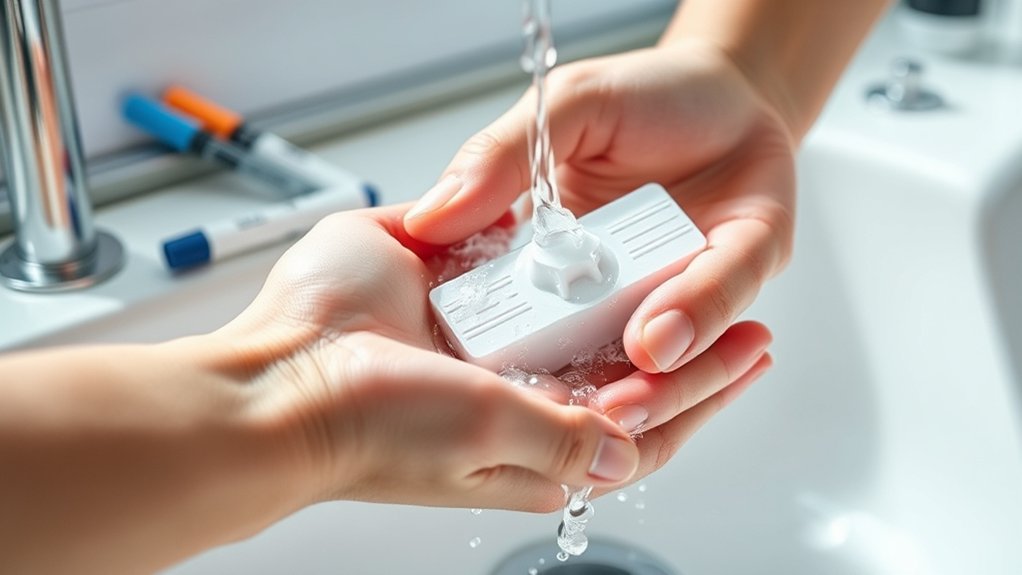
How Do You Clean A Dry Erase Eraser – Easy Guide
To clean your dry erase eraser, start by tapping or brushing off loose ink debris. For a deeper clean, soak it in warm soapy water for 20 minutes, then rinse well and air dry in sunlight for 1-2 hours.
Alternatively, you can use toothpaste and a damp cloth to scrub away stubborn stains. Quick on-the-go methods include wiping with a damp microfiber cloth or rubbing alcohol.
Proper cleaning keeps your eraser effective and extends its life. Give these tips a try to keep your eraser working at its best.
Benefits of Regular Dry Erase Eraser Cleaning
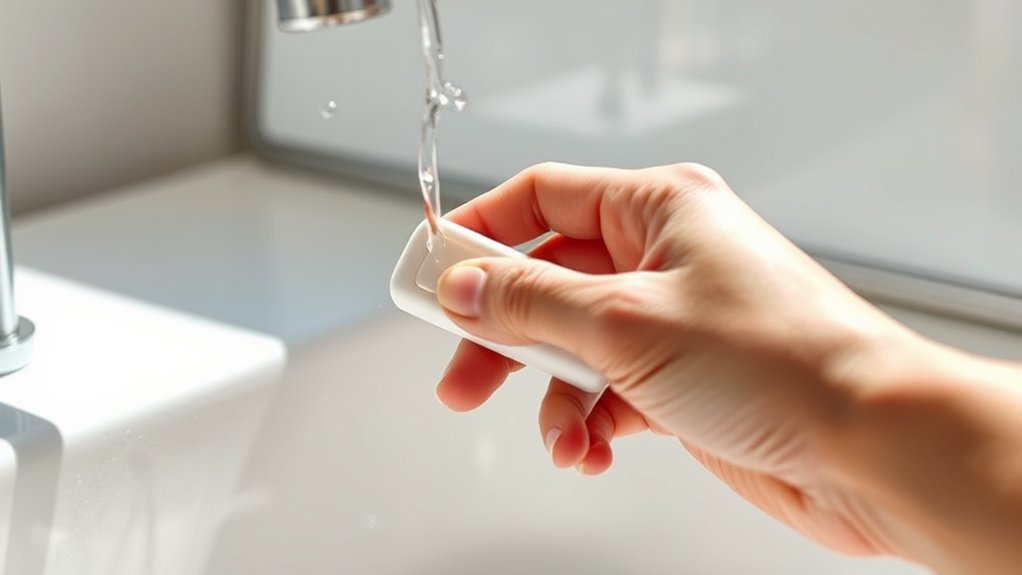
Although it’s easy to overlook, regularly cleaning your dry erase eraser plays an essential role in maintaining its effectiveness. When you clean dry erase erasers weekly, you prevent ink residue buildup that compromises their ability to erase properly.
This maintenance step restores the eraser’s absorbency, ensuring it doesn’t spread leftover ink back onto your whiteboard. Using water or alcohol for cleaning removes dried ink, keeping the eraser near its original condition and extending its lifespan.
Consistent cleaning also reduces ghosting and residual marker stains, which preserves your whiteboard’s clarity. By prioritizing this simple maintenance routine, you save costs by avoiding frequent replacements and improve your whiteboard’s performance every time you write and erase.
Don’t underestimate the impact of proper dry erase eraser cleaning on your workspace.
How to Remove Loose Ink Residue Before Washing
Before you wash your dry erase eraser, start by removing any loose ink residue to prevent it from spreading further. Gently tap or shake the eraser on a hard surface to dislodge loose ink residue and surface dust.
Then, use a soft brush or compressed air to carefully remove remaining particles from the eraser’s surface and crevices.
Next, take a dry cloth and wipe the eraser thoroughly to pick up any lingering loose ink residue. Avoid soaking the eraser at this stage, as water can drive ink deeper into the material.
How to Wash Erasers With Dish Soap
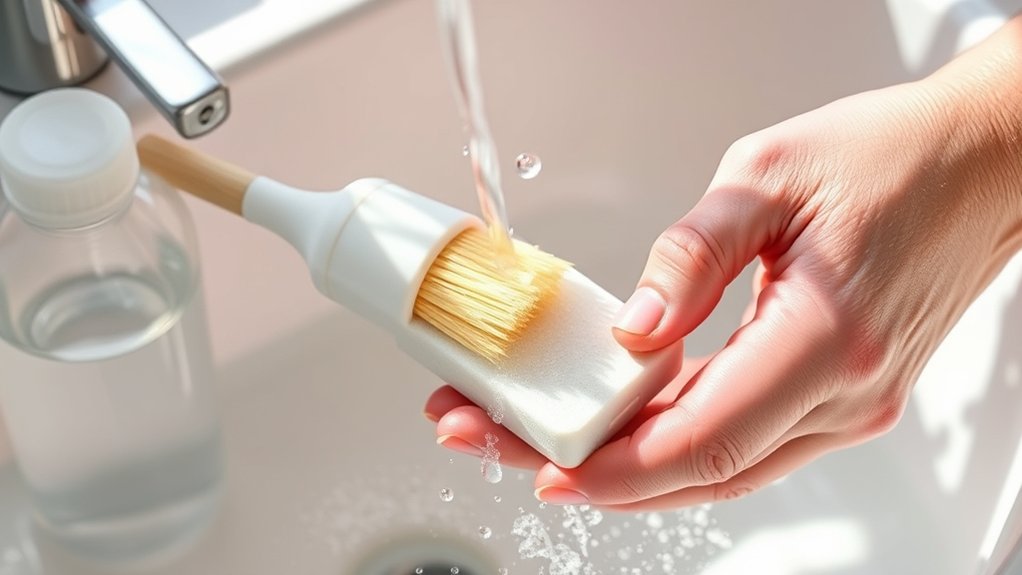
A simple dish soap solution can effectively break down ink residue on your dry erase eraser. Follow these steps to clean it thoroughly:
- Fill a shallow pan with hot water and add about 1 tablespoon of dish soap to create a cleaning solution.
- Submerge your dry erase eraser in the soapy water and let it soak for at least 20 minutes to loosen the ink.
- Rinse the eraser thoroughly under running water until all soap suds and ink are completely removed.
- Check that the water runs clear, then let the eraser air dry in direct sunlight for 1-2 hours before using it again.
This method guarantees your dry erase eraser is clean, fresh, and ready to erase effectively. Just give it a try, and you’ll see how well it works!
How to Deep Clean Dry Erase Erasers With a Garden Hose
Set up your cleaning station outside on the grass—this helps you avoid any ink stains indoors and makes rinsing super easy.
Then, grab your garden hose and turn it to high pressure. Spray your dry erase erasers thoroughly until the water runs clear.
This way, you’re sure to get a deep clean that removes all the ink and debris from the felt and surface.
Outdoor Cleaning Setup
When you want to deep clean your dry erase eraser, choosing an outdoor spot with grass helps keep ink splashes from staining other surfaces. Setting up your outdoor cleaning setup properly ensures efficient results. Follow these steps:
First, position yourself in a grassy area to clean the dry erase eraser outside safely without making a mess.
Then, set your garden hose to the highest pressure to spray the eraser effectively. Hold the eraser steady and use a sweeping motion to rinse ink from it thoroughly, continuing until the water runs clear.
Finally, place the eraser in direct sunlight for outdoor drying. Allow 1-2 hours to make sure it’s fully dry.
This pressure spray dry eraser method guarantees a fresh, clean eraser ready for reuse.
Effective Rinsing Techniques
To clean your dry erase eraser thoroughly, focus on rinsing techniques that maximize ink removal without spreading messes. Start by placing your eraser outdoors on grass to avoid ink runoff creating a mess.
Use your garden hose’s most powerful setting to spray the eraser thoroughly, ensuring water reaches every surface, especially the felt or foam areas where ink builds up.
Rinse until the water runs clear, signaling effective ink removal. Spraying evenly prevents missed spots and enhances the cleaning process.
After rinsing, set the eraser in direct sunlight for 1-2 hours to dry completely and avoid mold or mildew.
Never rinse erasers indoors or in confined spaces, as high-pressure water can cause splashes and unwanted messes.
This method guarantees a deep, effective cleaning. Give it a try and you’ll notice how much cleaner your eraser gets!
Clean Your Dry Eraser With Toothpaste
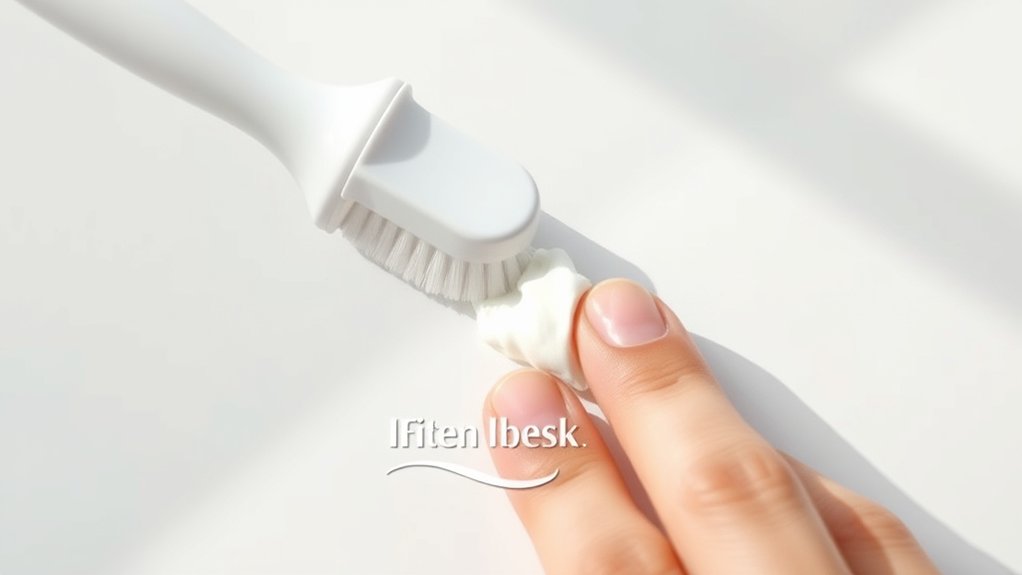
Start by squeezing a small line of toothpaste right onto your dry erase eraser. Then, grab a damp cloth and gently scrub the toothpaste in using circular motions. This helps to get an even coverage and lifts off that stubborn ink buildup.
Once you’ve scrubbed it all over, rinse the eraser thoroughly under warm water. After that, just pat it dry with a towel and let it air dry in some sunlight for the best results.
Easy, right? Your eraser will be good as new!
Toothpaste Application Steps
Although toothpaste is typically used for dental care, it can also effectively clean your dry erase eraser by breaking down ink residue. Follow these toothpaste application steps for thorough cleaning:
- Apply a line of toothpaste evenly across the entire surface of the eraser.
- Use a damp cloth to scrub the eraser in a circular motion, spreading the toothpaste and loosening ink buildup.
- Rinse the eraser thoroughly under warm running water until all toothpaste and ink are removed.
- Pat the eraser dry with a clean towel, then allow it to air dry in direct sunlight for 1-2 hours before reuse.
This method guarantees your dry erase eraser is clean and ready. It also improves its performance and lifespan.
Effective Scrubbing Techniques
When you apply a thin line of toothpaste directly onto your dry erase eraser, you set the stage for effective cleaning. Grab a damp cloth and scrub the eraser’s surface using circular motions. This method spreads the toothpaste evenly, loosening ink and grime while maximizing cleaning effectiveness.
Keep your motions consistent and firm but gentle to avoid damaging the eraser. After scrubbing, it’s vital to rinse thoroughly under warm running water to remove all toothpaste and ink residues. This step guarantees your eraser is free from buildup that could impair its function.
Once cleaned, let the eraser air dry completely, preferably outdoors in direct sunlight. Proper scrubbing combined with thorough rinsing and drying restores your eraser’s performance and extends its lifespan.
Give it some time to dry, and you’ll notice it works almost like new!
Rinsing And Drying
After scrubbing your dry erase eraser with toothpaste, the next step is to rinse away all the loosened ink and cleaning residue. Proper rinsing and drying guarantee your eraser is ready for use again as a clean eraser.
Follow these steps:
- Rinse the eraser thoroughly under warm water, removing all toothpaste and ink residues.
- Check for any remaining toothpaste; keep rinsing until the eraser feels residue-free.
- Shake off excess water gently to speed up drying.
- Place the eraser outdoors in direct sunlight and let it air dry completely for 1-2 hours.
This rinsing and drying process prevents buildup and keeps the eraser’s effectiveness. It also prolongs its lifespan and helps keep your dry erase board spotless.
It’s a simple way to make sure your eraser stays in great shape!
Drying and Maintaining Your Eraser for Longevity
To keep your dry erase eraser effective and long-lasting, you need to dry it thoroughly after cleaning. Always let your dry erasers air dry completely in a warm, dry environment to prevent mold and ink buildup.
When possible, place them in direct sunlight for 1-2 hours to speed up drying and remove moisture.
If it’s cold or cloudy, try setting your erasers near a heat vent. Just avoid direct artificial heat sources since they can warp the felt.
Regular maintenance means inspecting and cleaning your eraser often. Make sure you use proper drying methods to extend how long it lasts.
Quick Cleaning Tips for On-the-Go Dry Erase Erasers
Although you mightn’t have time for a full cleaning, quick maintenance keeps your dry erase eraser performing well on the go. Follow these quick cleaning tips for on-the-go dry erase erasers:
- Wipe the eraser with a damp microfiber cloth to remove surface ink buildup effectively.
- For stubborn marks, gently rub the eraser with rubbing alcohol on a paper towel to break down ink residue.
- Use a dry toothbrush to scrub felt erasers, dislodging dried ink particles when you’re outdoors or away from water.
- During quick cleanups, brush off dust and resin with a clean, dry cloth to maintain eraser efficiency.
These simple steps ensure your felt erasers stay fresh and ready, even during busy days. Give them a try and see how much easier your cleaning routine can be!
Frequently Asked Questions
Can I Use a Washing Machine to Clean My Dry Erase Eraser?
You shouldn’t use a washing machine to clean your dry erase eraser. The agitation can damage the felt or foam, causing it to lose shape and effectiveness.
Instead, hand wash it gently with soap and water to preserve its cleaning surface.
Machine washing often leads to frayed edges or disintegration. So, to keep your eraser working well, stick to manual cleaning methods.
It’s a simple way to make sure your eraser lasts longer and cleans better.
How Often Should I Deep Clean My Dry Erase Eraser?
You should deep clean your dry erase eraser every 1 to 3 months, just like tuning a vintage gramophone to keep it crisp. If you use it heavily, clean it more often. Check for ink buildup or dirt regularly.
When you notice it’s not erasing well, it’s time to clean. Soak it in soapy water or scrub with toothpaste to restore its performance and extend its life. It’s an easy trick that really helps your eraser last longer.
Are There Specific Erasers That Shouldn’T Be Cleaned With Water?
Yes, you shouldn’t clean felt dry erase erasers with water since moisture damages the material. Avoid soaking erasers with glued, foam, or special coatings too. Water can cause them to fall apart or lose effectiveness.
Melamine (magic) erasers can also harm your whiteboard if used excessively or soaked. Always check manufacturer instructions before cleaning to avoid ruining your eraser or board.
Use dry or minimal moisture methods when in doubt.
Can Cleaning Damage the Eraser’s Surface or Affect Performance?
You want to clean your eraser, but harsh scrubbing or strong chemicals can actually harm it instead. If you’re too rough or use abrasive cleaners, you risk wearing down the surface and breaking apart the felt inside.
This reduces ink absorption and makes your eraser less effective.
What Should I Do if My Eraser Still Leaves Marks After Cleaning?
If your eraser still leaves marks after cleaning, soak it in warm, soapy water for 20 minutes. Then, scrub gently with a toothbrush to remove any ink buildup. This can really help get rid of stubborn stains.
If that doesn’t work, try rubbing alcohol to break down any tough residue. Sometimes, a little extra effort is all it takes to make your eraser good as new.
When all else fails, it’s probably time to replace the eraser or switch to a microfiber cloth for better results. Regular cleaning after each use can help prevent this problem from happening again. Just a little upkeep goes a long way!
Conclusion
Regularly cleaning your dry erase eraser keeps it working like new and extends its life. Remember, “a stitch in time saves nine.” Tackling ink residue early prevents buildup and frustration later.
Whether you use dish soap, toothpaste, or a quick on-the-go wipe, maintaining your eraser guarantees crisp, clean whiteboards every time. Stay consistent, dry thoroughly, and your eraser will serve you well for many lessons and meetings ahead.