How To Clean Washing Machine Gasket Mold – Guide
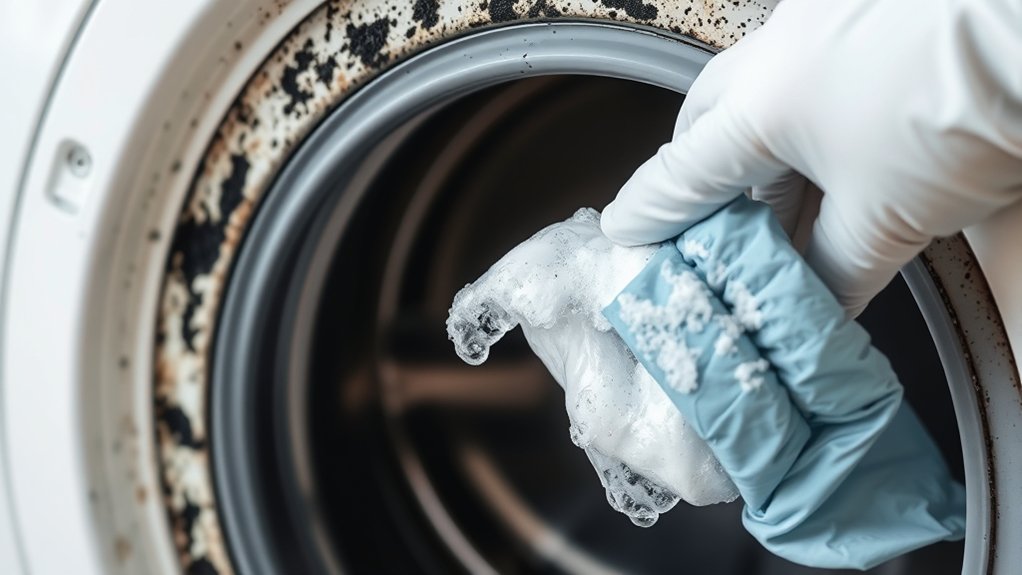
To clean mold from your washing machine gasket, first unplug the machine and wear gloves and goggles for safety. Inspect and remove debris with a soft cloth and toothbrush. Then apply a mold-killing solution, letting it soak 30-60 minutes but not longer to protect the rubber.
Scrub crevices gently and rinse thoroughly with warm water. Dry the gasket completely and leave the door open to prevent moisture buildup. Follow these steps carefully, and you’ll find effective ways to maintain your washer’s hygiene.
Why Does Mold Grow on Washer Gaskets?
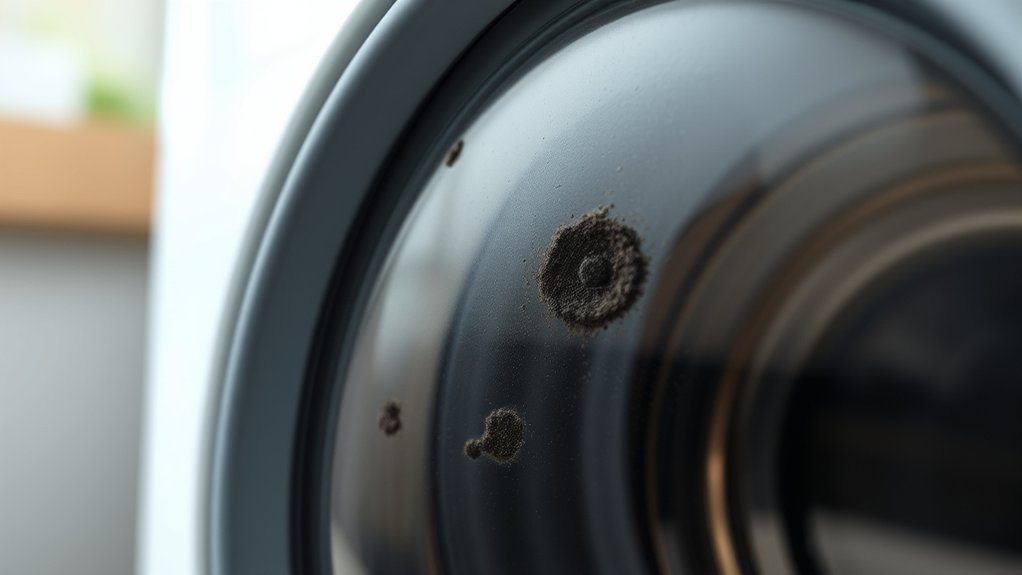
Why does mold so often develop on washer gaskets? It’s mainly due to trapped moisture and residues that create an ideal environment for mold growth.
The washer gasket’s deep folds and crevices hold water, soap scum, fabric softeners, and lint, which serve as a food source for mold spores.
When you don’t clean the gasket regularly or allow poor ventilation, moisture accumulates over time, accelerating mold development.
Residual biofilms also contribute by providing a breeding ground that’s hard to reach with routine cleaning.
Understanding these factors really shows why consistent, thorough cleaning is essential. It helps prevent persistent mold growth on your washer gasket and keeps your washing environment hygienic.
How to Identify Mold on Washing Machine Gaskets
You’ll often notice a musty or swampy smell coming from the washer when mold is growing in the gasket. Take a close look at the deep folds of the rubber gasket—if you see any visible residue, discoloration, or slimy patches, that’s a clear sign mold is building up.
If the odors stick around even after you’ve cleaned it, there’s a good chance mold is hiding in those hard-to-see crevices within the gasket. So, it’s worth checking carefully to make sure you get it all.
Mold Smell Indicators
Although mold growth on washing machine gaskets can be hidden deep within folds, you can identify it by detecting persistent musty or swampy odors coming from the washer. This mold smell often signals gasket mold thriving in moist, hard-to-reach areas where residue buildup occurs.
Even after washing cycles, a lingering musty odor indicates mold presence requiring immediate attention.
Poor ventilation, infrequent cleaning, and fabric softener residues make this issue worse. To tackle the mold smell effectively, focus on cleaning tips that target these folds and remove trapped moisture and debris.
Recognizing these odor indicators early helps prevent extensive gasket mold growth and keeps your washer hygienic.
Always act promptly when you notice any unusual smells to stop further contamination.
Visible Gasket Residue
Detecting mold on your washing machine gasket goes beyond just identifying odors. You’ll need to inspect the rubber seal closely for visible signs. Look for black, green, or gray patches of gasket mold, especially in the deep folds and crevices of the rubber gasket where mildew growth thrives.
Residue from fabric softeners and detergents often accumulates in these areas, creating sticky, discolored visible residue that signals mold presence. Since mold hides in hard-to-reach spots, examine the gasket’s creases thoroughly. Pay close attention to fuzzy growths or discoloration.
Washers in humid, poorly ventilated environments or those cleaned infrequently are more prone to buildup. Catching these signs early allows for effective deep cleaning, preventing further mold proliferation and maintaining washer hygiene.
What You Need to Clean Washer Gasket Mold
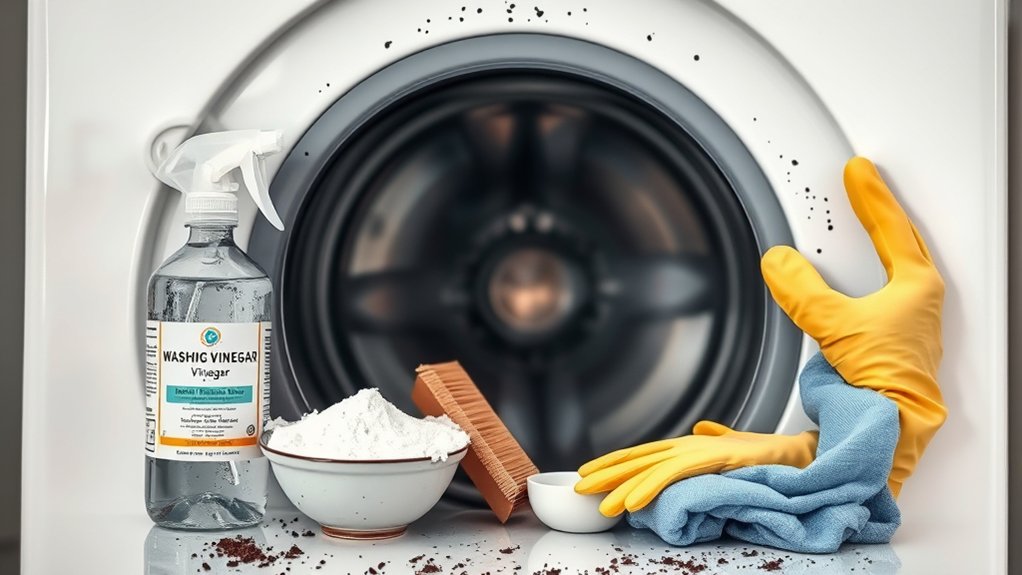
Before tackling washer gasket mold, gather essential protective gear and cleaning tools to guarantee effective and safe removal. Start with heavy-duty rubber gloves to shield your skin from mold and mildew, and consider safety goggles for eye protection.
Begin mold removal by wearing heavy-duty gloves and safety goggles for protection and safety.
Select a potent cleaning solution, such as an all-purpose appliance cleaner or a diluted bleach mixture designed for mold removal. Have soft cloths, sponges, or an old toothbrush ready to scrub deep into the gasket folds where mold accumulates.
Prepare a bucket of warm water for rinsing the gasket thoroughly, eliminating residue and chemical traces.
Finally, keep microfiber cloths, paper towels, and an old rag on hand to wipe, dry, and perform detailed cleaning.
Properly assembling these items ensures a thorough and efficient washer gasket mold cleanup.
Safety Precautions Before Cleaning Washer Gasket Mold
When you clean washer gasket mold, you must unplug the machine to eliminate any risk of electrical shock. This is the foremost safety precaution to follow.
Next, protect yourself by wearing rubber gloves and safety goggles to shield your skin and eyes from harsh chemicals.
Make sure there’s proper ventilation by opening windows or running exhaust fans. This helps prevent inhaling toxic fumes during cleaning.
Also, never mix bleach with vinegar, ammonia, or hydrogen peroxide. Mixing these can create dangerous chlorine gas, which is really unsafe.
Always follow the manufacturer’s instructions on cleaning products.
Avoid leaving bleach on rubber parts overnight to prevent damage.
These safety precautions help ensure a safe and effective cleaning process, keeping both your health and the washing machine in good shape.
Remove Debris and Wipe Down Gasket Mold
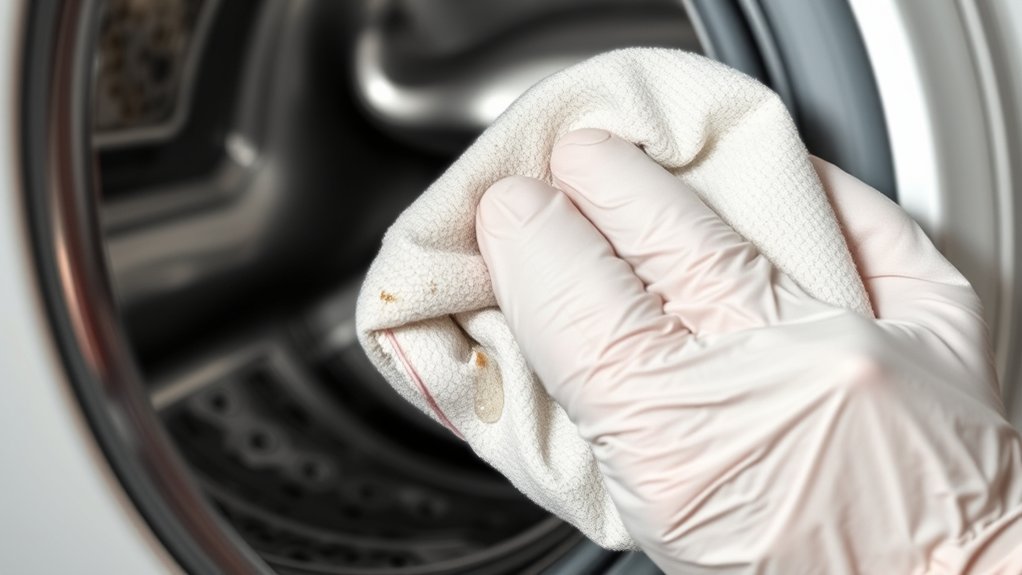
Although removing mold may seem straightforward, it requires a thorough inspection of the gasket folds to identify any trapped debris like hair, lint, or soap scum. Start debris removal by carefully examining crevices and weep holes where buildup often hides.
Use a soft cloth or sponge soaked in a cleaning solution to gently wipe down the gasket mold, loosening grime without damaging the rubber.
For stubborn particles lodged deep in folds, employ an old toothbrush or soft-bristled brush to dislodge them effectively.
After wiping, rinse the gasket with warm water to flush away loosened debris and prevent residue buildup that can encourage further mold growth.
This precise approach guarantees a clean gasket surface, preparing it for the next cleaning step.
Soak Mold-Killing Solution in Gasket Folds
Start by mixing up a mold-killing solution—use about 3/4 cup of bleach per gallon of water, or if you prefer something safer, hydrogen peroxide works well too.
Once you’ve got your solution ready, soak some rags thoroughly.
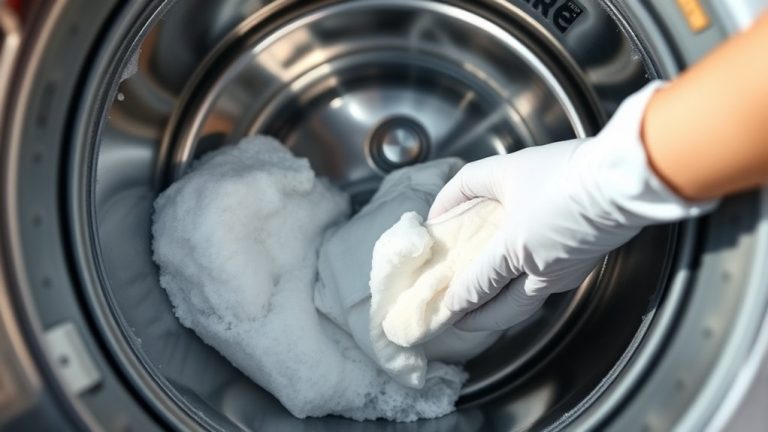
Then, press those soaked rags right into the folds of the gasket, making sure every crease is fully saturated.
After that, just leave the rags in place for about 30 to 60 minutes. This gives the solution enough time to really soak in and kill the mold effectively.
Preparing Mold-Killing Solution
Since mold thrives in the folds of your washing machine gasket, you’ll need to prepare a mold-killing solution that penetrates deeply. Begin by mixing 3/4 cup of liquid bleach into one gallon of water. This creates an effective bleach solution designed to target mold roots within gasket folds.
This mold-killing soak ensures thorough saturation when applied with a clean cloth. Avoid using pure bleach or soaking the gasket overnight, as prolonged exposure can degrade the rubber.
Instead, soak the cloth in the solution and press it firmly into the gasket folds for 30 to 60 minutes. This approach loosens embedded mold roots, setting the stage for the next steps in the cleaning process.
Proper preparation of this soak is essential for effective mold removal. So, take your time with this part—it really makes a difference!
Applying Solution To Folds
When you soak a clean cloth in your prepared mold-killing solution, press it firmly into the gasket folds to make sure the liquid gets into every crevice where mold and residue hide. Targeting these deep gasket folds is super important for effective mold removal.
Make sure the cloth is soaked enough for a thorough soak, so the solution can disinfect those hard-to-reach areas.
If the mold is stubborn, pack extra soaked rags into the folds and secure them with rubber bands to keep them in place. This trick helps break down the biofilm and mold buildup that’s embedded deep inside the folds.
After soaking, carefully remove the cloths.
Then, go ahead and scrub and rinse to finish removing the mold and disinfect the gasket folds completely. This way, you’ll restore the washing machine’s hygiene and keep it fresh.
Soak Time Guidelines
Although applying the mold-killing solution thoroughly is essential, you need to let it soak in the gasket folds for 30 to 60 minutes to guarantee deep penetration and effective mold breakdown. This soak time allows the cleaning solution to break down biofilm and organic residues embedded in the gasket, which is critical for thorough mold removal.
Use a cloth saturated with the solution to target the folds precisely, ensuring adequate contact without oversaturation.
Avoid prolonged exposure, especially with pure bleach, as soaking beyond 60 minutes can degrade the rubber gasket and compromise its integrity. For stubborn mold, lean toward the upper soak time limit but never exceed it.
Proper soak time balances effective gasket cleaning while preserving the material.
This balance is essential for maintaining your washing machine’s longevity and hygiene. So, take the time to let the solution work its magic without rushing or overdoing it. Your machine will thank you!
Scrub Mold and Stubborn Stains From the Gasket
To effectively remove mold and stubborn stains from the washing machine gasket, start by applying a mold and stain remover or a bleach solution directly onto the affected areas. Let it sit for at least five minutes.
Next, grab a soft-bristled toothbrush or nylon scrub brush and gently scrub the gasket. Focus on the small crevices and weep holes where mold and residue tend to build up. Be careful not to damage the rubber surface while loosening deep-set mold and stains.
After scrubbing, rinse the gasket thoroughly with warm water to wash away any loosened debris and cleaning agents.
Finally, dry the gasket completely using a clean microfiber cloth. This helps make sure no moisture remains, which keeps the gasket clean and reduces the chance of mold coming back.
How to Prevent Mold and Mildew on Washer Gaskets
Since moisture creates the perfect environment for mold and mildew to thrive on washer gaskets, you need to address residual dampness immediately after each laundry cycle. Wipe the gasket thoroughly with a dry cloth to remove water and prevent mold and mildew growth.
Always leave the washer door slightly open to improve airflow, allowing the gasket to dry completely.
Use the correct amount of HE detergent to minimize residue buildup inside gasket folds that feed mold.
Promptly remove wet laundry to avoid trapped moisture.
Furthermore, run a monthly cycle with a washing machine cleaner containing bleach or vinegar to eliminate mold spores and maintain a hygienic gasket.
These practical steps help you clean the gasket effectively and prevent mold from developing over time.
When to Call a Pro for Washer Gasket Mold
When mold on your washing machine gasket refuses to disappear despite thorough cleaning and disinfecting, it’s time to call a professional. Persistent mold growth after routine maintenance often signals an underlying mechanical issue needing expert diagnosis.
Also, professional gasket replacement becomes necessary if you notice visible damage or cracking caused by mold or chemical overuse. Here are four clear signs to call a pro:
- Mold persists despite deep cleaning and disinfecting efforts.
- You detect gasket damage, such as cracks or tears.
- Mold-related odors or residues continue impacting laundry quality.
- Your washer is over 5-7 years old with recurrent mold problems.
Addressing these issues promptly ensures effective mold removal and prevents further mechanical damage. Don’t wait too long—getting help early can save you time and money in the long run.
Frequently Asked Questions
Can Vinegar Replace Bleach for Cleaning Washer Gasket Mold?
Yes, you can replace bleach with vinegar for cleaning washer gasket mold. Vinegar’s acetic acid effectively breaks down mold and soap scum without corroding rubber seals, making it a safer option for frequent use.
That said, it’s less potent than bleach on heavy mold, so you might need multiple applications or combine it with baking soda for better results.
Just be sure to never mix vinegar with bleach because it creates toxic fumes.
How Often Should I Clean the Washing Machine Gasket?
You don’t want to wait until your washing machine gasket looks like a science experiment. So, clean it at least once a month or after about 30 laundry cycles.
Wipe it dry after every wash to keep mold at bay. And if you spot any mold or odors, tackle them right away.
Regular deep cleaning with a bleach solution makes sure you’re not just pushing grime around. It actually keeps your machine hygienic and odor-free.
Is It Safe to Use Commercial Mold Removers on Washer Gaskets?
You shouldn’t use commercial mold removers on washer gaskets unless the product explicitly states it’s safe for rubber.
Many contain harsh chemicals like bleach or solvents that can degrade the gasket, causing cracks or loss of sealing.
Instead, opt for solutions designed for washing machines or natural alternatives like vinegar or hydrogen peroxide.
Always follow manufacturer instructions to avoid damaging the gasket or exposing yourself to harmful fumes.
Can Mold on the Gasket Affect Laundry Odor or Cleanliness?
Yes, mold on your washing machine gasket can definitely affect laundry odor and cleanliness. Mold and biofilm trap dirt and bacteria, which release musty smells that cling to your clothes even after washing.
This buildup can reintroduce spores and contaminants onto your laundry, messing with hygiene. To keep your clothes smelling fresh and looking clean, you need to check and clean the gasket regularly.
Removing mold helps prevent those stubborn odors and stops microbial contamination in its tracks.
What Is the Best Way to Dry the Gasket After Cleaning?
The best way to dry the gasket after cleaning is to use a clean, dry microfiber cloth to remove all moisture thoroughly. Then, leave the door or lid slightly open to encourage air circulation.
Running a short, hot water cycle without laundry helps evaporate any leftover moisture in the gasket folds.
You can also position a fan or dehumidifier nearby to speed up drying and reduce humidity. This helps prevent mold from coming back effectively.
Conclusion
Think of your washing machine gasket as a hidden fortress where mold can sneak in without you noticing. By cleaning and drying it regularly, you break down the mold’s stronghold before it has a chance to take root.
Make sure to use the right tools and safety gear to handle any stubborn grime effectively. And don’t ignore persistent mold because sometimes calling a professional is the best way to deal with it.
Stay vigilant, and your washing machine will stay fresh and work efficiently. This way, you can keep mold’s unwelcome grip at bay for good.