How To Clean Kenmore Washing Machine Filter Top Loader – Guide
To clean your Kenmore top-load washer filter, first unplug the machine and shut off the water. Locate the filter, which is usually inside the agitator or behind a lower access panel. Then, remove any screws to access it.
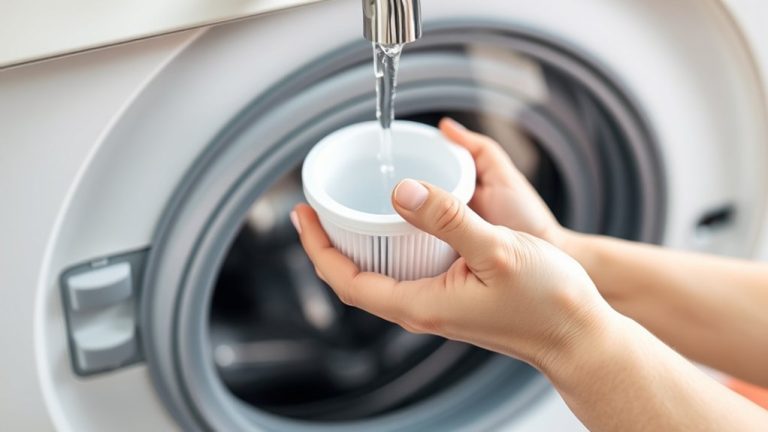
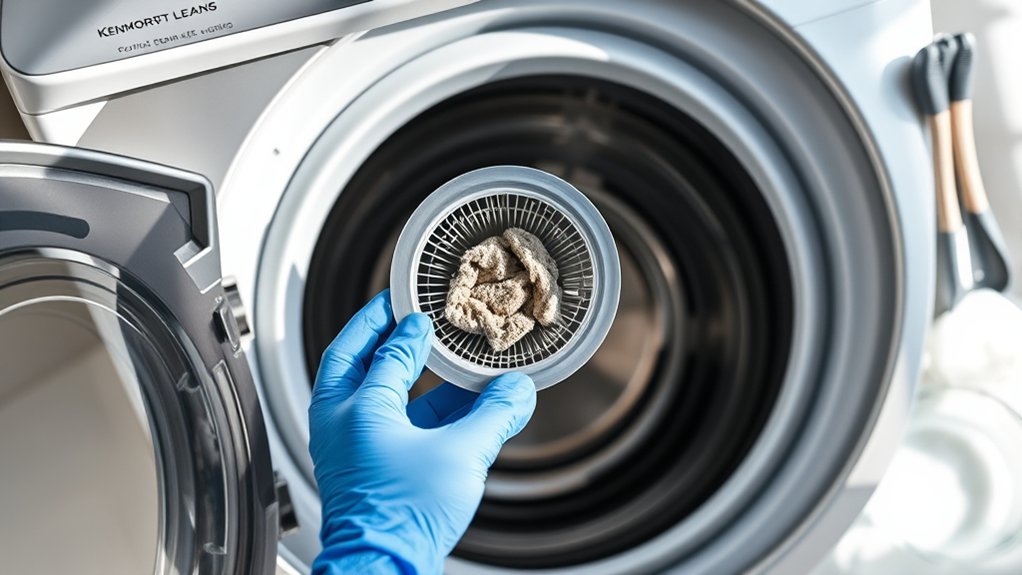
Use towels and a container to catch water. Carefully remove the filter and clear out debris with a brush or cloth. Make sure to get all the gunk out so your washer runs smoothly.
Once the filter is clean, reinstall it securely. Run a test cycle to check the drainage and ensure everything is working right. Keep following for detailed steps on tools, safety, and troubleshooting.
Does Your Kenmore Washer Have a Filter?
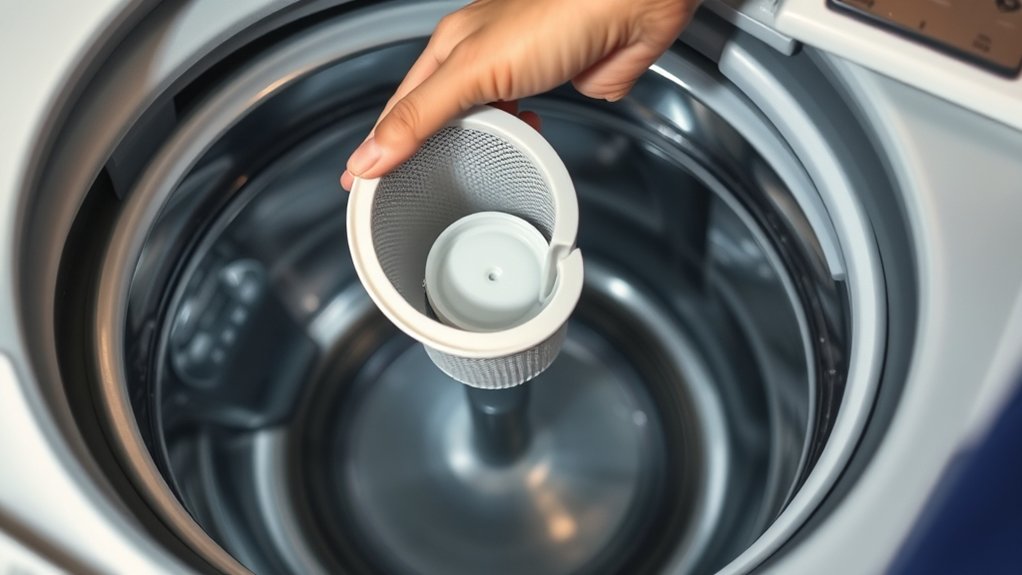
How can you tell if your Kenmore washer has a filter? Most top-load washers from Kenmore don’t have a user-accessible washer filter because their pumps are self-cleaning. They’re designed to handle lint and debris internally.
If your washer is a top loader, it probably uses this design, so you won’t find a traditional filter to clean out. That said, some top-load models might have a coin trap filter to catch small objects before they reach the drain pump.
To be sure if your specific Kenmore washer has a filter, check the user manual or look at the lower front panel for a small access door.
Knowing your washer’s model type is key to figuring out if there’s a filter and where it might be located.
How to Know When the Filter Needs Cleaning
Several clear indicators can help you determine when your Kenmore top-loader’s filter needs cleaning. If water drains slowly or not at all, debris may be clogging the filter or drain pump. You might notice standing water in the lower panel or detect a musty smell, both signs of buildup around the filter area.
Furthermore, error codes like F02 or F9 E1 often point to drainage issues caused by a blocked filter or malfunctioning drain pump. If lint, small items, or detergent residue fail to drain properly during cycles, inspect the filter promptly.
Regularly checking for these symptoms ensures timely maintenance, preventing drain pump strain and potential damage. Addressing filter clogs quickly keeps your washer working at its best and helps it last longer.
Tools Needed for Kenmore Washer Filter Cleaning
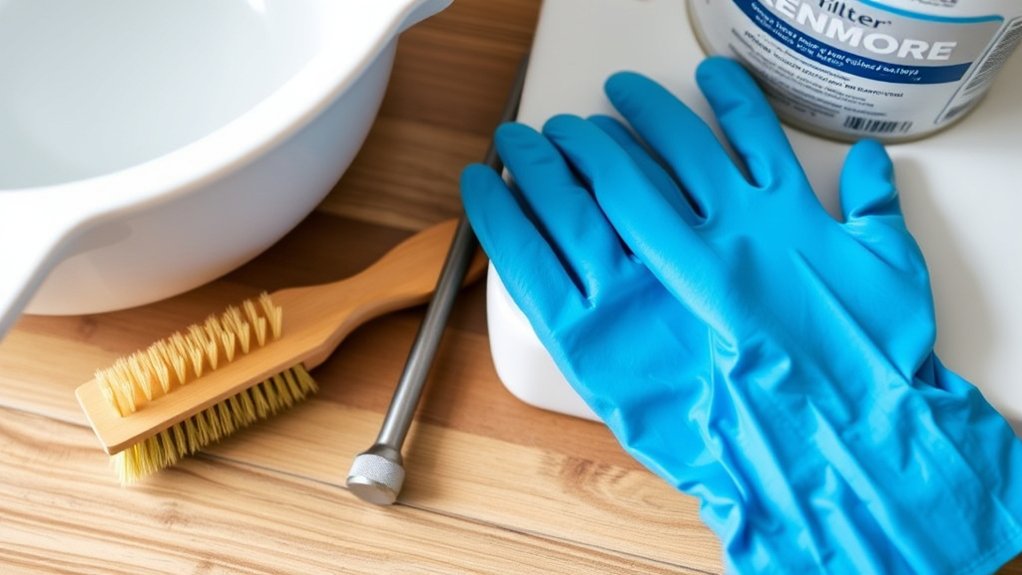
Before you begin cleaning your Kenmore washer filter, gather the necessary tools to guarantee a smooth and efficient process. The essential tools needed include a Phillips or flathead screwdriver, which helps remove panels or loosen the filter cap if applicable. Pliers are useful for loosening tight filter caps or clamps securing hoses connected to the filter housing.
Prepare a small container or shallow pan to catch any water released when opening the filter cap or removing the filter. Use a soft brush or toothbrush to dislodge debris and lint from the filter and housing during cleaning.
Keep a small container handy to catch water and use a soft brush to clean the filter and housing.
Finally, wear rubber gloves to protect your hands from dirt, debris, and residual water.
Having these tools ready ensures a safe and effective Kenmore washer filter cleaning experience. It really makes the whole process easier and less messy. So, take a few minutes to gather everything before you start.
How to Access and Remove the Filter
First, you’ll want to find the filter. It’s usually inside the agitator or down at the bottom of the tub.
Next, if there are any access panels in the way, go ahead and remove them carefully using the right tools—this helps avoid any damage.
When you’re handling the filter parts, take your time and be gentle to make sure everything comes out and goes back in smoothly.
Locating The Filter
Not all Kenmore top-loading washers have a user-accessible filter, so you should first consult your owner’s manual to confirm if it’s there. If your model does include one, the filter is usually located inside the drain pump or at the bottom of the tub.
To find it, look for an access door or panel on the lower front side of the washer. You might need to remove this panel or kickplate by unscrewing the screws along its edges.
If clips hold the panel, use a flat-head screwdriver to gently pry it off, being careful not to damage them. Once the panel is removed, you’ll see the filter housing. It looks like a small, round access door that either unscrews or pulls out for cleaning.
Removing The Access Panel
Once you’ve located the filter housing behind the lower front panel or kickplate, you’ll need to remove this panel to access the filter.
First, disconnect the washer from the power supply to guarantee safety.
Then, use a screwdriver to remove screws securing the access panel.
Keep these screws in a safe place for reassembly.
After removing all screws, gently pry the access panel off, taking care not to damage the panel or surrounding parts.
Some models may have clips or tabs holding the panel, so apply steady, even pressure.
With the access panel removed, you’ll see the filter or debris trap inside the opening, ready for cleaning or inspection.
This step is vital for proper maintenance and filter access.
Handling Filter Components
Although many Kenmore top-load washers don’t have a user-accessible filter, you should first verify your model’s design in the owner’s manual. If your washer includes a filter, it’s typically located inside the agitator or at the bottom rim of the wash tub.
To access it, start by removing the fabric softener dispenser or the agitator top cap. Use a socket wrench or screwdriver to remove screws securing the agitator or cover panel. Carefully pry panels with a plastic tool to avoid damaging clips.
| Step | Action |
|---|---|
| 1 | Verify filter presence in manual |
| 2 | Remove softener dispenser/agitator cap |
| 3 | Unscrew agitator or panel |
| 4 | Pry off panels carefully |
| 5 | Extract and clean the filter |
How to Clean the Filter Safely
Before you start cleaning the filter, make sure to unplug the washer from the power source. This is really important to avoid any electrical hazards.
When you’re ready to unscrew the filter cap, do it slowly. It helps to have some towels and a shallow pan nearby to catch any leftover water, so you don’t end up with a mess.
You’ll want to pick the right tools for the job. A soft brush works great to gently remove debris without damaging the filter parts.
Safety Precautions First
To clean your Kenmore top loader’s filter safely, you must unplug the washing machine from the power outlet to eliminate any risk of electrical shock. Prioritizing safety precautions during filter removal protects you from injury and prevents water damage.
Before you begin, prepare the area and yourself properly. Wear gloves to shield your hands from sharp edges and debris inside the filter housing. Place towels and a shallow pan beneath the filter to catch water and avoid flooding.
Loosen the filter cap slowly to let trapped water drain gradually, minimizing splashes. Follow manufacturer instructions precisely to ensure correct filter removal.
If you’re unsure about any step, it’s best to consult a professional to keep things safe.
Adhering to these safety precautions ensures a secure and effective cleaning process. Taking a little extra time now can save you from headaches later.
Proper Tool Selection
After unplugging your Kenmore top loader and preparing the area, selecting the right tools guarantees a safe and efficient filter cleaning process.
Use a pair of needle-nose pliers or a wrench as the proper tool to carefully unscrew the filter cap. Place a towel or shallow pan underneath to catch any water drainage.
Always wear rubber gloves to protect your hands from sharp edges or debris inside the filter housing. Turn the filter cap counterclockwise with steady pressure to avoid stripping the threads.
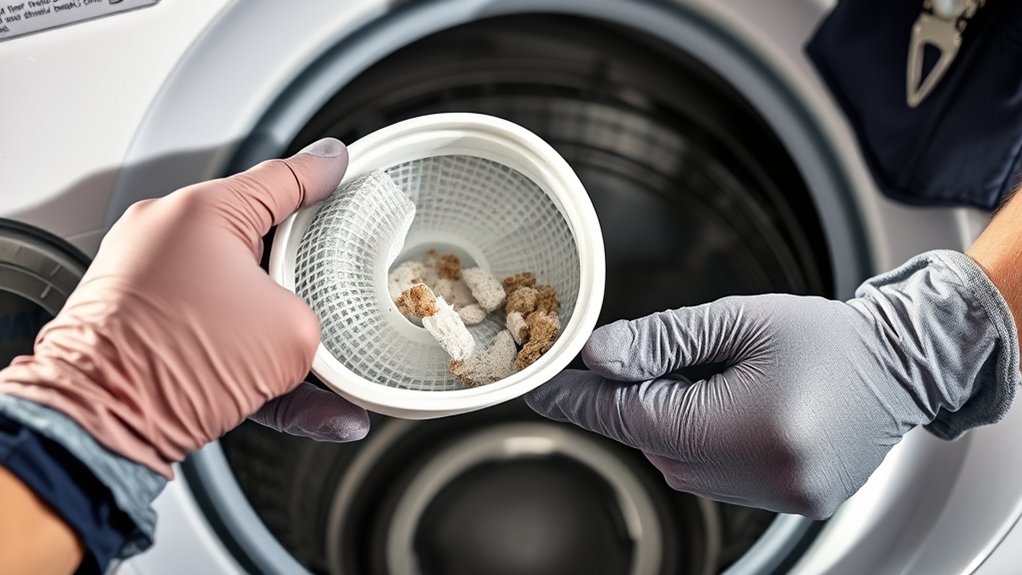
Have a clean, lint-free cloth or small brush ready to remove lint, coins, and debris once the filter cap is removed.
Ensuring you use the proper tool will prevent damage and make the cleaning task safer and more effective. It’s a simple step but makes a big difference.
You’ll be glad you took the time to do it right!
Avoid Water Damage
Although cleaning the Kenmore top loader filter is straightforward, you must unplug the machine and shut off the water supply to prevent electric shock and leaks.
Minimizing water damage while handling the filter is essential.
Follow these steps to clean the filter safely: place towels and a shallow container under the filter to catch any water escaping from the drain hose.
Slowly unscrew the filter cap to allow trapped water to drain gradually, avoiding spills.
Use a cloth or brush to remove lint, coins, and debris from the filter and housing.
Reinstall the filter securely to prevent leaks.
Then, run a rinse cycle and inspect the filter area for moisture to guarantee no water damage occurs.
These precautions protect your machine and surroundings from water damage during maintenance.
How to Reinstall the Filter and Test Your Washer
Once you’ve finished cleaning the filter, carefully reinsert it into its housing. Make sure it aligns properly to prevent cross-threading or damage. Reinstall the filter by turning the cap clockwise until it’s snug. Just be careful not to overtighten it, so you don’t crack anything.
Next, run a short rinse or spin cycle to test the washer’s drainage and confirm the filter sits correctly. While it’s running, take a close look at the filter area for any leaks. You want to make sure the seal is intact and everything is working as it should.
If you don’t see any leaks or drainage problems, go ahead and replace the access panel. Secure it firmly so it stays in place.
When to Call a Professional for Kenmore Washer Maintenance
If you’re uncertain about locating or safely removing the filter, you should contact a professional for assistance. Calling a licensed technician ensures precise appliance repair, especially when handling complex washer issues.
You should also seek professional help if you encounter persistent drainage problems or suspect internal component damage.
Dealing with electrical or pressurized water parts without expertise can cause injury or worsen the problem.
Furthermore, if your washer is under warranty, professional maintenance preserves coverage and prevents voiding.
Consider scheduling appliance repair services when:
- You face complicated mechanical faults beyond filter cleaning
- Electrical or water system components require attention
- Persistent drainage or water flow issues occur
- You want to maintain warranty validity
- You’re uncomfortable performing DIY repairs
Professional intervention guarantees safe, accurate washer maintenance and long-term reliability.
Frequently Asked Questions
Can a Clogged Filter Cause Bad Odors in My Kenmore Washer?
Yes, a clogged filter can cause bad odors in your Kenmore washer. When debris, lint, and moisture get trapped, bacteria and mildew thrive, producing musty smells.
You need to clean the filter regularly to remove buildup and prevent odor-causing contaminants from lingering.
If you ignore this, those unpleasant smells will stick around even after washing. Keeping the filter clear helps make sure your laundry stays fresh and your machine runs smoothly.
It’s a simple step that really makes a difference!
How Often Should I Clean My Kenmore Washer’s Filter?
You should clean your Kenmore washer’s filter every 3 to 6 months under normal use.
If you run frequent or lint-heavy loads, clean it monthly to prevent buildup.
Make sure to inspect the filter regularly for slow drainage, odors, or unusual noises.
If you spot any of these issues, increase how often you clean it.
Keeping the filter clean guarantees peak drainage and helps you avoid costly repairs caused by debris accumulation.
It’s a simple step that really pays off!
Will Cleaning the Filter Improve My Washer’s Spinning Performance?
Absolutely, cleaning your washer’s filter can supercharge its spinning performance! When you clear out debris and buildup, you eliminate the resistance causing imbalance and strain.
This means your washer spins faster, quieter, and more efficiently.
Neglecting the filter leads to vibrations and sluggish cycles. So, regularly removing obstructions ensures smooth drum rotation and ideal drainage.
This directly enhances spin speed and reduces noise.
Don’t underestimate this simple step. It’s key to peak washer performance.
Can I Use Vinegar to Clean the Washer Filter?
Yes, you can use vinegar to clean your washer filter if the materials involved aren’t sensitive to acidity.
Soak the filter in a 50/50 vinegar and water solution for 15-30 minutes to dissolve soap scum and mineral deposits.
After soaking, rinse the filter thoroughly with water to remove any residual vinegar. This helps prevent potential damage.
Just be careful to avoid vinegar if the filter or surrounding parts are made of delicate materials. You want to protect your washer.
Does Filter Cleaning Affect My Kenmore Washer’s Warranty?
Cleaning your Kenmore washer’s filter won’t affect your warranty if you follow the manufacturer’s instructions precisely. Use only authorized replacement parts and avoid unauthorized modifications or repairs around the filter area.
Always consult your owner’s manual before cleaning, and keep detailed records of any maintenance performed. This way, you can be sure your warranty stays valid and you’re protected in case of any disputes with the manufacturer or service providers.
Conclusion
So, unless you’re into surprise indoor fountains or mystery odors, cleaning your Kenmore washer filter isn’t optional. It’s essential. You’ve got the tools, the know-how, and the patience to tackle this mini maintenance mission.
Follow the steps precisely or prepare for a washer tantrum worthy of a soap opera. And if your filter’s still acting up after your heroic efforts, don’t hesitate to call in the pros. Your laundry deserves nothing less than perfection.