How To Clean Whirlpool Washing Machine Filter – Easy Guide
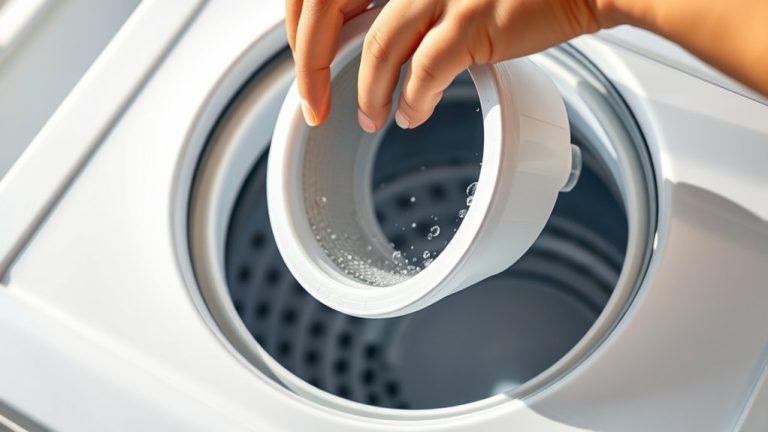
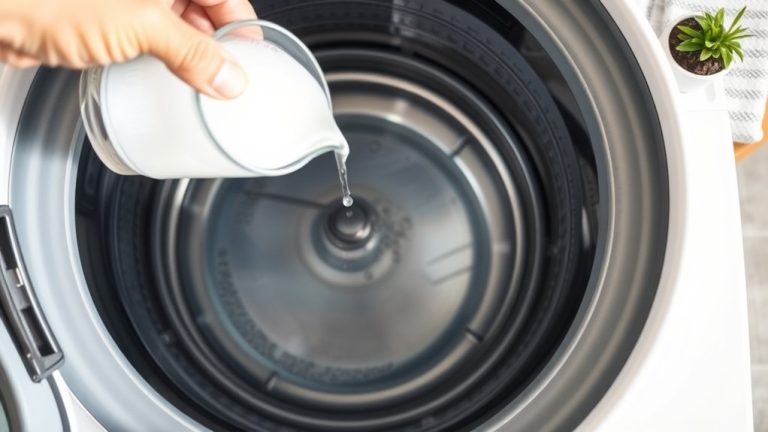
To clean your Whirlpool washing machine filter, first unplug the washer and wear gloves for safety. Locate the filter, which is usually near the door frame or inside the lid. Place a container below to catch any draining water.
Next, remove the dispenser drawer if there is one. Then disconnect and drain the hose carefully. Clean the filter thoroughly by removing any debris and checking for damage.
Once the filter is clean, reinstall it securely to avoid leaks. Follow these steps for efficient maintenance. You’ll also find troubleshooting tips and advice on when to seek professional help ahead.
Identify Your Whirlpool Washer Model
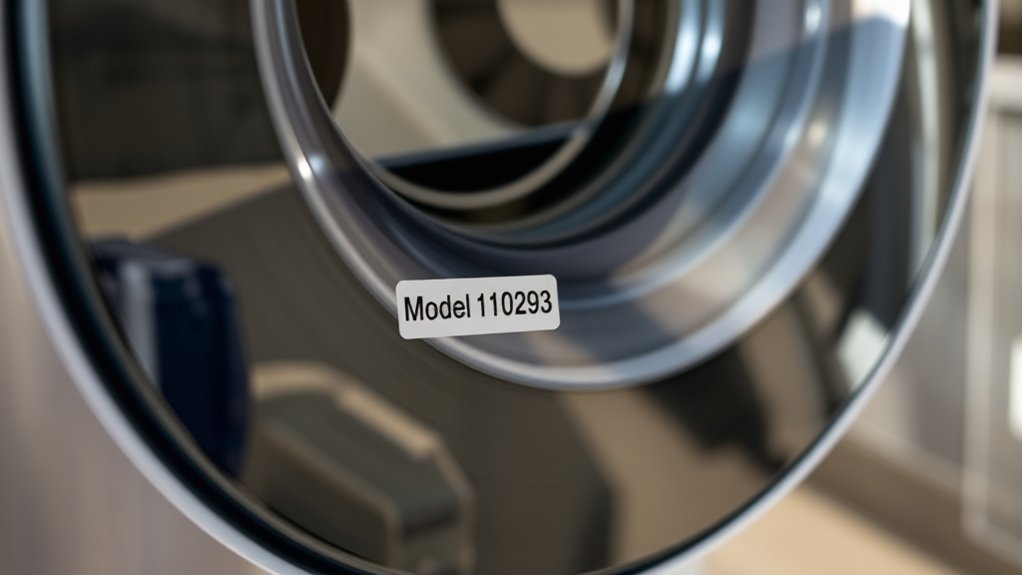
Where can you find your Whirlpool washer’s model number? Typically, it’s located on the door frame, back panel, or inside the lid. Start by checking these areas carefully.
Once you have the model number, refer to the Owner’s Manual to identify your washer’s specific features and components. This step is essential because some models include a storage drawer that affects how you remove and clean the drain pump filter.
Refer to the Owner’s Manual with your model number to identify features that impact maintenance steps.
Using the model number, you can also access tailored online resources and troubleshooting guides. This way, you’re ready to help your washer perform at its best.
If you can’t locate the model number, visit Whirlpool’s website or contact customer service. They’re ready to help you find the information necessary to proceed with maintenance tasks efficiently.
Safety Precautions Before Cleaning the Filter
Before you start cleaning your Whirlpool washing machine filter, take five essential safety precautions to protect yourself and your appliance.
First, make certain to unplug the washing machine to eliminate the risk of electric shock.
Next, wear protective gloves to shield your hands from sharp edges and debris when accessing the filter.
Make sure the area around the washing machine is dry and free of clutter to prevent slips and falls.
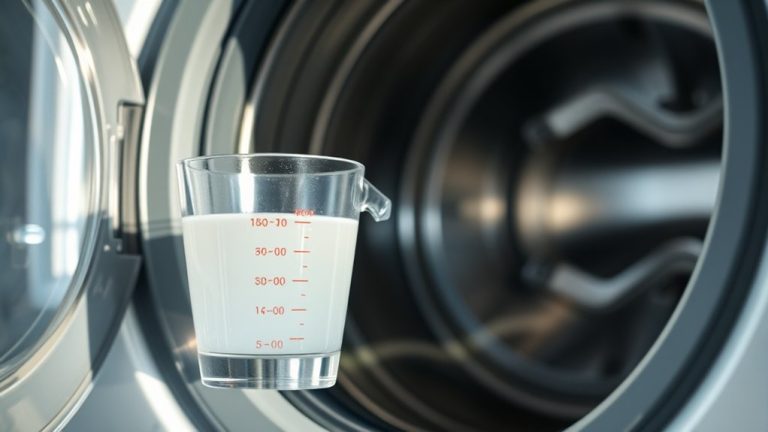
Keep a broad container nearby to catch any residual water that may drain during filter removal.
Finally, review the Owner’s Manual for model-specific safety warnings and instructions.
Following these safety precautions guarantees a secure and efficient cleaning process while safeguarding both you and your washing machine.
Taking these simple steps really helps keep things safe and smooth.
Essential Tools and Supplies for Cleaning the Drain Pump Filter
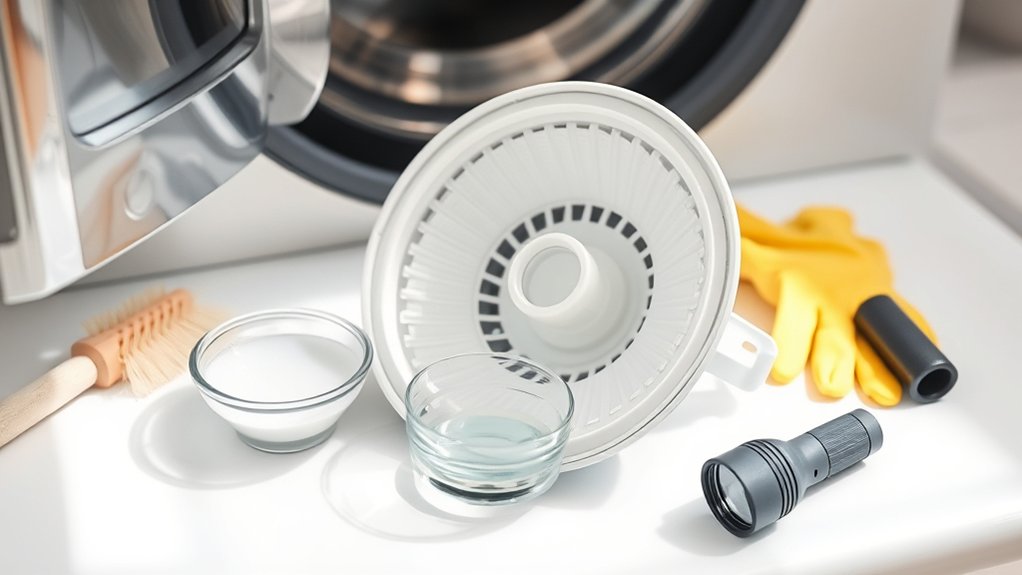
Although cleaning the drain pump filter might seem straightforward, having the right tools and supplies guarantees the task goes smoothly and safely.
For both Top Load and Front Load Whirlpool washers, you’ll need an impact wrench with a quarter-inch driver to remove the back panel screws efficiently. A broad container is essential to catch water from the black hose when draining.
Always keep a pan ready to prevent spills while removing the filter itself. Basic screwdrivers may also be required for panel removal.
Finally, have a cloth or towel on hand to wipe away moisture and debris after cleaning.
To maintain peak performance, clean the drain pump filter within 30 days or as recommended by your washer’s manual.
It’s a simple step that really helps keep your washer running smoothly.
Accessing and Cleaning the Drain Pump Filter (Models With Storage Drawer)
To get to the drain pump filter on models with a storage drawer, start by opening the dispenser drawer.
Then, gently release the side tabs so you can take the drawer out.
After that, carefully disconnect the black hose. Make sure to place a container underneath to catch any water that might drain out.
Once that’s done, give the filter a good clean to remove any debris.
When it’s all clean, pop the filter back in and put the drawer back together to avoid any leaks.
Storage Drawer Removal
Start by opening the dispenser drawer and releasing the side tabs to remove it. This gives you access to the drain pump filter. It’s an essential step for proper drawer maintenance and makes sure you can get to the filter easily.
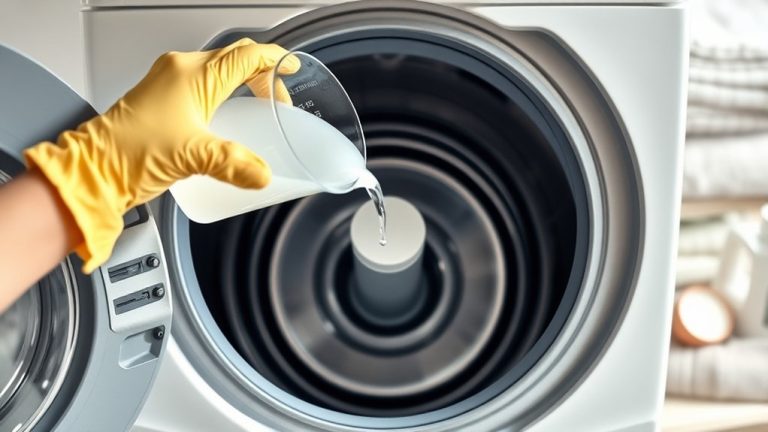
Once the drawer is out, place a broad container beneath the drain hose to catch any water during the process. Carefully drain water from the black hose into the container, repeating as needed until it’s fully emptied.
Removing the storage drawer also helps keep things organized by making components clean and accessible.
After draining, you’ll be ready to clean the filter itself.
Finally, make sure the dispenser drawer is fully reassembled and properly aligned. This keeps everything running smoothly and prevents leaks.
That’s how you complete essential drawer maintenance for your Whirlpool washing machine.
Drain Pump Cleaning
One essential step in maintaining your Whirlpool washing machine is cleaning the drain pump filter found behind the storage drawer.
Start by opening the dispenser drawer and releasing the side tabs to remove it. Place a broad container underneath to catch any water when you disconnect the black hose from the filter.
Remove the filter carefully, clean out all debris, and inspect it thoroughly.
Reinsert the filter securely, making sure it’s properly seated to avoid leaks during operation. Following these filter maintenance tips helps prevent common mistakes like improper reseating or neglecting water drainage.
Always consult your Owner’s Manual for model-specific troubleshooting techniques and safety guidelines before starting.
Regular cleaning of the drain pump filter guarantees peak performance and reduces the risk of drainage issues. It’s a simple step that really pays off in the long run.
Accessing and Cleaning the Drain Pump Filter (Models Without Storage Drawer)
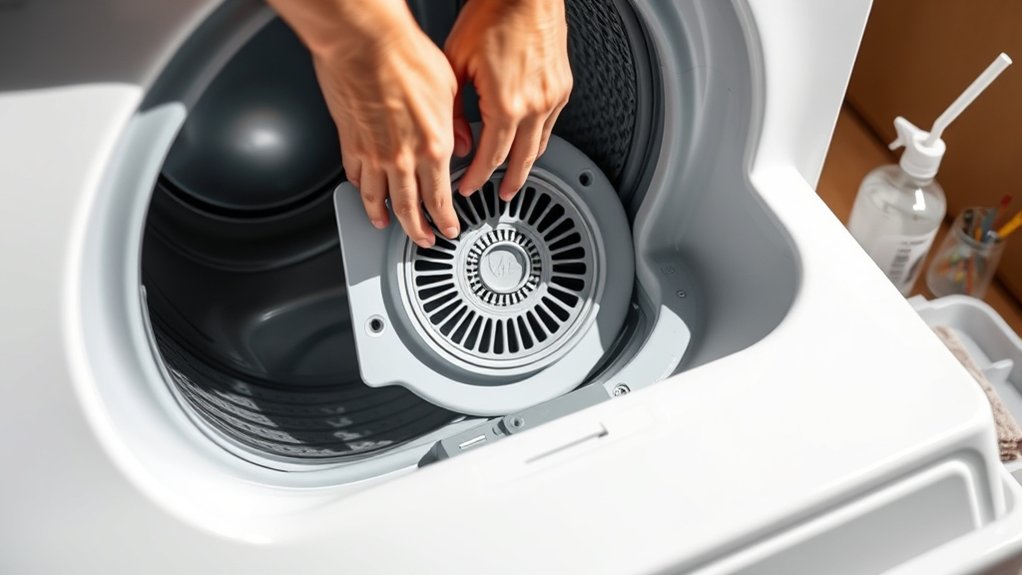
Locating the drain pump filter on Whirlpool washing machines without a storage drawer involves finding the access point near the bottom front of the unit.
Before you begin, place a pan underneath to catch any water spillage. This prevents messes and is a key filter maintenance tip.
Use your model’s instructions to carefully turn the filter counterclockwise to remove it.
Avoid common cleaning mistakes like forcing the filter or neglecting to check for debris. A thorough inspection guarantees you clear blockages effectively.
After cleaning, securely reassemble the filter and inspect the drain line for proper function.
Following these troubleshooting techniques minimizes future drainage issues and keeps your machine running efficiently.
Regular maintenance following these steps helps extend your washer’s lifespan.
How to Remove and Drain the Filter Properly
Although removing the filter may seem straightforward, you should always prepare for water drainage by placing a pan beneath the washer’s bottom access point.
Locate the filter at the bottom of your Whirlpool washer and turn it counterclockwise slowly. This cautious approach prevents unexpected spills, which are a common mistake during filter maintenance.
Once removed, drain any residual water into the pan. These filter maintenance tips help avoid leaks and guarantee you don’t miss hidden debris.
Drain residual water carefully to prevent leaks and ensure all hidden debris is cleared.
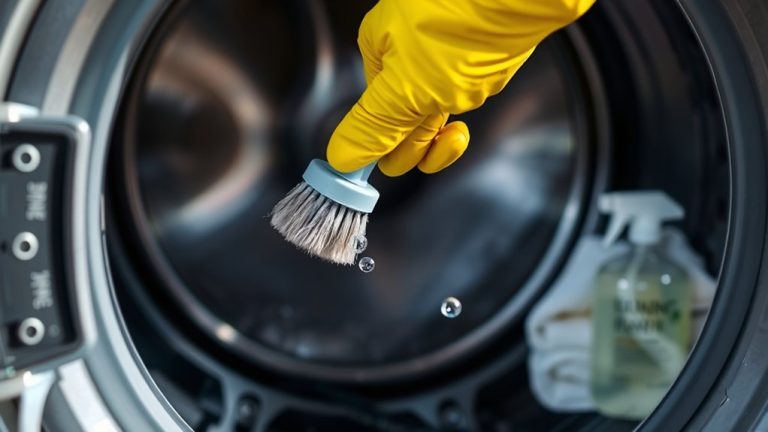
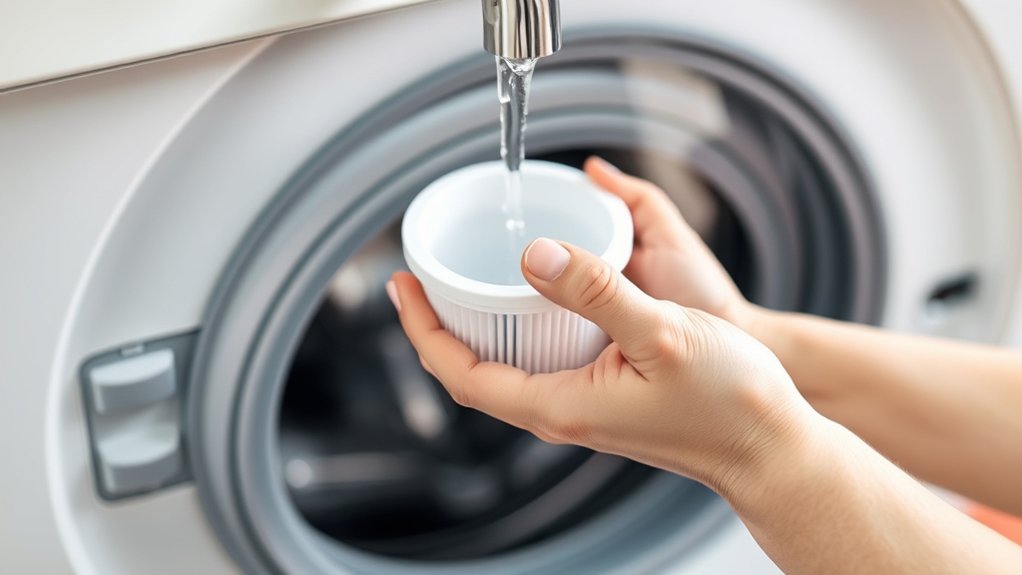
After drainage, clean the filter thoroughly to maintain peak machine function.
Reinstall it by turning clockwise securely to prevent leaks and enhance performance benefits. Proper removal and drainage protect your washer’s components and extend its lifespan.
This step is essential before inspecting for clogs or damage.
Inspecting the Drain Pump Filter for Clogs and Damage
After you’ve removed and drained the filter, carefully inspect the drain pump filter for any debris or blockages that could restrict water flow.
Check for common blockage causes such as lint, coins, or fabric fibers. These little things can really slow down your washer if left unchecked.
Look closely for signs of damage like cracks, warping, or worn seals that could impair filter performance.
Also, take a moment to assess the drain line connected to the filter for clogs that may reduce drainage efficiency.
Catching these issues early can save you a lot of hassle later.
Make sure to document any debris or damage you find to help with future troubleshooting.
Ensuring the filter is intact and free from obstructions is essential for ideal washer function and preventing leaks.
This thorough inspection helps maintain proper water flow and extends the lifespan of your Whirlpool washing machine.
Reinstalling the Filter and Reassembling Your Washer
Securely reinstall the cleaned filter by aligning it with the pump opening and turning it clockwise until it locks in place. Make sure the filter is tightly sealed to prevent leaks during operation. This is an essential filter maintenance tip.
Reinstall the cleaned filter by aligning and turning it clockwise until securely sealed to prevent leaks.
Next, reattach the back panel using washer assembly techniques. Slide it into position and fasten it with the original 12 screws, avoiding any unnecessary removals.
Perform a visual inspection to verify all components are correctly reassembled and no parts are loose.
Finally, plug in the washer and run a short cycle to monitor for leaks or drainage issues. This step helps confirm proper installation and assists in troubleshooting leaks early. Doing this ensures your Whirlpool washing machine functions efficiently after maintenance.
Troubleshooting Common Drain Pump Filter Problems
If your washer isn’t draining properly, the first thing to do is check the drain pump filter for any blockages or debris.
It’s a common spot where things can get stuck and cause problems.
Next, take a look at the filter and the drain hose to make sure they’re clear.
Even a small clog can stop water from flowing the way it should.
If you’re still having trouble after that, it might be time to inspect the pump itself for any faults.
And if you’re unsure, don’t hesitate to check out the Owner’s Manual for some specific guidance.
It can be really helpful!
Identifying Filter Blockages
When your Whirlpool washing machine displays error codes or struggles to drain, you should inspect the drain pump filter for blockages right away. Start by removing the filter access panel and check for common clog sources like lint, small clothing items, or debris.
Signs of blockage include slow draining, unusual noises during spin cycles, and water remaining in the tub. Use filter maintenance tips like regular cleaning intervals to prevent buildup and keep water flowing efficiently.
Also, always check that the drain line is clear because obstructions there can mimic filter blockages. It’s a good idea to document any debris you find to keep track of recurring problems.
Catching and removing blockages quickly will improve drainage performance, lower energy costs, and help extend your washer’s lifespan. It’s worth staying on top of this to keep your machine running smoothly!
Diagnosing Drain Pump Issues
Three common signs indicate drain pump issues in your Whirlpool washer: poor draining, unusual noises during the drain cycle, and water remaining in the tub.
Start by inspecting the drain pump filter for clogs or debris. Blockages reduce water flow, so this is an important first step.
Next, check the drain hose for kinks or obstructions and make sure it’s properly positioned.
Listen closely during the drain cycle for unusual sounds. These noises might suggest a damaged pump or foreign objects stuck in the impeller.
Regular drain pump maintenance is vital. Clean the filter according to your model’s instructions to prevent buildup.
These washer performance tips help you apply common troubleshooting methods effectively.
If problems persist after these steps, evaluate the pump’s operation or contact customer service for advanced support.
Don’t hesitate to get help if you’re unsure what to do next.
Resolving Water Drainage Problems
Although drain pump filters can seem straightforward, troubleshooting common issues requires careful inspection and maintenance. Start by regularly cleaning the drain pump filter to prevent clogs that obstruct water flow. Use a broad container to catch residual water when accessing the filter, following your Whirlpool model’s instructions precisely to avoid damage.
If the filter is clean but drainage problems persist, inspect the drain line for blockages that may impede water flow. Document any debris found during pump maintenance to identify recurring issues.
These steps form effective drainage solutions, ensuring your washing machine drains properly and prevents overflow or standing water.
Consistent pump maintenance is key to resolving water drainage problems and maintaining peak washing machine performance. So, keep up with these checks and you’ll save yourself from bigger headaches down the line.
When to Get Professional Help for Drain Pump Filter Issues
If your Whirlpool washing machine keeps showing error codes related to drainage even after you’ve cleaned the drain pump filter, it’s time to think about getting professional help. These persistent problems might mean there’s a malfunction in the components or some electrical issues that need a pro’s eyes.
Also, if you notice excess water leaking while cleaning or hear strange noises when the machine is running, these are clear signs you should get an expert to check it out.
| Symptom | Possible Cause | Recommended Action |
|---|---|---|
| Persistent error codes | Drain pump or filter malfunction | Schedule professional assessment |
| Uncontrolled water leaks | Faulty seals or components | Contact technician |
| Strange operational noises | Mechanical pump issues | Seek expert diagnosis |
| Incomplete drainage | Electrical failures | Request professional repair |
Don’t wait too long to call a technician. Catching these issues early can save you from bigger damage or expensive repairs down the line.
Frequently Asked Questions
How Often Should I Clean My Whirlpool Washer Filter?
You should clean your Whirlpool washer filter every three to six months to keep your washer running at its best.
If you often wash heavy fabrics or bulky items, try cleaning it more often—about once a month.
Regular filter maintenance means checking for debris or blockages that might slow down draining or cause weird noises.
It’s a simple step that can make a big difference.
And don’t forget to follow your model’s Owner’s Manual for exact instructions.
That way, your filter stays clean and your washer works efficiently.
Can a Dirty Filter Cause Bad Odors in the Washer?
Yes, a dirty filter can cause bad odors in your washer. To prevent this, follow filter maintenance tips like cleaning it regularly to avoid lint and residue buildup.
These odor prevention methods improve washing machine hygiene by stopping bacteria and mold growth.
Keeping your filter clean guarantees stagnant water doesn’t accumulate, which is often the source of unpleasant smells.
Consistent filter care directly enhances your washer’s freshness and efficiency.
Will Cleaning the Filter Improve Washing Machine Efficiency?
Think of your washing machine’s filter as the heart’s valve, critical for smooth flow. Yes, cleaning the filter greatly boosts washing machine performance by preventing clogs that strain the motor and reduce water flow.
Following filter maintenance tips helps you avoid common troubleshooting issues like drainage problems and longer cycles.
Regular filter care guarantees efficient energy use and improves detergent effectiveness, making your laundry cleaner and your machine last longer.
Is It Safe to Use Vinegar When Cleaning the Filter?
Yes, using vinegar for filter maintenance offers benefits like dissolving mineral deposits and disinfecting. It’s generally safe cleaning if you use it sparingly to avoid damaging rubber seals and hoses.
Always rinse the filter thoroughly afterward to remove residue that could affect future loads.
To guarantee safety, consult your Whirlpool manual, since some models recommend avoiding vinegar altogether.
This approach balances effective cleaning with preserving your machine’s longevity. Just be careful and follow the guidelines for the best results.
Can I Clean the Filter Without Unplugging the Machine?
You shouldn’t clean the filter without unplugging the machine; safety comes first, but maintenance matters too.
For washing machine safety, always disconnect power before filter maintenance. This prevents electric shock and protects internal components from water exposure.
Follow cleaning frequency advice—regularly clean your filter to keep your washer efficient.
Conclusion
Now that you’ve cleared your Whirlpool washing machine’s filter, imagine the smooth flow of water powering through your cycles, free from clogs and buildup. Regular cleaning keeps your washer running efficiently and helps prevent costly repairs.
Follow these steps carefully, and your appliance will thank you with spotless laundry and fewer interruptions. If you spot persistent issues, don’t hesitate to call a professional.
Clean filters mean cleaner clothes and a longer-lasting machine. It’s a simple habit that really pays off in the long run.