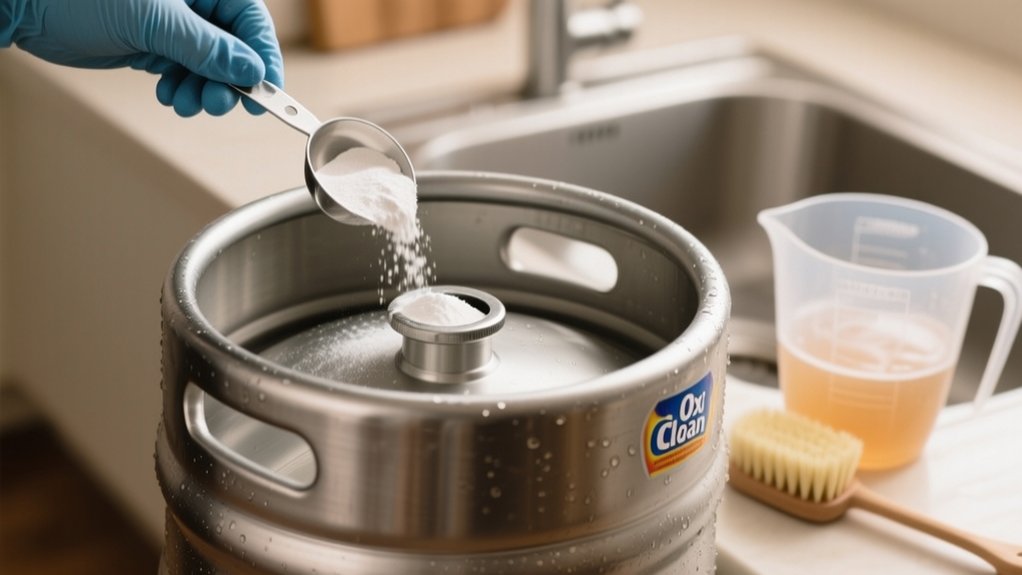
How To Clean A Corny Keg Oxiclean – Easy Method
To clean a corny keg with OxiClean, depressurize it fully, then remove the lid, posts, dip tubes, and O-rings. Keep the parts organized so nothing gets lost.
Mix an oxygen-based OxiClean solution following the label instructions. Soak the keg and removable parts for the recommended time to loosen any residue.
After soaking, scrub away residue with a soft brush. Rinse everything thoroughly until the water runs clear.
Finally, sanitize all beer-contact surfaces with a brewing sanitizer. Reassemble the keg and check its seals for leaks. These steps make for an easy, reliable clean.
Gather Supplies to Clean a Corny Keg
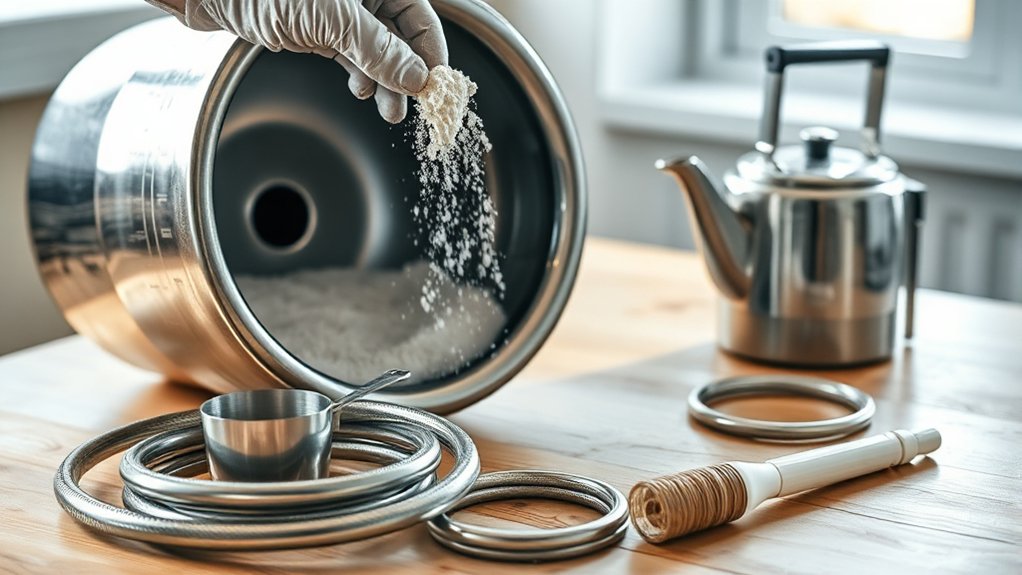
Before you clean your corny keg, gather a few basic supplies: a keg-cleaning solution, warm water, a soft brush, and clean towels.
Choose a cleaner labeled safe for brewing equipment, like an oxygen-based product, and follow its directions for dilution and contact time.
Choose a brewing-safe cleaner, such as an oxygen-based product, and follow the label’s dilution and contact-time instructions.
Don’t mix cleaning products, especially cleaners containing chlorine with acids. You’ll also need a bucket or tub large enough to hold small parts later, plus a measuring cup for accurate mixing.
Keep a pair of protective gloves nearby, and wear eye protection if the cleaner’s label recommends it. Set everything on a stable, washable surface near a sink and a source of warm water.
Check that your brush has soft bristles so it won’t scratch the keg’s interior or damage its finish.
Keep clean towels separate from used ones.
Take Apart the Keg and Remove Its Posts
With your supplies ready, depressurize the keg completely, then remove the lid and set it aside.
Confirm there’s no pressure by briefly opening the pressure-relief valve. Never loosen a post while the keg is pressurized.
Use the correct wrench or socket to loosen each post, turning counterclockwise.
Keep the gas-in and liquid-out posts separate; they may look similar, but their fittings differ. Note which post belongs on each keg connection, or take a quick photo before removal.
Lift off each post and set its small parts aside.
Pull the dip tubes straight out, keeping the longer liquid tube distinct from the shorter gas tube.
Remove the O-rings from the posts, tubes, and lid with a plastic pick or your fingers. Avoid sharp tools that could scratch sealing surfaces.
Keep components organized for inspection and cleaning.
Follow the OxiClean Label for Dilution
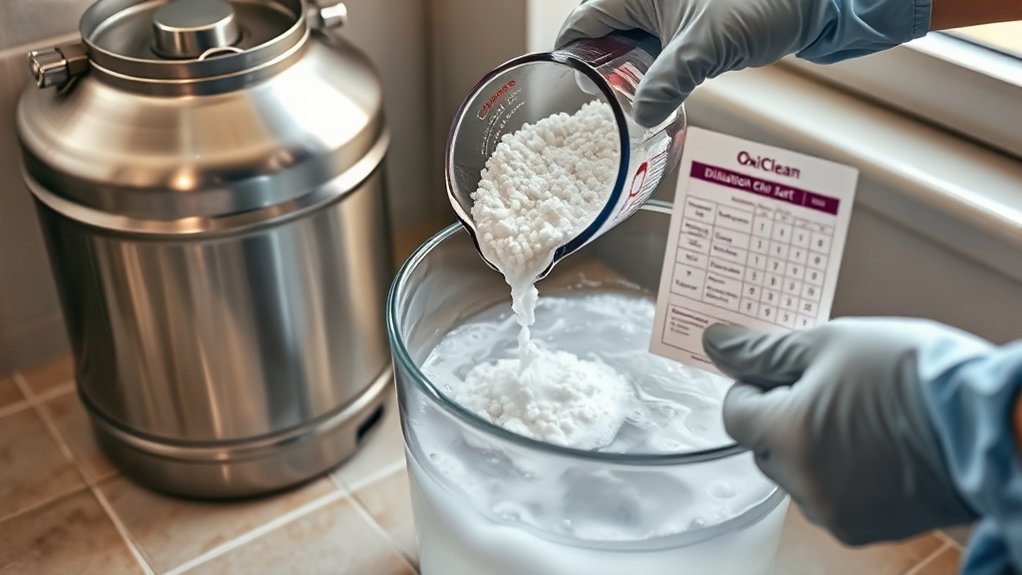
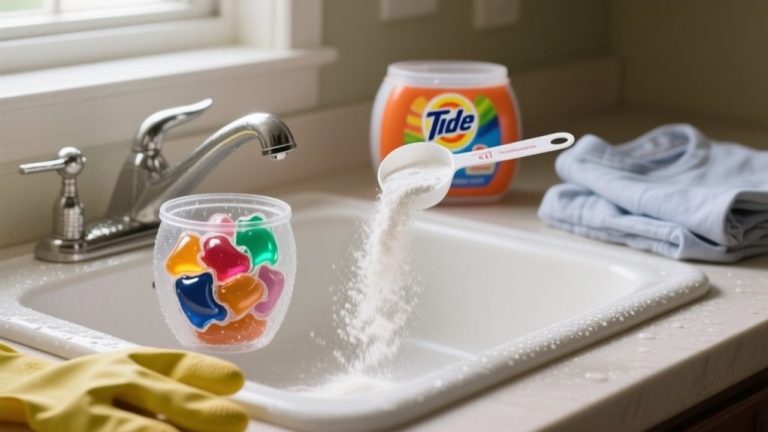
Make sure to check the OxiClean label for the recommended dilution before you start mixing your cleaning solution.
It’s important to measure both the powder and water carefully so you get the right concentration.
Try not to use extra OxiClean because a solution that’s too strong can actually damage the keg components.
Just follow the label, and you’ll be good to go!
Check Product Label
Since OxiClean formulas vary, read the product label and follow its dilution instructions for cleaning your corny keg. Check that the product is suitable for your intended use, and don’t assume every OxiClean version has the same ingredients or directions.
Look for warnings about materials, contact time, rinsing, and protective gear. Your keg’s stainless steel, seals, and fittings may respond differently to cleaners, so review both the cleaner’s label and your keg manufacturer’s care guidance.
If the label doesn’t clearly address your application, contact the manufacturer before proceeding. Avoid using a product that lists restrictions affecting your keg components.
Keep the package nearby while you work so you can refer back to its instructions. Following the label helps you clean responsibly and reduces the risk of damaging equipment or leaving unwanted residue.
Measure Dilution Carefully
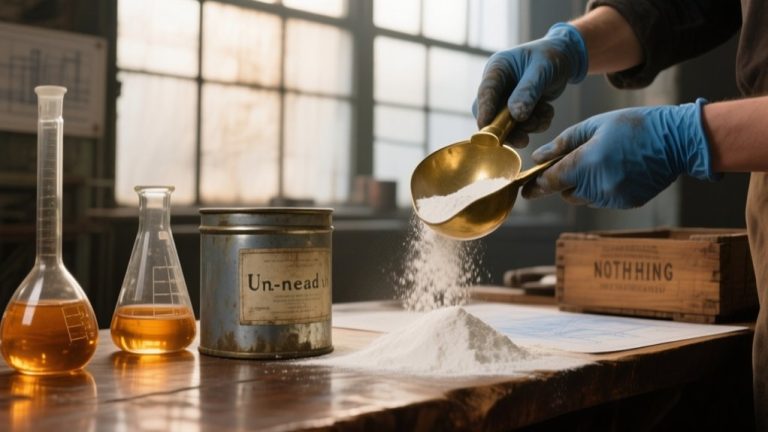
Measure the cleaner and water according to the OxiClean label, using the specified ratio for your product and application. Check the package directions for the amount needed and the water volume it covers. Don’t rely on a scoop from another product; scoop sizes and formulas can differ.
| Check | What to use | Why it matters |
|---|---|---|
| Product | Your OxiClean package | Formulas vary |
| Cleaner | Labeled measure | Matches directions |
| Water | Labeled volume | Sets the ratio |
Use a clean measuring scoop or spoon, and level the amount rather than estimating. Add the measured cleaner to the stated quantity of water, then stir until it dissolves. Keep the label nearby while preparing the solution so you can confirm units and instructions.
If the directions don’t clearly cover your intended keg-cleaning use, consult the manufacturer before proceeding. You’ll get a consistent mixture by measuring both ingredients accurately.
Avoid Overconcentration
Using more OxiClean than the label recommends won’t clean your keg better and may leave residue that’s harder to rinse away.
Follow the product’s dilution directions for the specific OxiClean formula you’re using, since instructions can vary. Measure the powder and water carefully rather than estimating, and don’t add extra cleaner to tackle stubborn soil.
Instead, let the solution soak for the time stated on the label, then scrub any remaining deposits with a suitable brush.
Mix only what you need, and use the recommended water temperature.
After cleaning, rinse the keg, lid, dip tubes, posts, and seals thoroughly with clean water until no slippery feel or visible suds remain. If you still notice residue, rinse again; don’t compensate by making the next batch stronger.
Proper dilution protects your keg and makes cleanup easier.
Soak the Keg and Parts in OxiClean
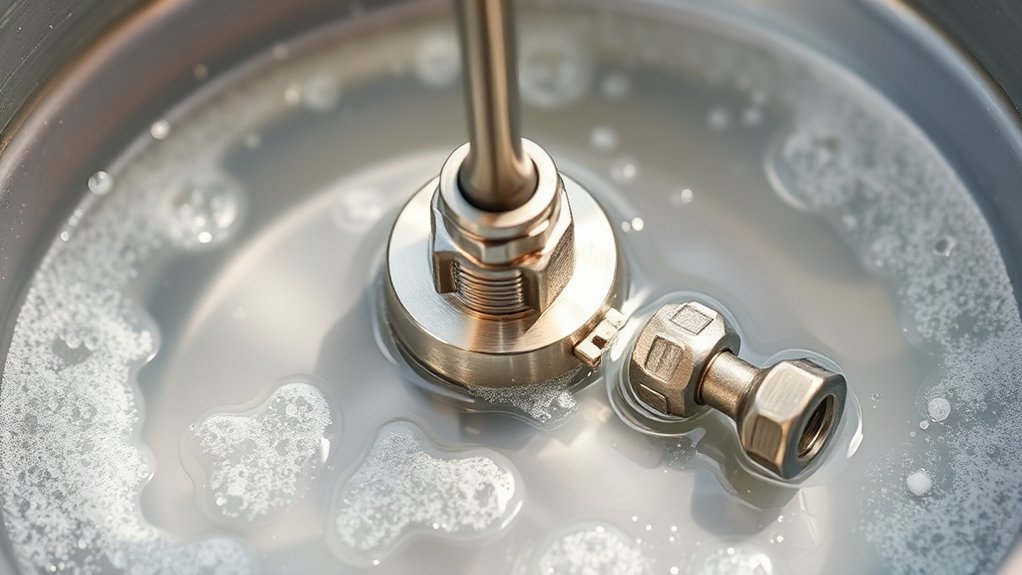
Soak the keg and removable parts in an OxiClean solution to loosen residue and help remove odors. First, check the product label for the recommended dilution and use warm water if the directions allow. Fill the keg enough to cover its interior, then add the measured cleaner and gently swirl to mix.
Mix OxiClean with water according to the label, then gently swirl it in the keg to loosen residue and odors.
Place compatible removable parts, such as the lid, dip tubes, posts, and seals, in the solution as well. Make sure each piece stays fully submerged.
Let everything soak for the time stated on the product label; don’t leave parts in the solution longer than recommended. Keep the keg open and set the parts in a clean container while they soak.
When the soak is complete, drain the solution and rinse the keg and parts thoroughly with clean water before moving on.
Scrub Away Any Remaining Keg Residue
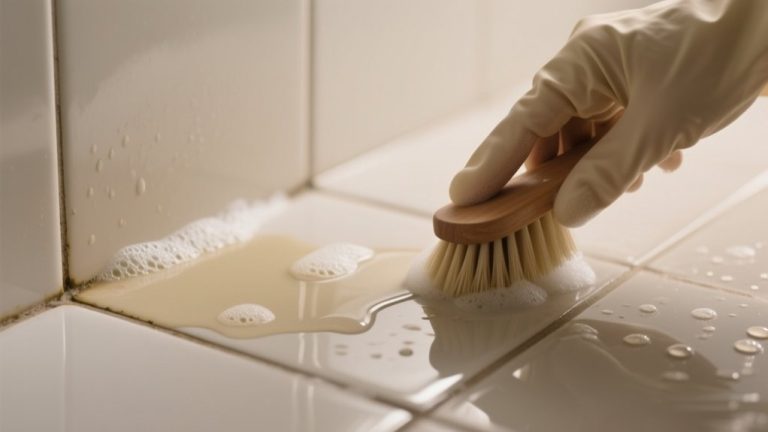
After rinsing, inspect the keg for stubborn residue, especially around the bottom, seams, and openings. Use a soft, nonabrasive keg brush or clean sponge to loosen any film you find.
Pay close attention to the dip tubes, posts, and underside of the lid, where dried beer and yeast can collect. For narrow passages, choose a brush sized to reach inside without forcing it. Don’t use metal tools, scouring pads, or anything that could scratch stainless steel or damage seals.
Remove the O-rings if residue sits beneath them, and wipe the grooves gently with a soft cloth. Check each part under good light as you work. If buildup remains, apply a little cleaning solution to the area and scrub again.
Handle small fittings carefully so you don’t lose them or bend delicate components.
Rinse the Keg Until OxiClean Is Gone
Once you’ve loosened any remaining residue, rinse the keg and each removable part thoroughly with clean water.
Empty the cleaning solution, then fill the keg with fresh water and swirl it so water reaches the walls, bottom, and dip tubes.
Drain it completely through the opening and, if practical, through the liquid and gas posts to flush their passages.
Repeat with fresh water until you can’t see foam or feel any slippery film inside.
Rinse the lid, posts, poppets, and seals separately, turning each piece under running water to clear crevices.
Check the drained water for suds or cloudiness; if you spot either, rinse again.
Don’t leave OxiClean behind since residue can affect your next batch’s flavor.
Let the parts drain before moving on to the next cleaning step.
Sanitize the Keg Before Reassembly
With the keg and parts rinsed clean, sanitize them using a no-rinse product approved for brewing. Follow the label’s dilution and contact-time instructions; stronger isn’t better, and too little contact can leave microbes behind.
Prepare only as much solution as you need, and wear gloves if the product directions recommend them.
Mix only the amount of sanitizer you need, and wear gloves if the product label recommends them.
Coat every surface that’ll touch your beer, including the keg interior, lid, posts, dip tubes, and small seals. Swirl the solution inside the keg so it reaches the walls and bottom, then treat removable parts in a clean container.
Keep surfaces wet for the full contact time. Don’t rinse afterward unless the product label specifically tells you to. Rinsing can undo the sanitizing step.
Drain excess solution onto a clean area and let parts air-dry without touching them. Keep everything protected from dust until you’re ready for the next step.
Reassemble the Keg and Check for Leaks
When the sanitized parts are ready, reassemble the keg with clean hands, checking that each dip tube, post, and seal goes back in its proper place.
Fit the long dip tube under the liquid post and the short tube under the gas post.
Replace O-rings if they’re cracked, stretched, or damaged, then seat each one securely.
Tighten the posts with a wrench, but don’t overtighten them.
Place the lid and gasket on the keg, close the bail, and connect your gas line.
To check for leaks, pressurize the keg with CO₂ at a low setting.
Brush soapy water around the posts, lid, and connections.
Bubbles show escaping gas, so release pressure and reseat or replace the faulty seal.
Repeat the test until no bubbles appear, then rinse away the soap and dry the keg.
Frequently Asked Questions
How Often Should I Deep-Clean My Corny Keg?
Deep-clean your corny keg after every batch, before you fill it again. You’ll remove residue, prevent off-flavors, and reduce the risk of contamination.
If you store beer in the keg for an extended period, inspect it and clean it before reuse.
Take apart the posts, poppets, and dip tubes periodically, too, since hidden buildup can linger.
Rinse promptly after emptying, and replace worn seals whenever you spot damage or persistent leaks.
Can Oxiclean Damage Stainless Steel if Used Too Frequently?
Yes, frequent or prolonged OxiClean use can damage stainless steel, especially if you use a strong solution, hot water, or let it dry on the surface.
You’ll reduce the risk by following the product’s dilution and contact-time directions, rinsing your keg thoroughly with clean water, and drying it promptly.
Don’t use chlorine bleach, which can cause pitting and corrosion.
If you spot discoloration or pitting, stop using the keg until you assess the damage.
Is Oxiclean Safe for Cleaning Kegs Used for Cider or Kombucha?
Yes, you can use OxiClean to clean cider or kombucha kegs, but treat it like a strong gatekeeper: let it remove grime, then send it away completely.
Choose an unscented, oxygen-based cleaner, follow its label, and don’t exceed the recommended concentration or soak time.
Rinse every surface and part thoroughly with potable water. OxiClean cleans; it doesn’t sanitize.
Before filling, sanitize the keg with a food-safe sanitizer, especially after cleaning.
What Are the Signs That Keg Seals Need Replacing?
Replace your keg seals if you notice persistent leaks even after tightening connections or if the keg won’t hold pressure.
Cracks, tears, flattening, brittleness, swelling, or a sticky surface also signal worn seals.
Check for discoloration, lingering odors, or residue that won’t rinse away since these can indicate deterioration or contamination.
If you’re unsure, replace the seals. They’re inexpensive, and fresh ones help protect your cider or kombucha from leaks and off-flavors.
How Should I Store a Corny Keg Between Uses?
Treat your corny keg like a sealed lunchbox: clean it, dry the exterior, and store it pressurized with CO₂ to keep air and contaminants out.
After each use, rinse and clean the keg, then sanitize it before storage.
Leave the lid secured, disconnect gas and beer lines, and keep the keg upright in a cool, dry place away from sunlight.
Before using it again, check for leaks and sanitize once more.
Conclusion
Your keg is clean, but don’t rush the final check. Reassemble each post, connect your lines, and pressurize the keg gently. Listen closely: a faint hiss can reveal a leak before it spoils your next batch.
No sound? Check the seals anyway, then relax. You’ve cleaned, rinsed, and sanitized every part. Now your Corny keg is ready for fresh beer.
The next pour is waiting, and you’ll know it’s safe, clean, and ready when you are.